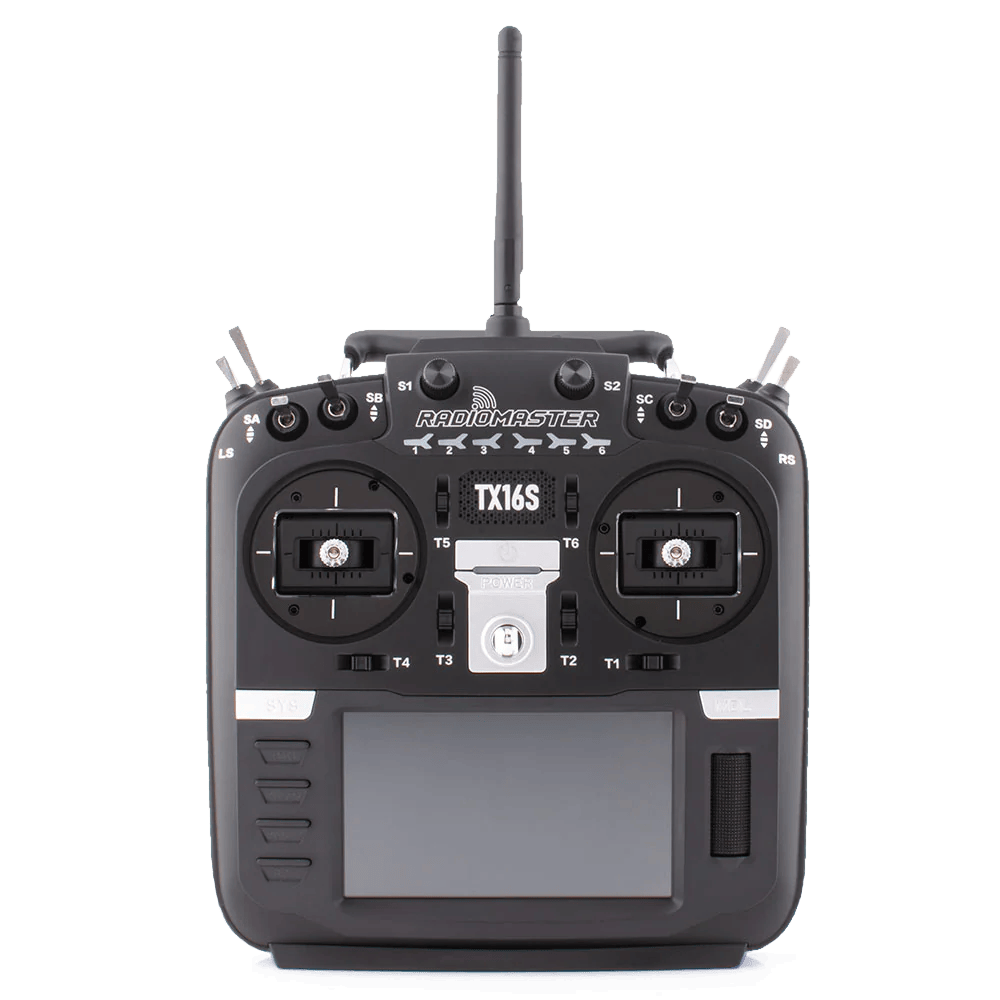
RadioMaster - TX16S MKII
TX16S Mark II Radio Controller by RadioMaster offers reliable and precise remote control on long distances. It is a very popular choice among UAV pilots and roboticists.
The device operates on a 2.4 GHz frequency, utilizing LoRa modulation to increase signal range over traditional gamepads, and is equipped with a large color touchscreen, providing a user-friendly interface for configuration and telemetry data.
Available with Husarion Panther and Husarion Lynx as an option PAD02.
Getting started
To run the RadioMaster TX16S, you must meet certain requirements listed below:
Software
- Docker Engine and Docker Compose.
- Device with Linux based OS (e.g. robot, laptop).
Hardware
- Hardware receiver dongle (ELRS receiver with an integrated USB to UART converter) connected to a USB port of the User Computer.
Demo
husarion_ugv_crsf_teleop package creates a ROS 2 node, allowing control of the ROS-powered mobile and manipulation robots with a CRSF compatible RC remote such as RadioMaster TX16S. crsf_teleop node converts received CRSF packets from the receiver dongle to geometry_msgs/Twist message type in order to provide velocity commands for the robot.
The result of this demo will be the publication of a velocity messages on the ROS topic /cmd_vel. An example with a mobile robot will be described below.
Start guide
1. Setup udev rules
If you are using Husarion OS, you can skip this step as the udev rules are already set up.
To be able to distinguish between connected devices it is necessary to add a rule that aliases detected hardware dongle to a known symlink file.
Open (or create) the udev rules file:
sudo nano /etc/udev/rules.d/99-local.rules
Append the following line to the file:
ACTION=="add", ,ATTRS\{interface\}=="PAD02 Dongle", SYMLINK+="ttyUSBPAD"
Press ctrl + o and then ctrl + x to save and quit.
Reload rules by executing:
sudo udevadm control --reload-rules
sudo udevadm trigger
2. Test receiver dongle
Connect receiver dongle to the USB port of the User Computer. You can verify that the device is detected by typing:
ls /dev | grep "ttyUSBPAD"
You should see a file named ttyUSBPAD in the output.
3. Clone repository
git clone https://github.com/husarion/husarion_ugv_crsf_teleop.git
cd husarion_ugv_crsf_teleop
4. Edit Parameters File
By default the node is set up to work with Panther robot. To load Lynx configuration, you need to change the params_file parameter in the docker-compose.yml file.
command: >
      ros2 launch husarion_ugv_crsf_teleop teleop.launch.py params_file:=/config/crsf_teleop_lynx.yaml
Default parameter files for Panther and Lynx can be found in the husarion_ugv_crsf_teleop/config directory and can be changed directly.
Custom parameters file can be provided by setting the params_file launch argument.
5. Start Docker service
docker compose up -d
You can view the logs of the running container by typing:
docker compose logs -f
After a successful connection to the RC remote, you should see the following message:
[panther.crsf_teleop]: Connected
[panther.crsf_teleop]: Link quality restored: 100%
Result
Exec into running container:
docker compose exec -it husarion_ugv_crsf_teleop /bin/bash
Now you should see the relevant ROS 2 topic:
user@docker:~$ ros2 topic list
/panther/cmd_vel
/panther/link_status
/parameter_events
/rosout
Tilting sticks on the RC controller should result in /cmd_vel topic being updated with velocity commands. Namespace fields should be updated with used robot model name (e.g. panther).
ros2 topic echo /<namespace>/cmd_vel
Additionally, you can check the link status by echoing the /link_status topic:
ros2 topic echo /<namespace>/link_status
Sticks are mapped to the following axes:
- Left stick horizontal: angular velocity
- Right stick vertical: linear velocity
RC controller has some additional buttons that can be used for different functionalities:
- SG switch - tri-state switch, selects robot speed from values specified in the parameters yaml file (slow, normal, fast)
- SF switch - emergency stop
- SA switch (down position) - silence
cmd_velmessages, allows other nodes to control the robot while enabling e_stop functionality
By default the SA switch has no functionality assigned. You can enable silence mode by adding the following line to the custom params.yaml file:
silence_cmd_vel: true
ROS node API
Publishes
cmd_vel[geometry_msgs/Twist or geometry_msgs/TwistStamped]: Command velocity, the type of the message depends oncmd_vel_stampedparameter.link_status[husarion_ugv_crsf_interfaces/LinkStatus]: CRSF link status.
Service clients
hardware/e_stop_trigger[*std_srvs/Trigger]: Trigger robot emergency stop.hardware/e_stop_release[*std_srvs/Trigger]: Release robot emergency stop.
Parameters
port[string, default: /dev/ttyUSBPAD]: CRSF receiver serial port".baud[int, default: 576000]: CRSF receiver baud rate".cmd_vel_stamped[bool, default: False]: Publish cmd_vel as TwistStamped instead of Twist.e_stop_republish[bool, default: False]: Rebroadcast asserted e-stop signal once per secondenable_cmd_vel_silence_switch[bool, default: False]: Enable cmd_vel silence switch allowing other nodes to take control.linear_speed_presets[list[float], default: [0.5, 1.0, 2.0]]: Selectable robot maximum linear speed for cmd_vel in value range from 0.0 to 10.0.angular_speed_presets[list[float], default: [0.5, 1.0, 2.0]]: Selectable robot maximum angular speed for cmd_vel in value range from 0.0 to 10.0.
husarion_ugv_crsf_interfaces
Contains custom message definitions for the husarion_ugv_crsf_teleop node. Currently, it only contains the LinkStatus message.
husarion_ugv_crsf_teleop
The main package for controlling robots using a CRSF compatible remote control. A receiver should be connected to the robot's computer via USB-UART converter or be integrated as a hardware USB dongle. The CRSF protocol parser is implemented based on the following specification.
Launch Files
teleop.launch.py: Launches crsf_teleop_node node. Automatically respawns node if a remote controller is connected. A namespace of a node can be set using thenamespacelaunch argument. A custom parameters file can be provided by setting theparams_filelaunch argument.
Parameters
namespace[string, default:""]: Namespace for the node.params_file[string, default:config/crsf_teleop_$\{ROBOT_MODEL\}.yaml]: Path to thecrsf_teleop_nodeparameters file.
Configuration Files
crsf_teleop_panther.yaml: Sets default Panther robot parameter values for the crsf_teleop_node whenteleop.launch.pyis launched.crsf_teleop_lynx.yaml: Sets default Lynx robot parameter values for the crsf_teleop_node whenteleop.launch.pyis launched.
ROS Nodes
crsf_teleop_node
Translates received CRSF commands to velocity commands for the robot.
The following channels are used for controlling the robot via the TX16S remote control:
- Channel 2 - Right gimbal up/down - forward/backward velocity
- Channel 4 - Left gimbal left/right - turning (angular) velocity
- Channel 5 - SF switch - emergency stop
- Channel 7 - SA switch (down position) - silence
cmd_velmessages, allows other nodes to control the robot while enabling e_stop functionality - Channel 11 - SG switch - tristate switch, selects robot speed
Publishes
cmd_vel[geometry_msgs/Twist]: Publishes velocity commands to the robot.link_status[panther_crsf_teleop_msgs/LinkStatus]: Describes a radio link status between the remote control and the robot. Parameters are described in the CRSF_FRAMETYPE_LINK_STATISTICS frame documentation.
Service Clients
hardware/e_stop_trigger[std_srvs/Trigger]: Triggers an emergency stop.hardware/e_stop_reset[std_srvs/Trigger]: Resets an emergency stop.
Parameters
serial_port[string, default: /dev/ttyUSB0]: Serial port to which the CRSF receiver is connected.baudrate[int, default: 576000]: Baudrate of the serial port.e_stop_republish[bool, default: False]: Rebroadcasts asserted emergency stop signal once per second. Will override other emergency stop sources.enable_cmd_vel_silence_switch[bool, default: False]: Enables remote to disable publishingcmd_velmessages on demand. Can be used as a remote emergency stop when using other nodes to control the robot.linear_speed_presets[double_array, default: [0.5, 1.0, 2.0]]: Selectable robot maximum linear speed forcmd_veltopic.angular_speed_presets[double_array, default: [0.5, 1.0, 2.0]]: Selectable robot maximum angular speed for thecmd_veltopic.
Need help with this article or experiencing issues with software or hardware? 🤔
- Feel free to share your thoughts and questions on our Community Forum. 💬
- To contact service support, please use our dedicated Issue Form. 📝
- Alternatively, you can also contact our support team directly at: support@husarion.com. 📧