Usage Guide
This guide shows how to install or update the operating system on your robot with the HOFI USB stick.
You need:
- a HOFI USB stick, prepared with the HOFI setup guide
- a way to see the HOFI screen: a laptop or phone on the same network as the robot (or a laptop connected to it with an Ethernet cable), or a monitor and USB keyboard
- internet access for the robot (Ethernet or Wi-Fi), but only if you want HOFI to download the OS image itself
Installing a new system deletes everything on the robot's disk or SD card. Back up anything you want to keep.
Step 1: Start HOFI on the robot
- Turn the robot off.
- Plug the HOFI USB stick into the robot's computer.
- Turn the robot on. HOFI starts in about a minute (a few minutes on NVIDIA Jetson).
If the robot starts its usual system instead, see The robot does not start HOFI.
Step 2: Open the HOFI screen
Connect the robot with an Ethernet cable, either to your router or straight to your laptop. HOFI needs no network settings. Behind a router it takes an address from the router, and on a direct cable HOFI and the laptop pick addresses by themselves. Either way, you reach it by name:
| Robot's computer | Address |
|---|---|
| Raspberry Pi (ROSbot 3, XL; Panther / Lynx built-in) | http://hofi-rpi.local |
| x64 (ROSbot XL; Panther / Lynx user) | http://hofi-x64.local |
| NVIDIA Jetson (ROSbot XL; Panther / Lynx user) | http://hofi-jetson.local |
- Laptop
- Phone
- Monitor and keyboard
- SSH
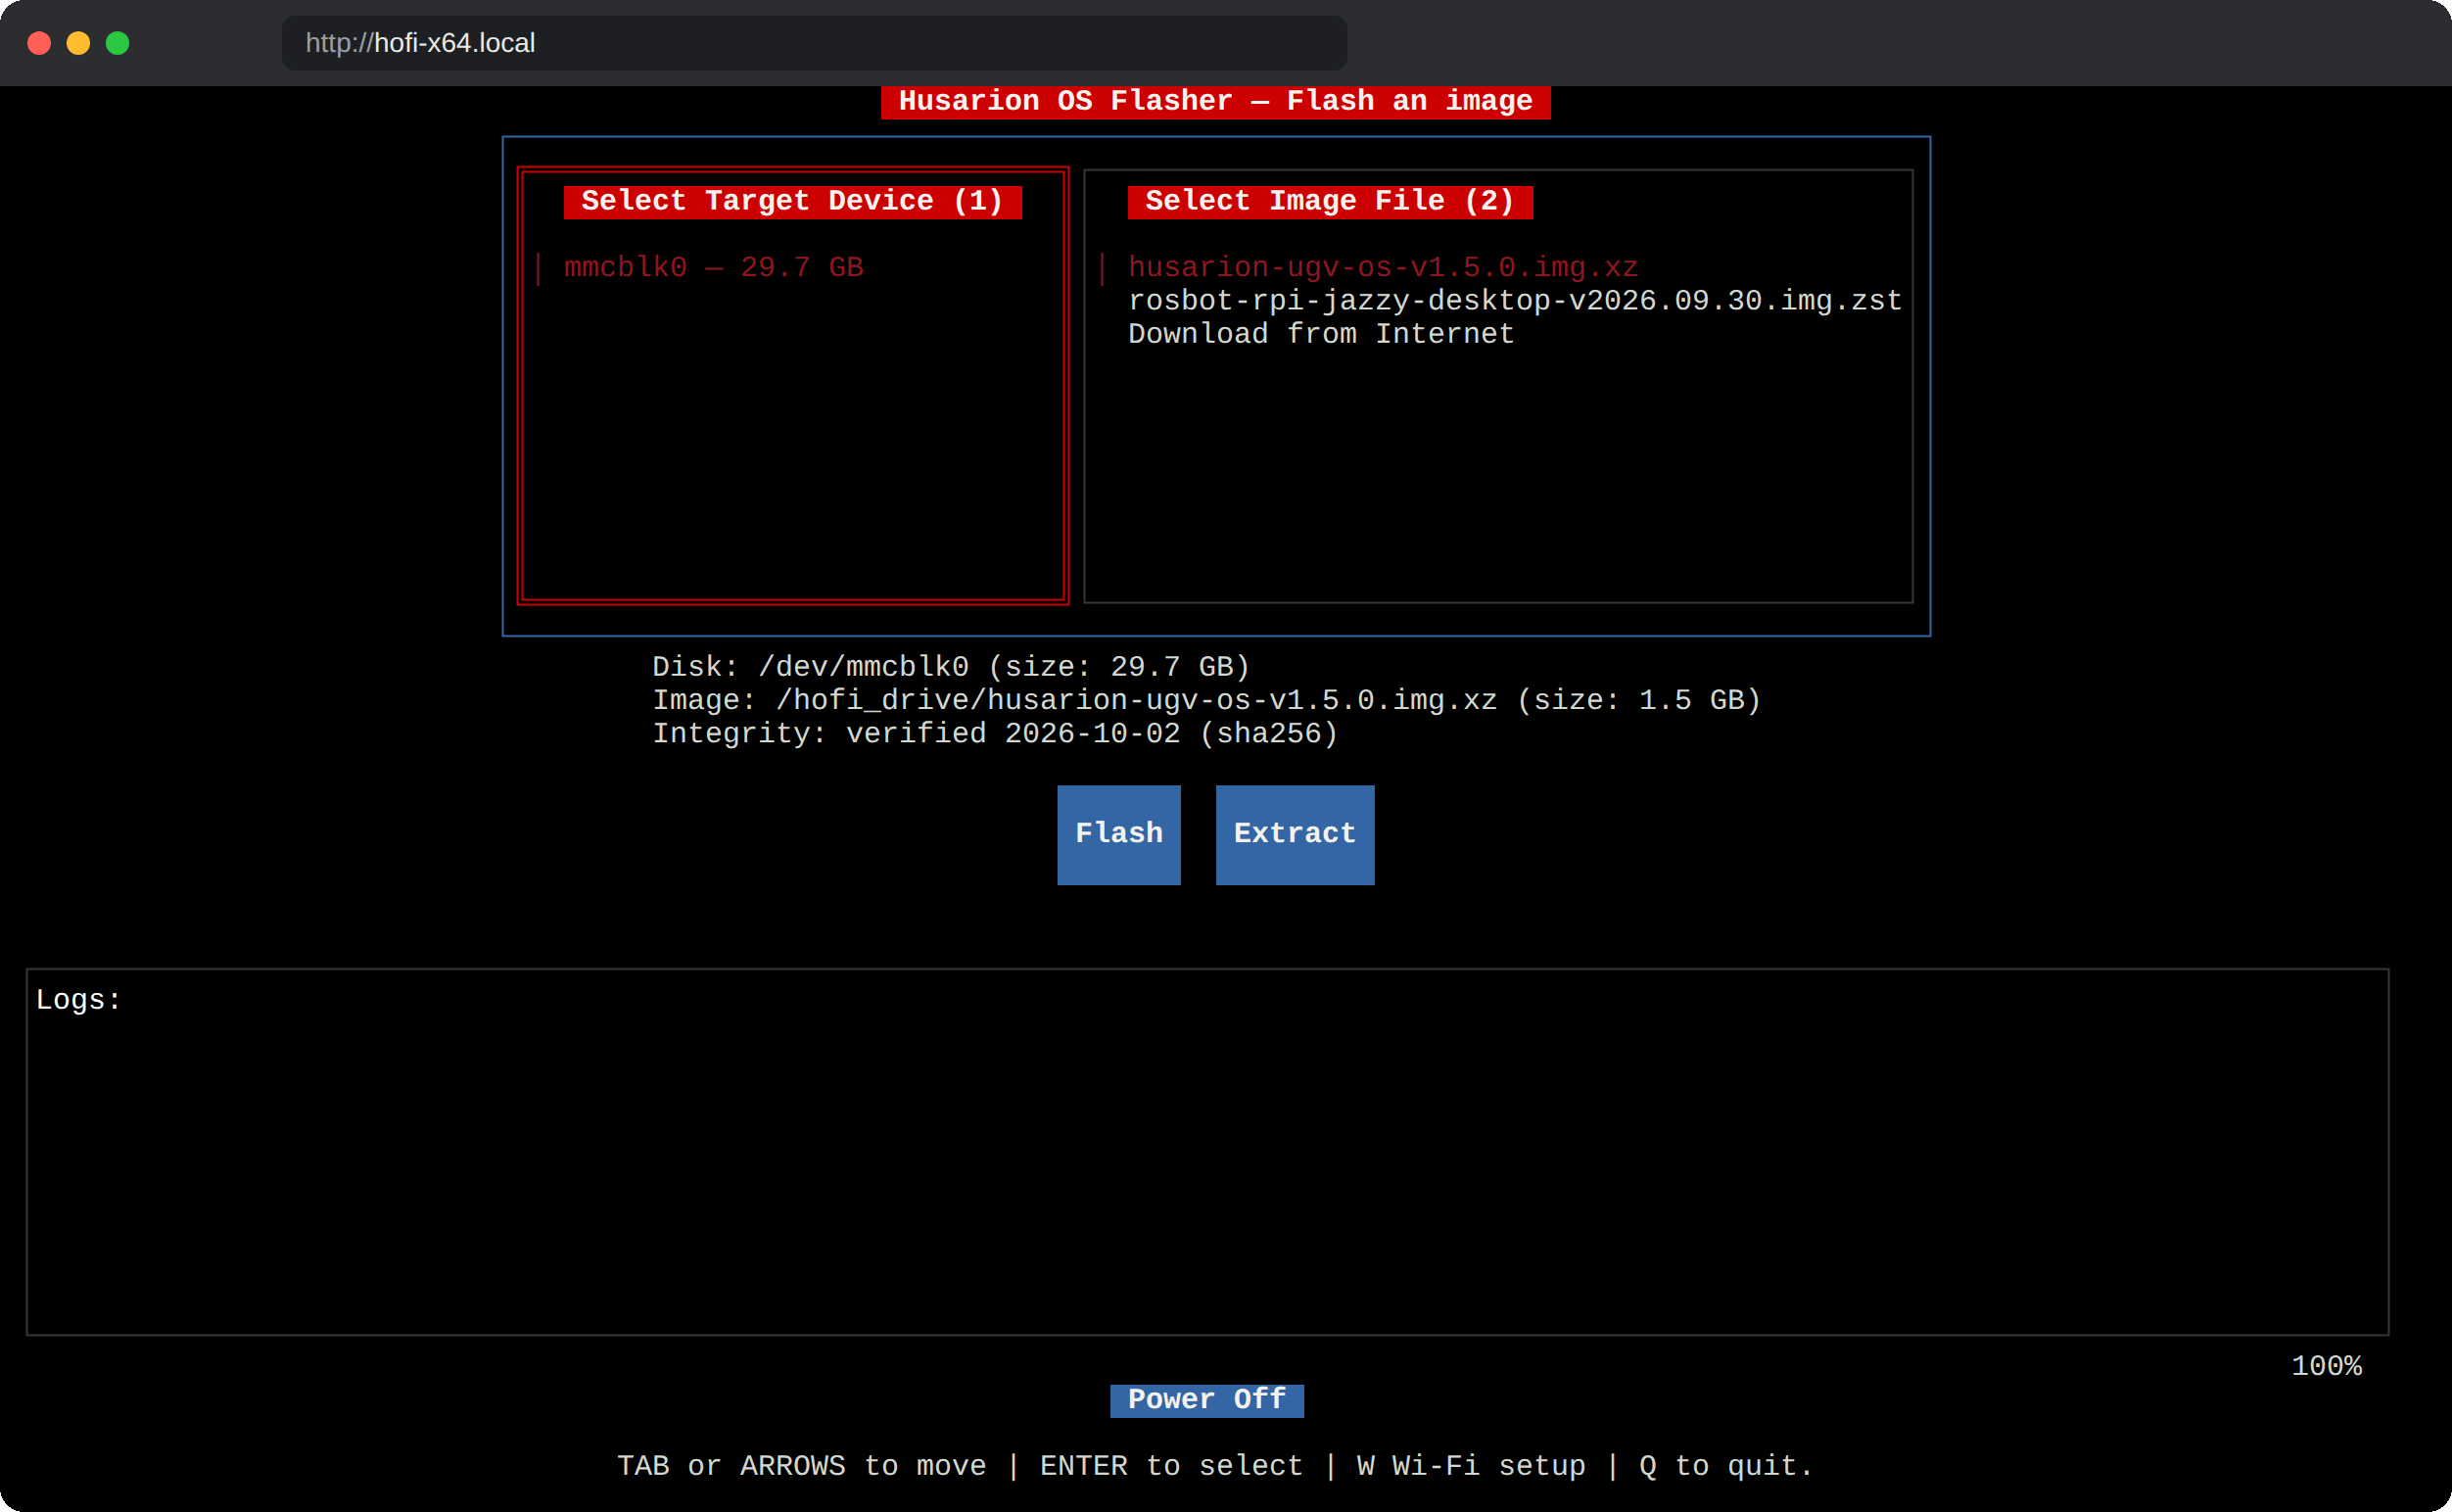
Open the address in your browser. Tab and the arrow keys move around, Enter selects and Esc goes back. You can also just click.
On a direct cable the page can take up to a minute to open, because macOS (about 30 s) and Windows (about 1 min) first wait for a router before picking an address on their own. Linux needs a one-time setup, described under The address does not open below the tabs.
Connect the robot to the same router your phone uses (by Ethernet, or by Wi-Fi once HOFI has joined it) and open the address in the phone's browser.
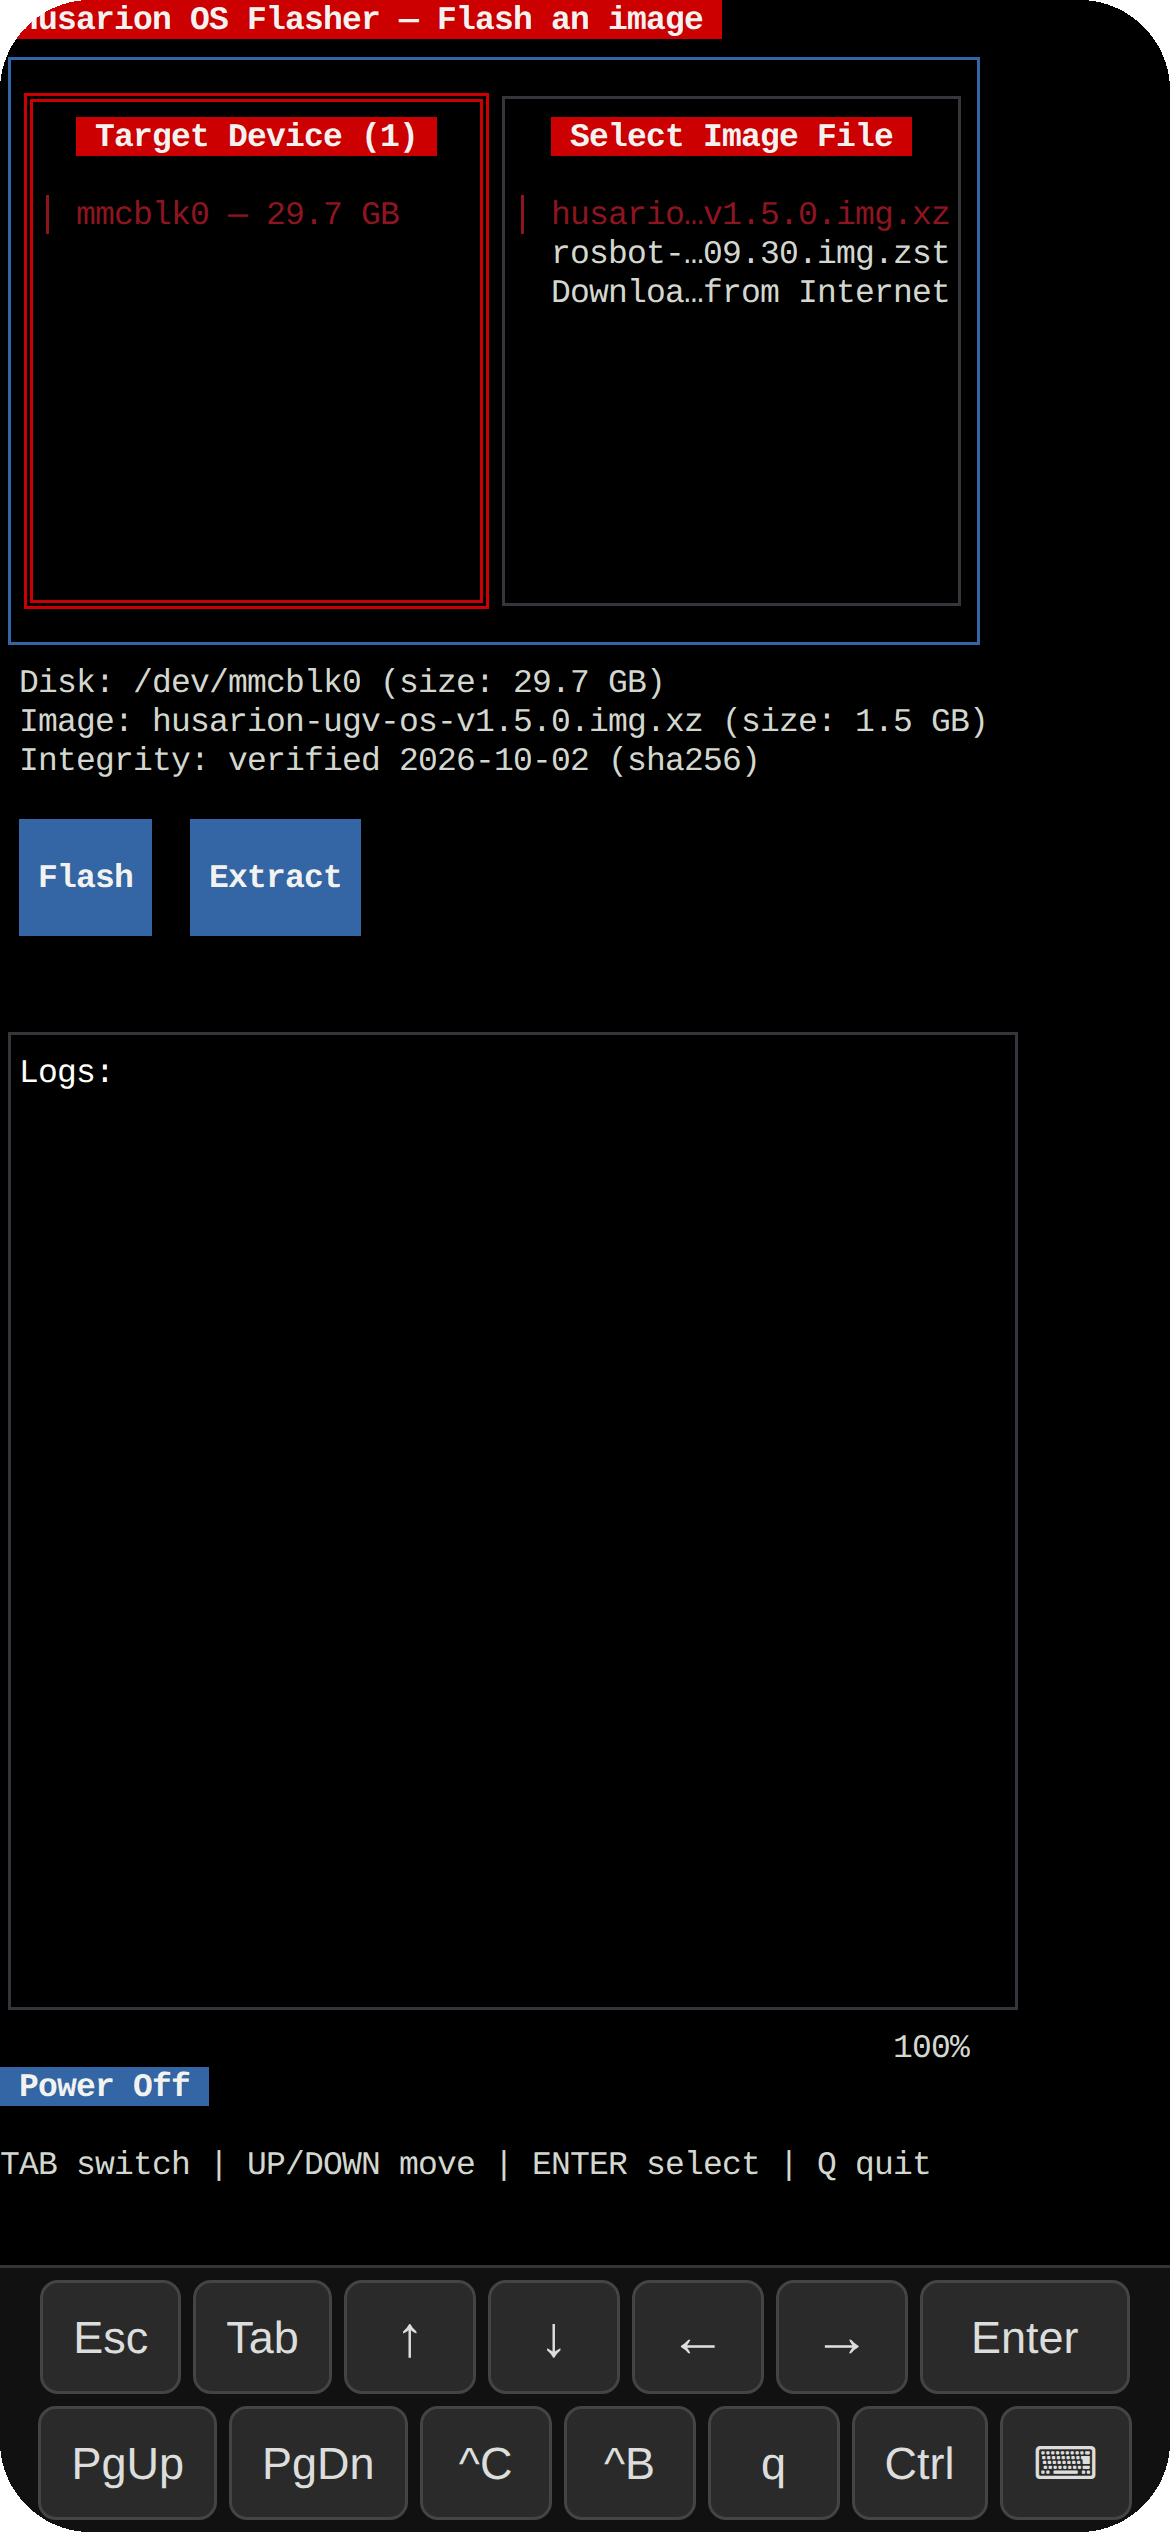
- Tap list items and buttons, or use the key bar under the screen: Esc, Tab, arrows and Enter. The ⌨ button opens the phone's keyboard, for typing a Wi-Fi password.
- Add the page to your home screen to open HOFI full-screen, without the browser's address bar.
- If the
.localname doesn't open on your phone, use HOFI's IP address instead. Your router's list of connected devices shows it.
Connect a monitor (HDMI) and a USB keyboard to the robot's computer. The HOFI screen appears on the monitor, and no network is needed.
ssh root@hofi-rpi.local # or hofi-x64.local / hofi-jetson.local
No password is needed. The HOFI screen opens in your terminal.
The browser, the phone, the monitor and SSH all show the same live screen. You can start a flash on your laptop, close it, and check the progress later on your phone.
HOFI also appears in your file manager's network view. Finder and GNOME Files list it directly, and Windows shows it under Network.
🔌 The address does not open
Linux laptop on a direct cable: a regular "DHCP" connection waits for a router that isn't there. Create a link-local connection once (replace enp0s31f6 with your port name from ip link) and select it in the network menu:
nmcli connection add type ethernet ifname enp0s31f6 con-name hofi ipv4.method link-local ipv6.method link-local
Switch back to your normal connection after installing the system. The freshly installed robot OS hands out addresses itself, and a link-local connection doesn't pick them up.
Network blocks .local addresses (some company networks and VPNs): plug the HOFI USB stick into your computer and open Open HOFI Web UI.html on the hofi_drive partition. It checks whether the name works on your network and, if it doesn't, lists HOFI's last known IP addresses.
The name answers as hofi-rpi-2.local: another device on the network, for example a second HOFI stick, already uses the name, so HOFI took the next free one. Try the -2 address, or give each stick its own name as described in Network settings.
Anyone who can reach HOFI can open its screen, including Flash and Power Off, and read or change the files on its network share. Use HOFI on a network you trust, connect it straight to your laptop, or lock it to your SSH keys.
Step 3: Get the operating system image
HOFI installs images in .img, .img.xz and .img.zst format. Copy them as they are, without unpacking. There are three ways to get an image onto the stick.
- Download in HOFI
- Copy over the network
- Copy with the stick in your computer
The robot needs internet access, through its Ethernet cable or Wi-Fi.
-
In the Image list, select Download from Internet.
-
If there is no internet, HOFI opens the Wi-Fi screen. Pick your network and enter its password; HOFI remembers it and reconnects by itself next time. See Wi-Fi for details.
-
Pick your robot:
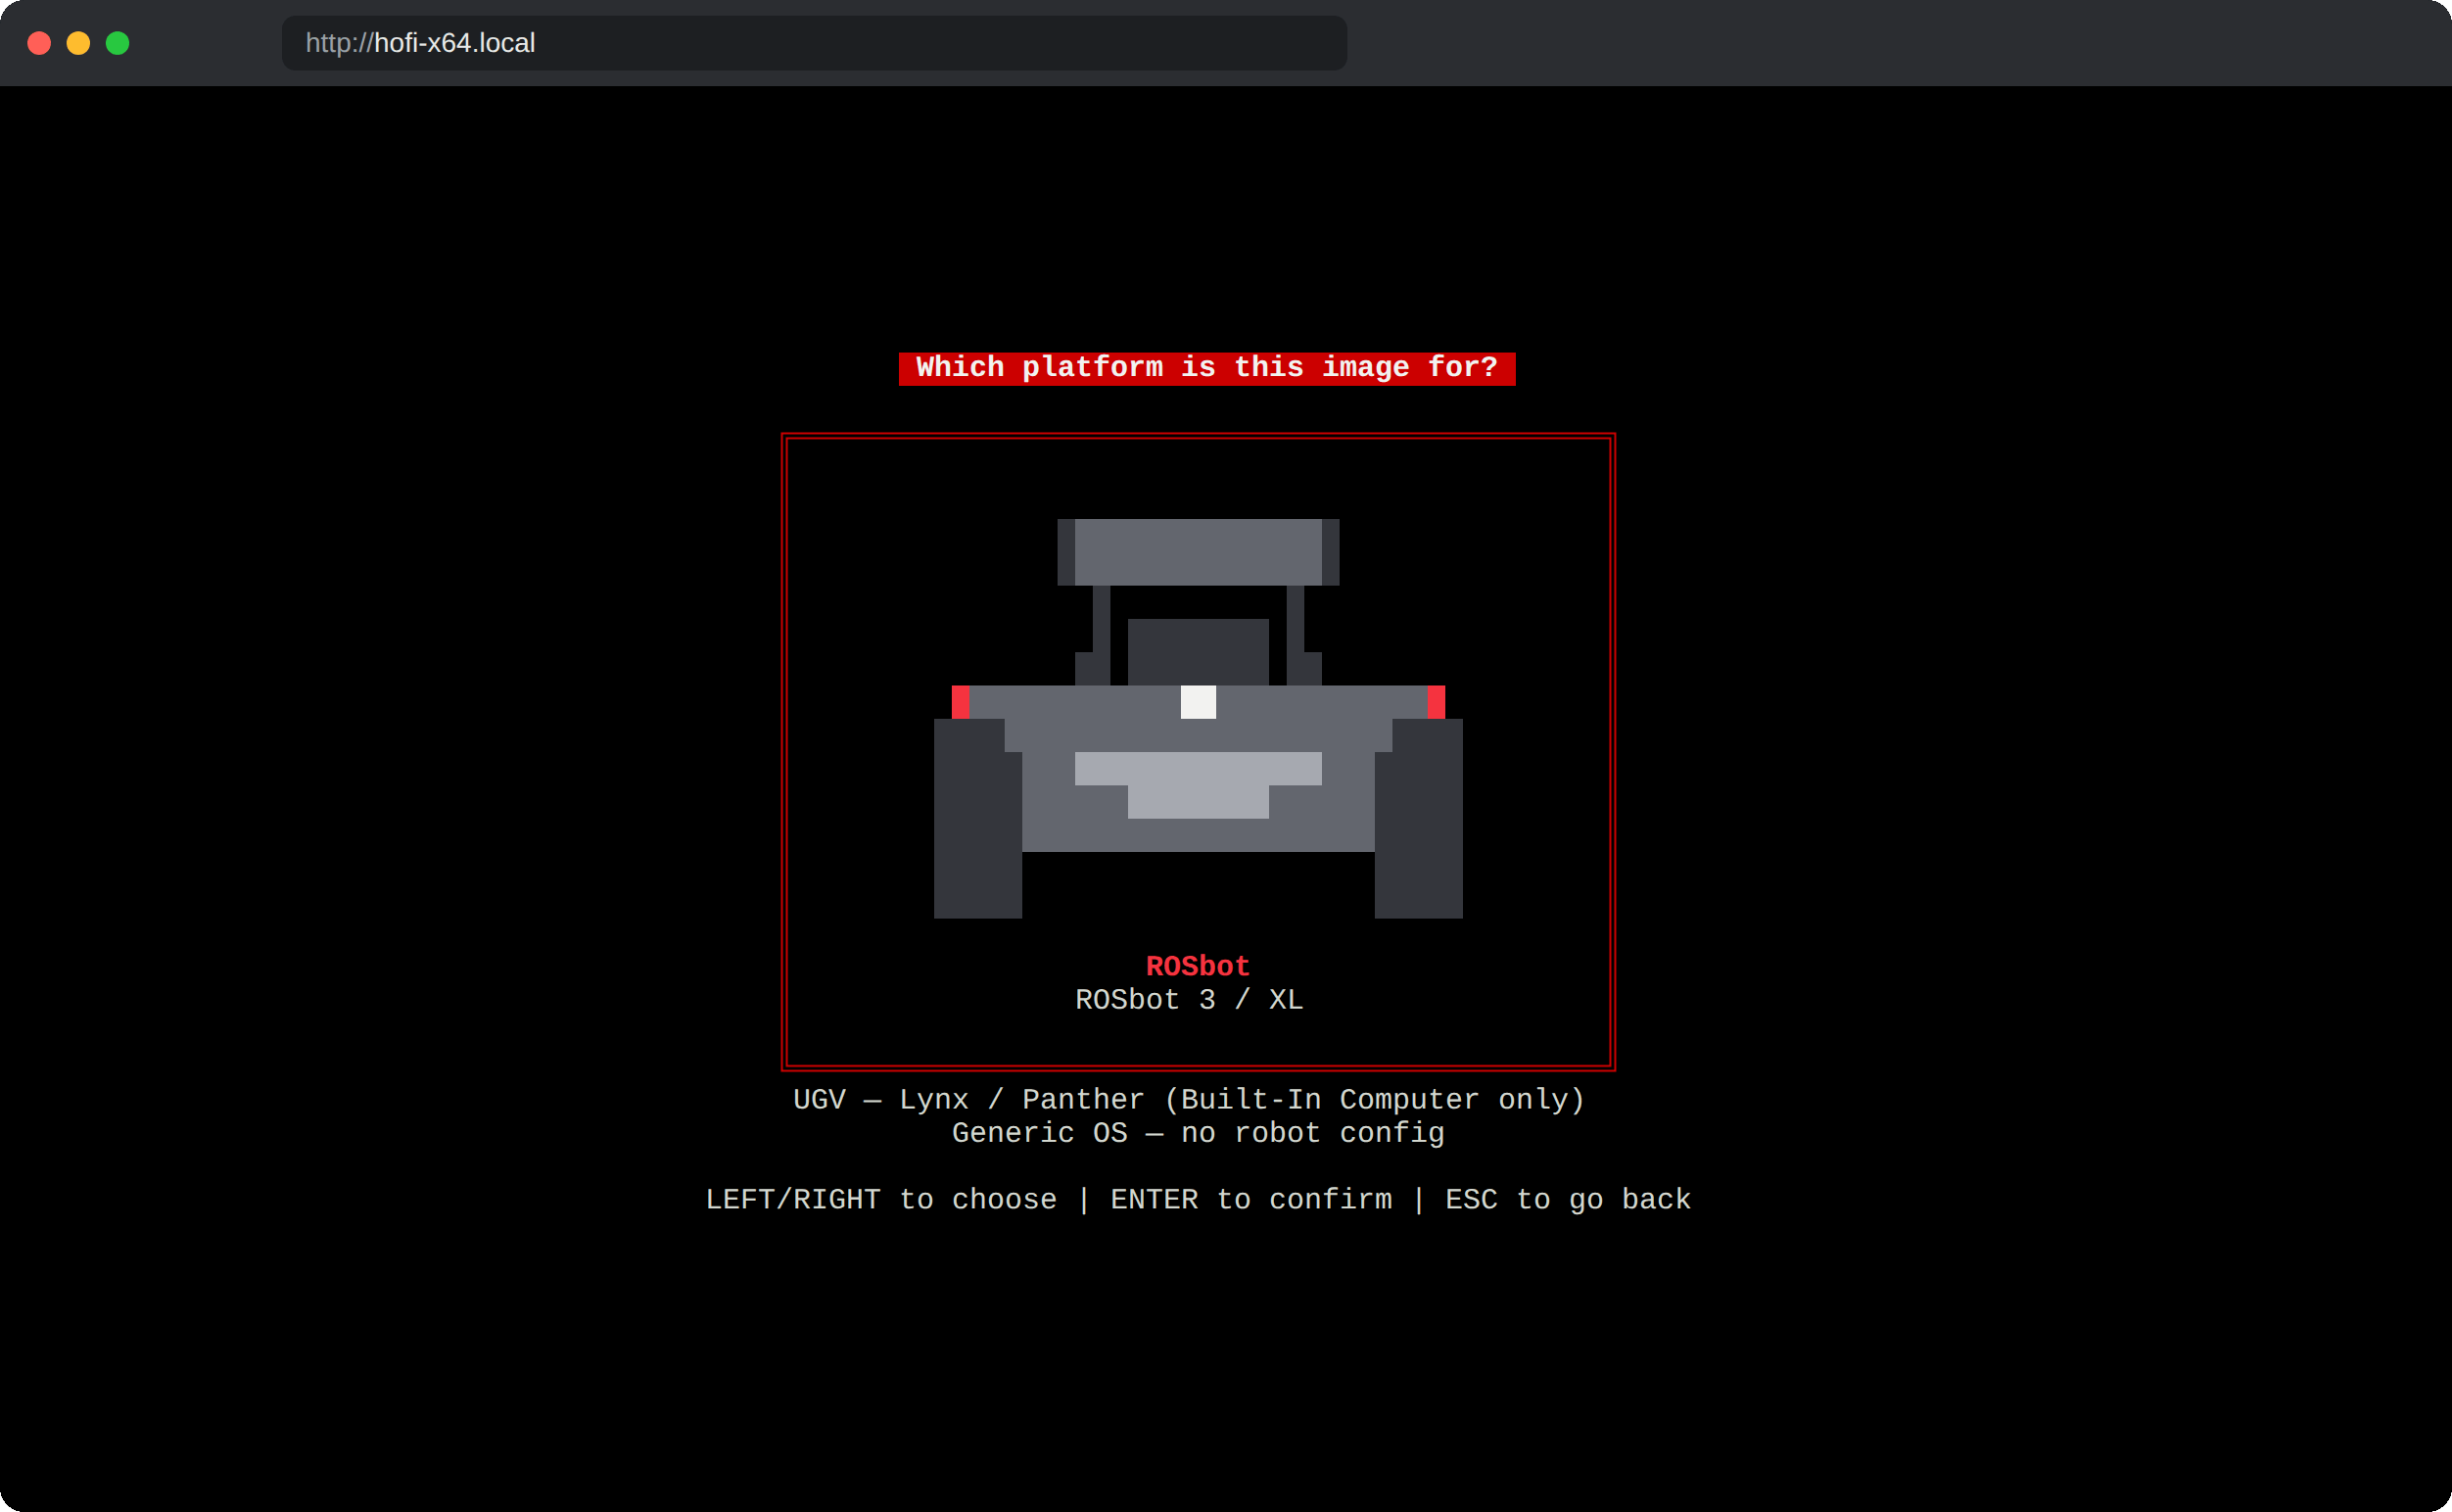
Choice Images ROSbot ROSbot 3 and ROSbot XL (Raspberry Pi, x64, Jetson) UGV Panther and Lynx built-in computer Generic OS Husarion OS without robot configuration, and the Panther / Lynx user computer images -
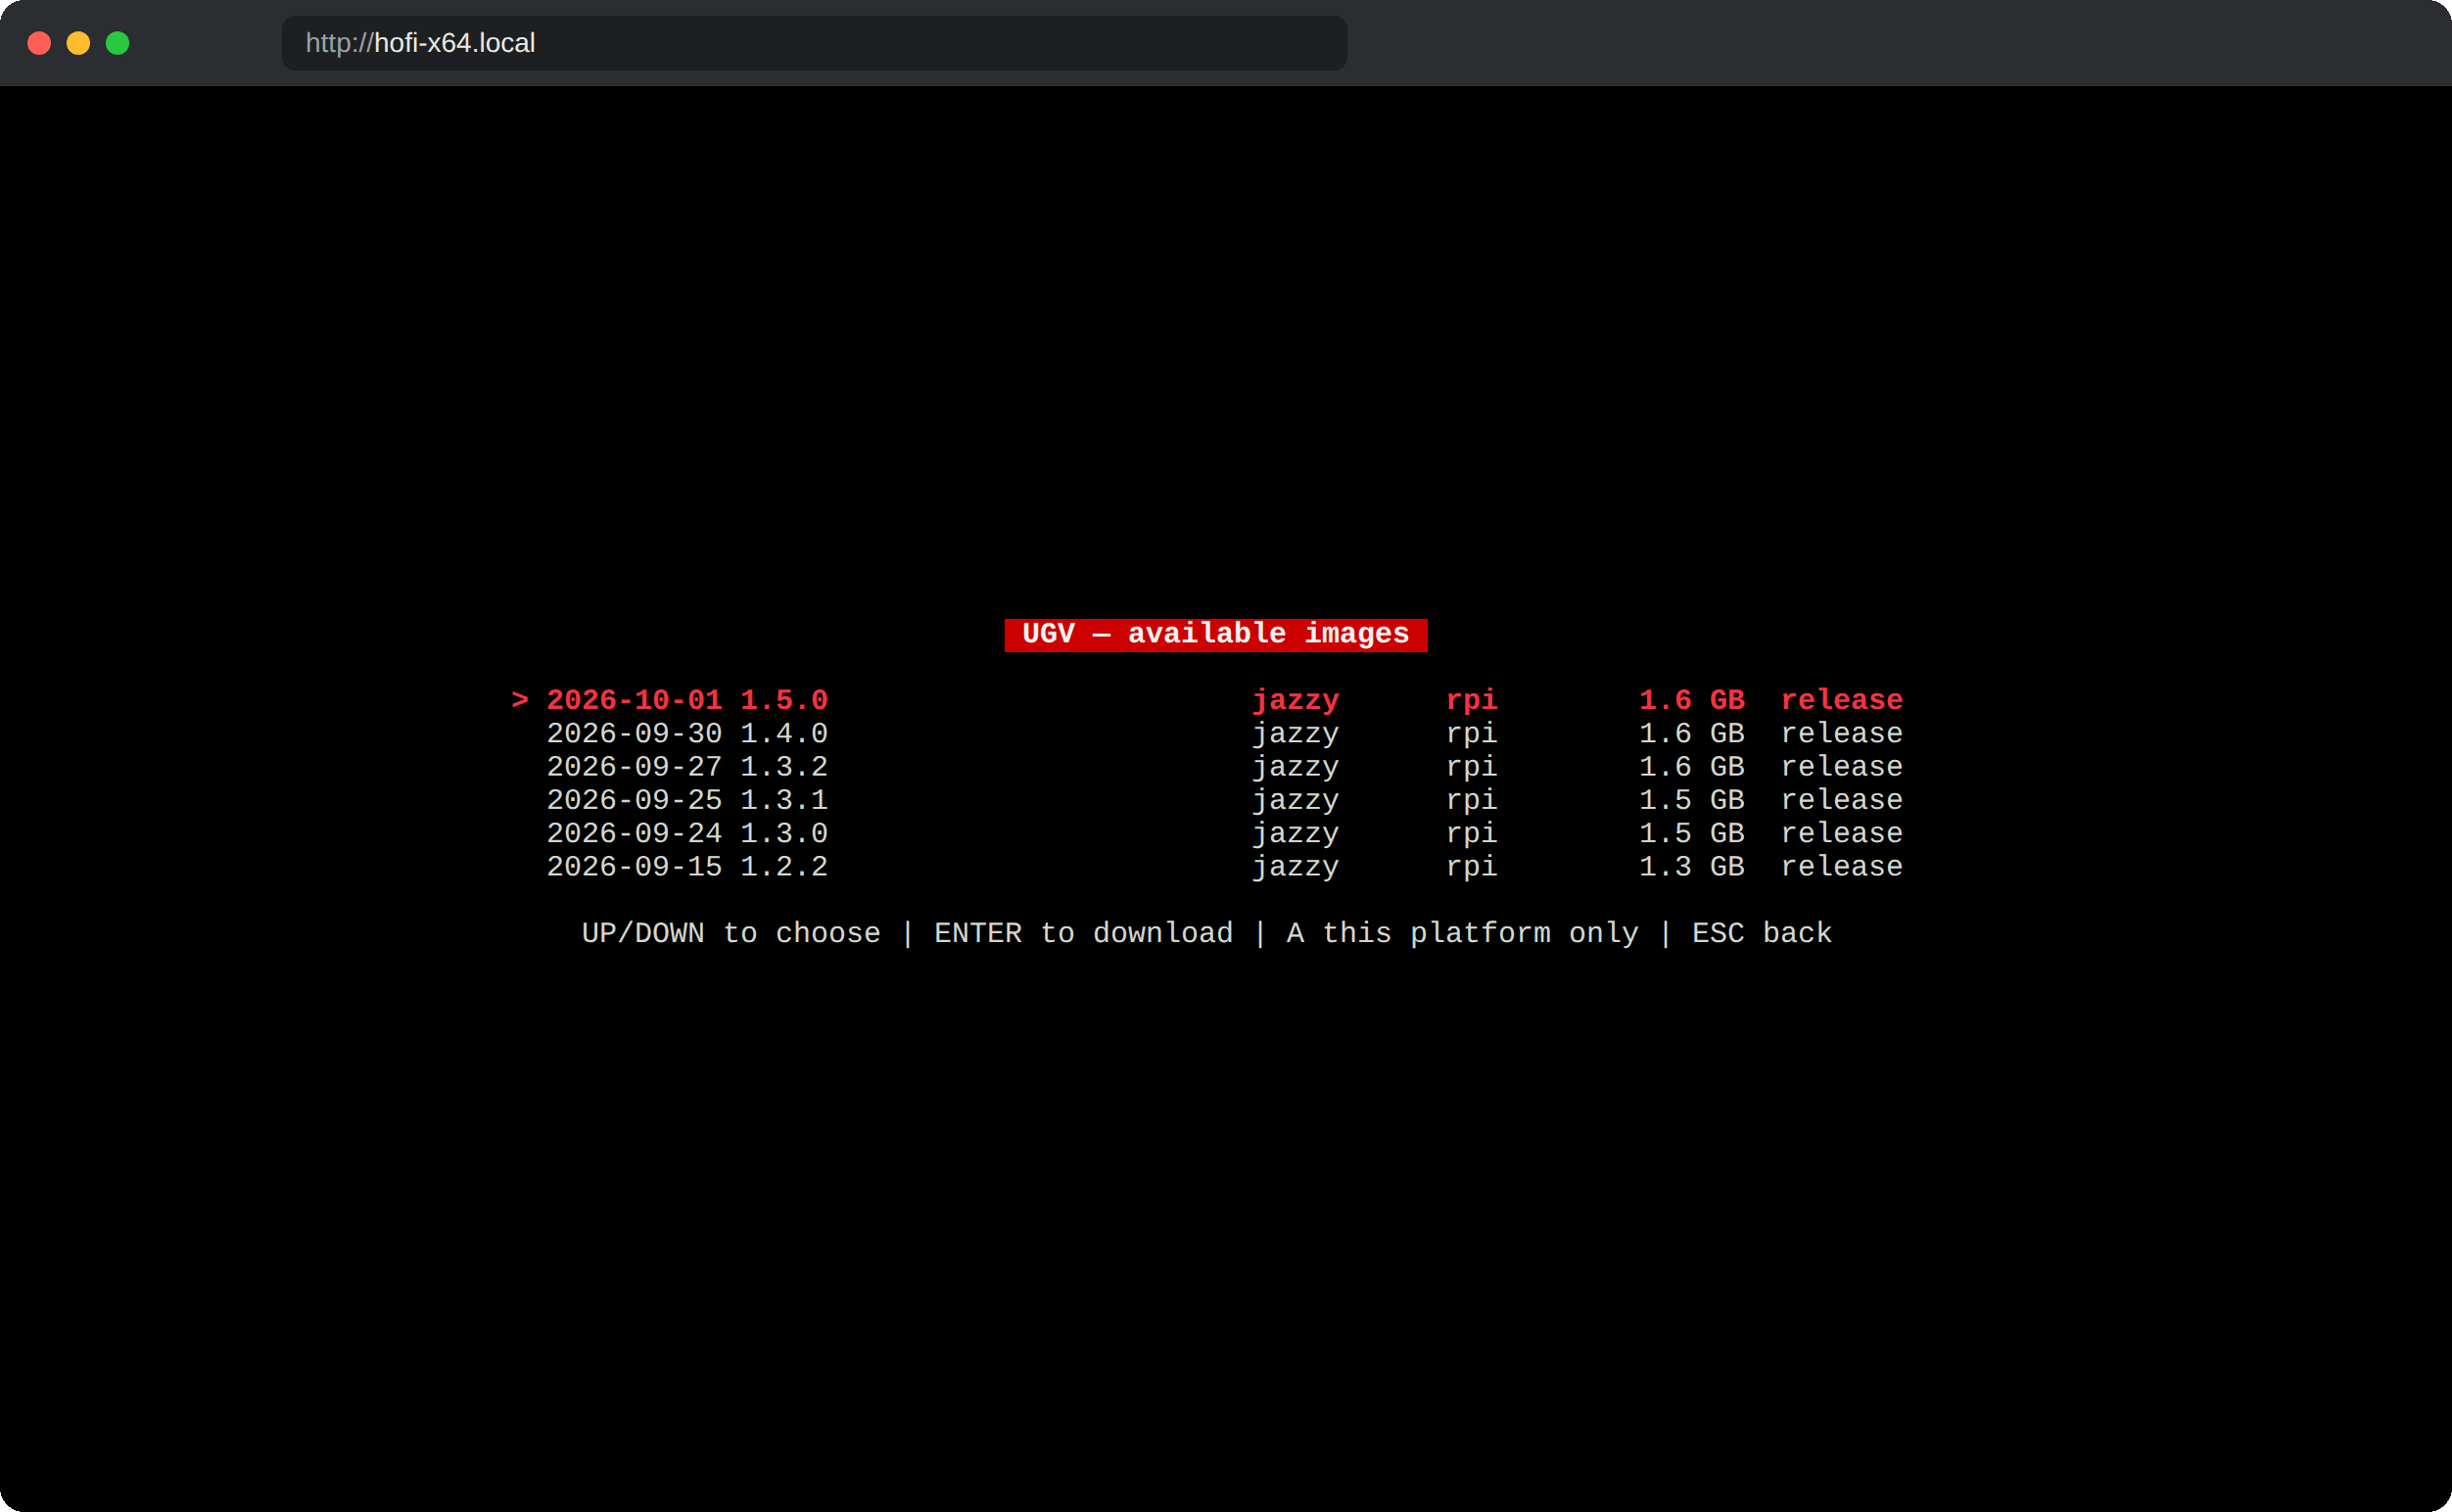
Pick the image. The newest is at the top. The list shows images for this robot's computer; press A to see all of them.
-
Wait for the download. HOFI checks it against the published checksum, then goes back to the main screen with the new image selected and marked Integrity: verified.
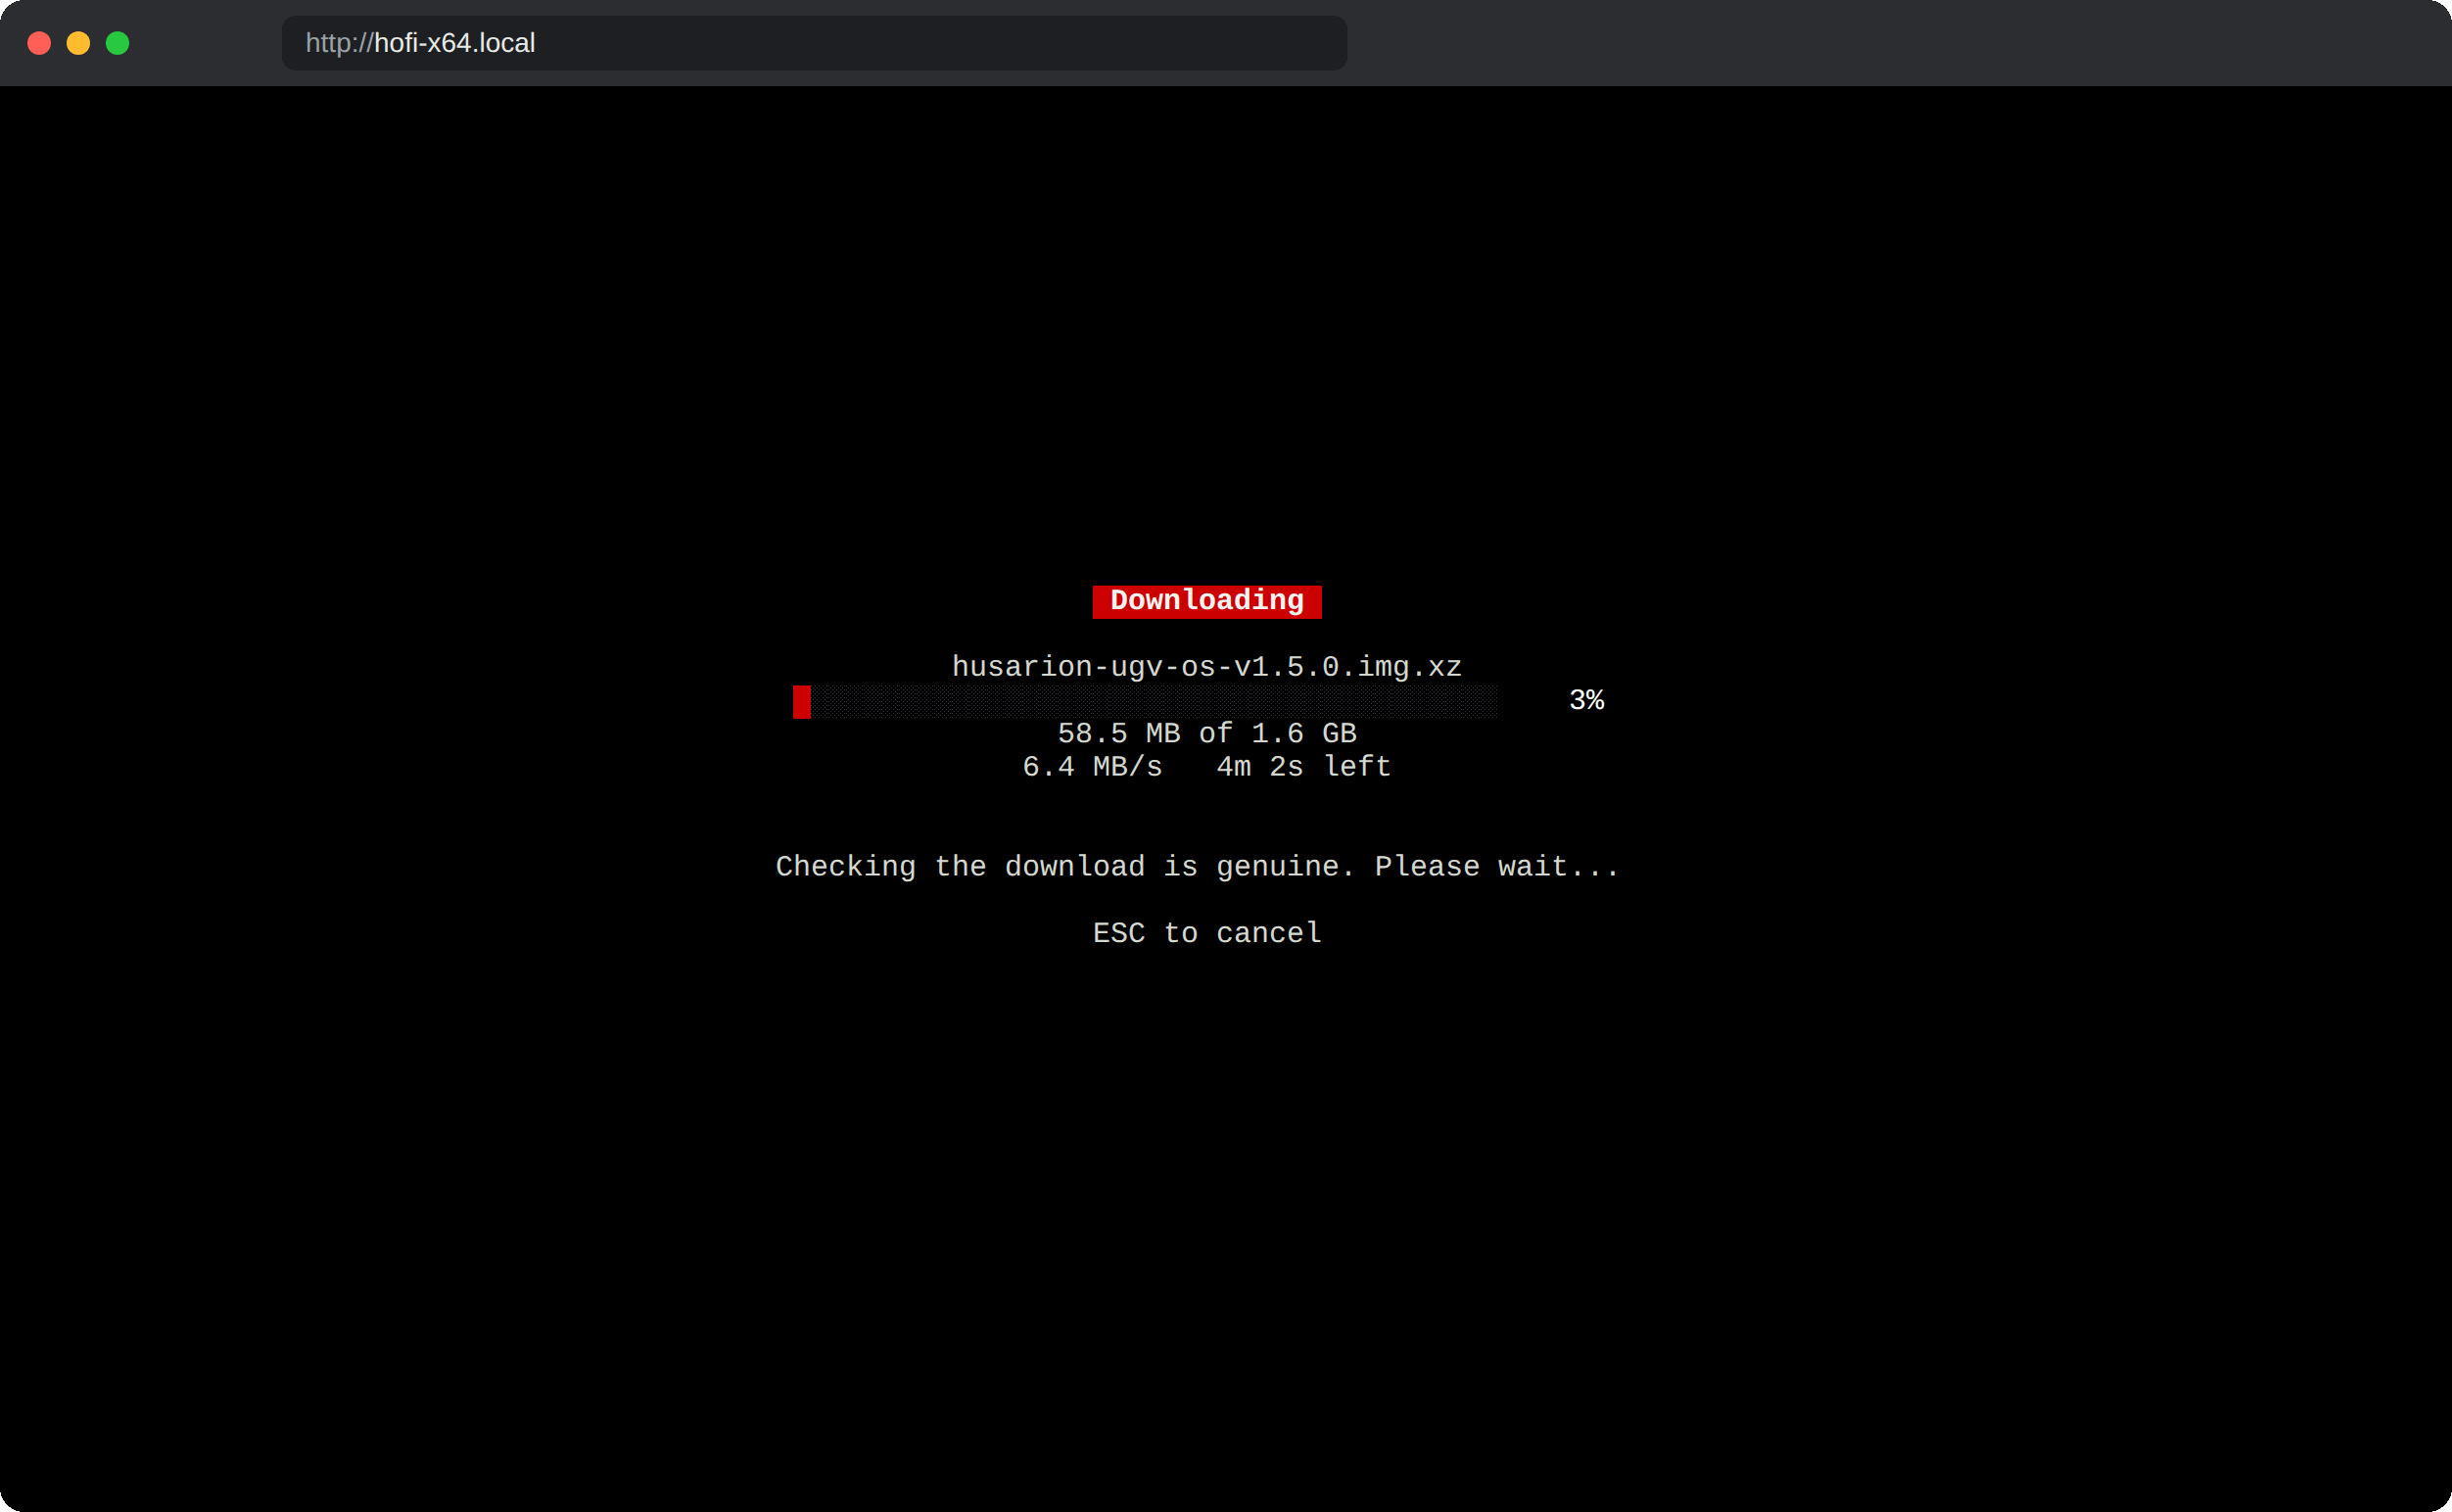
If the connection drops, select the same image again and the download continues where it stopped. Esc cancels it, and a second Esc deletes the partial file.
If HOFI doesn't offer the image you need, download it from Husarion OS images on your computer and copy it to HOFI over the network or with the stick in your computer.
While HOFI runs, its hofi_drive partition is shared on the network. Download the image on your computer (for example from Husarion OS images), then open the share:
| Computer | Open |
|---|---|
| macOS | Finder → Go → Connect to Server… → smb://hofi-rpi.local/hofi_drive |
| Windows | File Explorer address bar → \\hofi-rpi\hofi_drive |
| Linux | Files → Other Locations → smb://hofi-rpi.local/hofi_drive |
On x64 and Jetson computers, use hofi-x64 or hofi-jetson instead. Connect as Guest if asked. Drag the image into the share and it appears in HOFI's Image list as soon as the copy finishes, with no restart.
Copied images show Integrity: not checked, because HOFI has no checksum to compare them with.
Windows does not open the share
The share allows guest access only, which recent Windows 11 versions can block. Copy the image with the stick in your computer instead (next tab).
- Select ⏻ Power Off in HOFI (press it twice) and unplug the stick.
- Plug the stick into your computer. The
hofi_drivepartition opens like any USB drive on Windows, macOS and Linux. - Copy the image onto it, eject the stick and plug it back into the robot.
Step 4: Flash the image ⚡
-
In the Device list, select the robot's disk. HOFI never lists its own USB stick, so you can't pick it by mistake.
-
In the Image list, select the image.
-
Select Flash. HOFI shows which image will go to which disk; select Flash again to confirm.
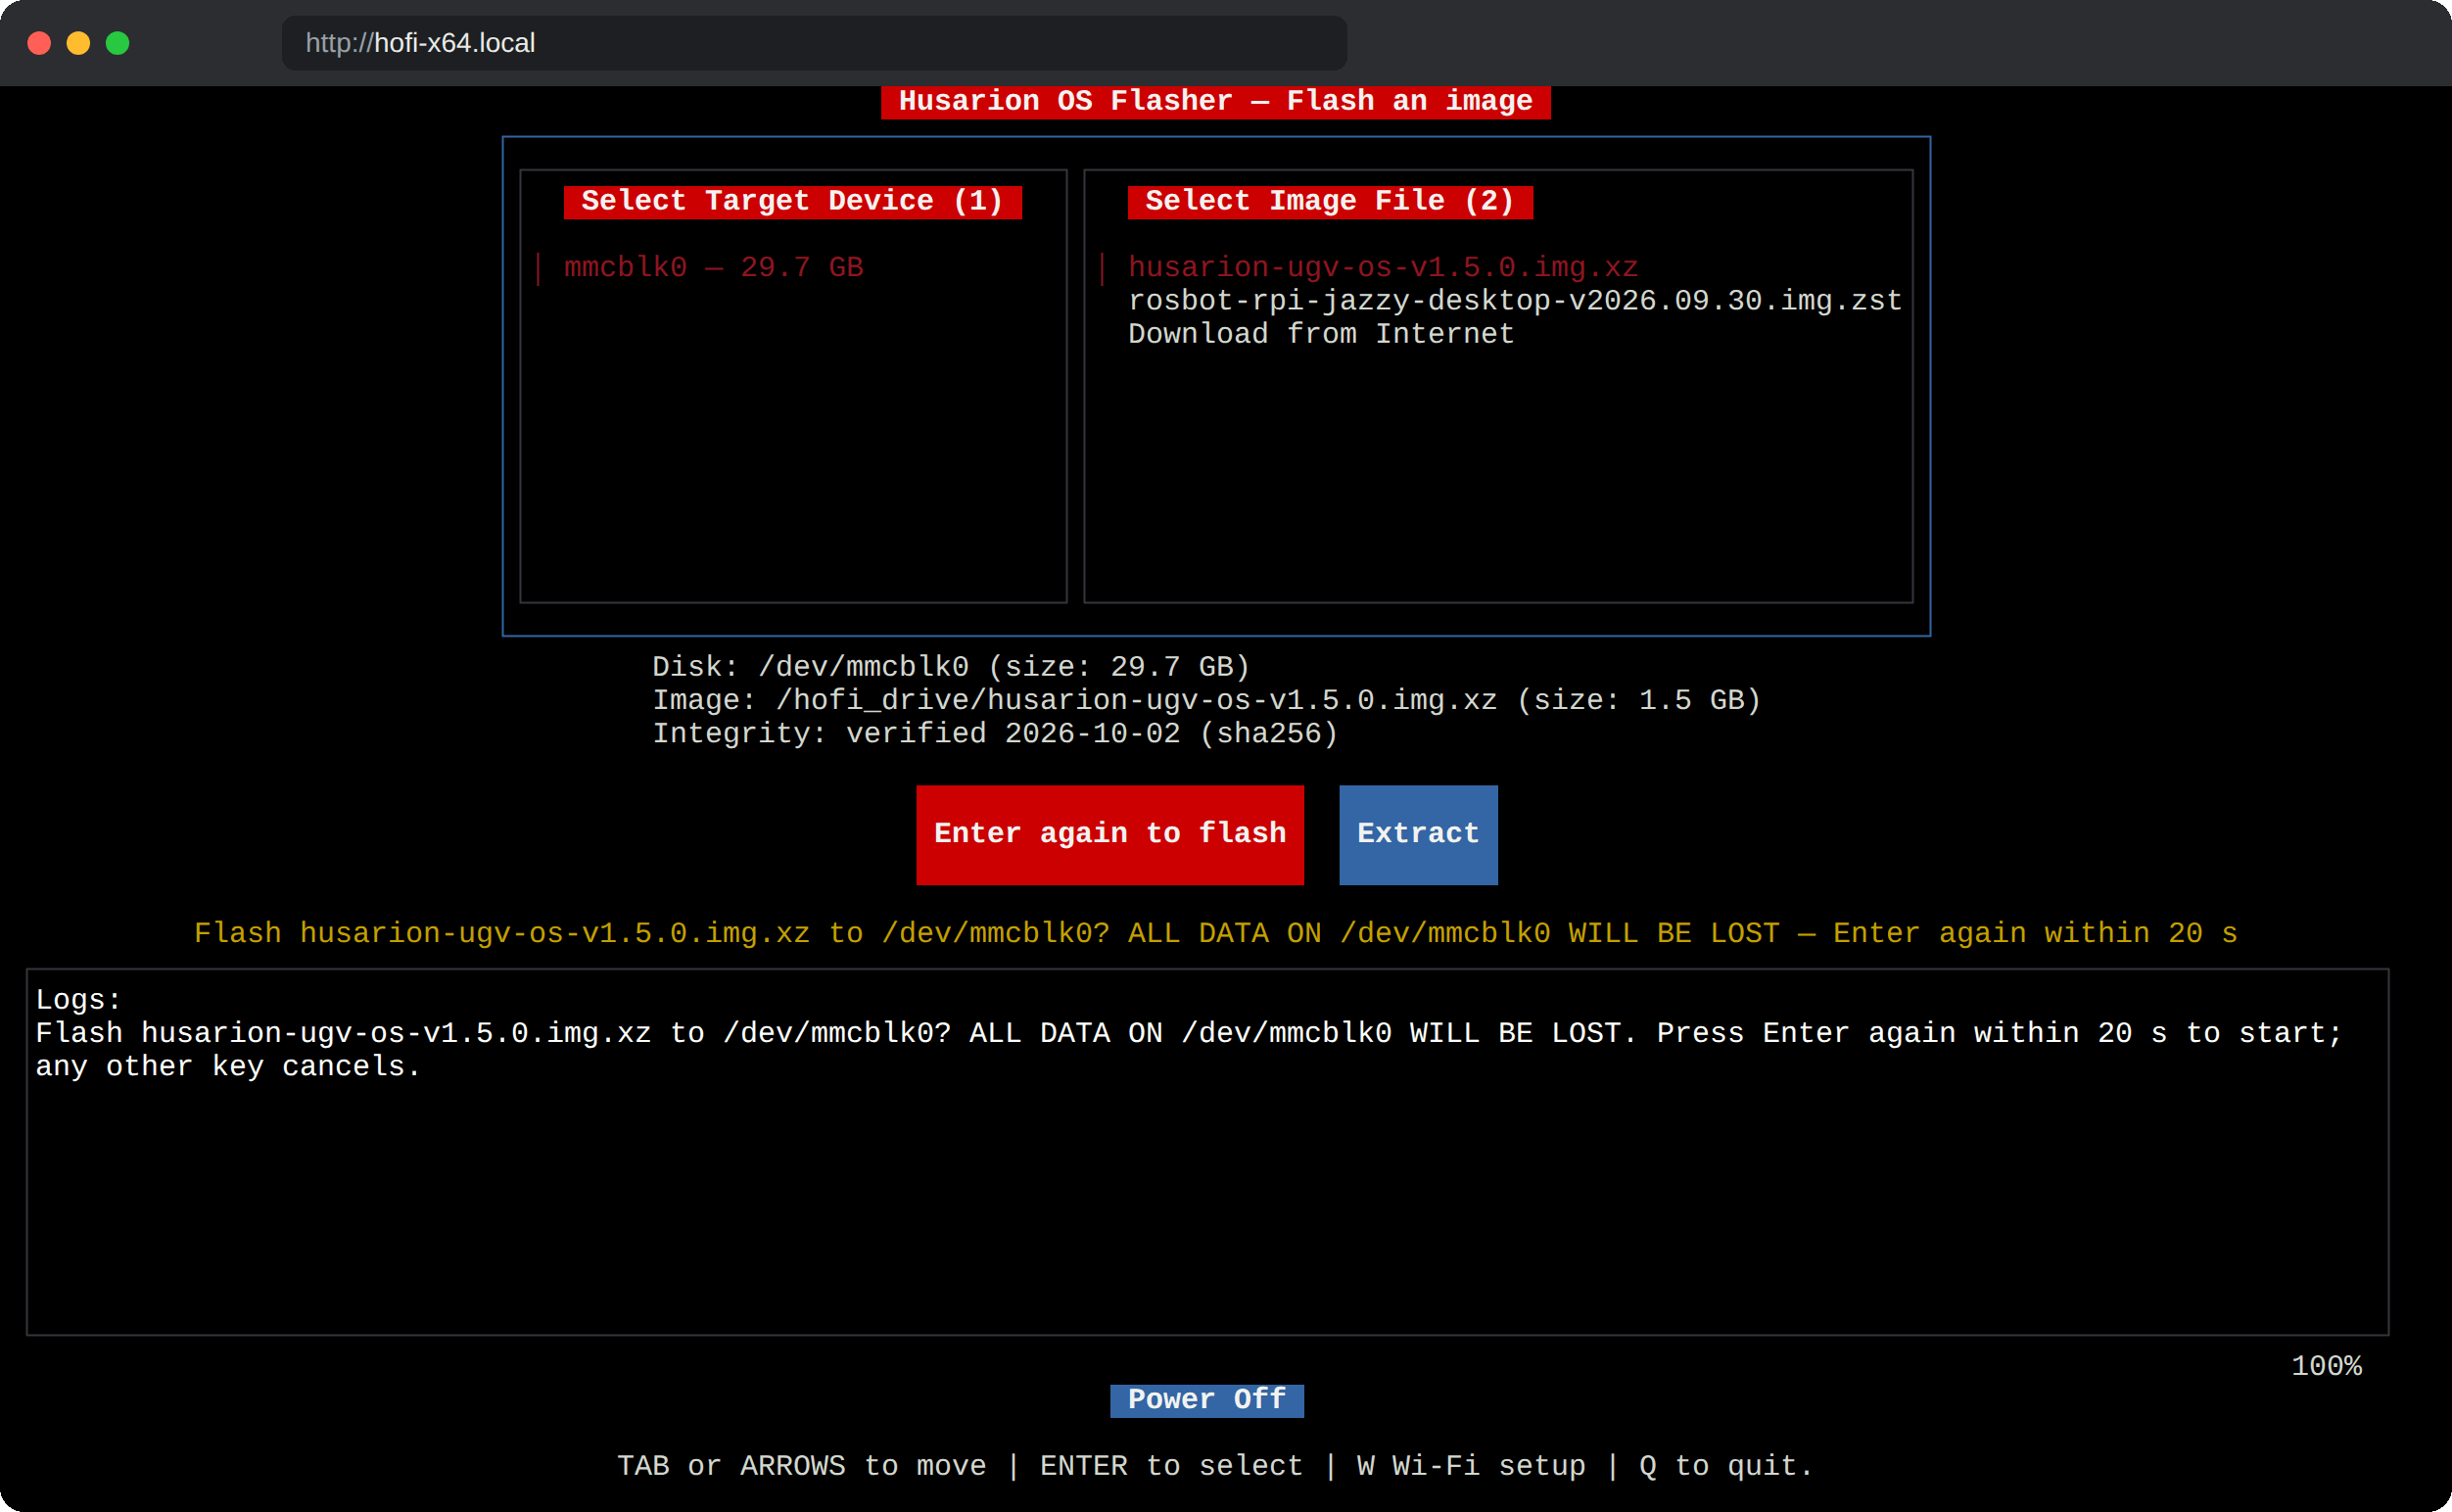
-
Wait until the log shows flashed successfully. The line under the buttons shows progress, speed and time left.
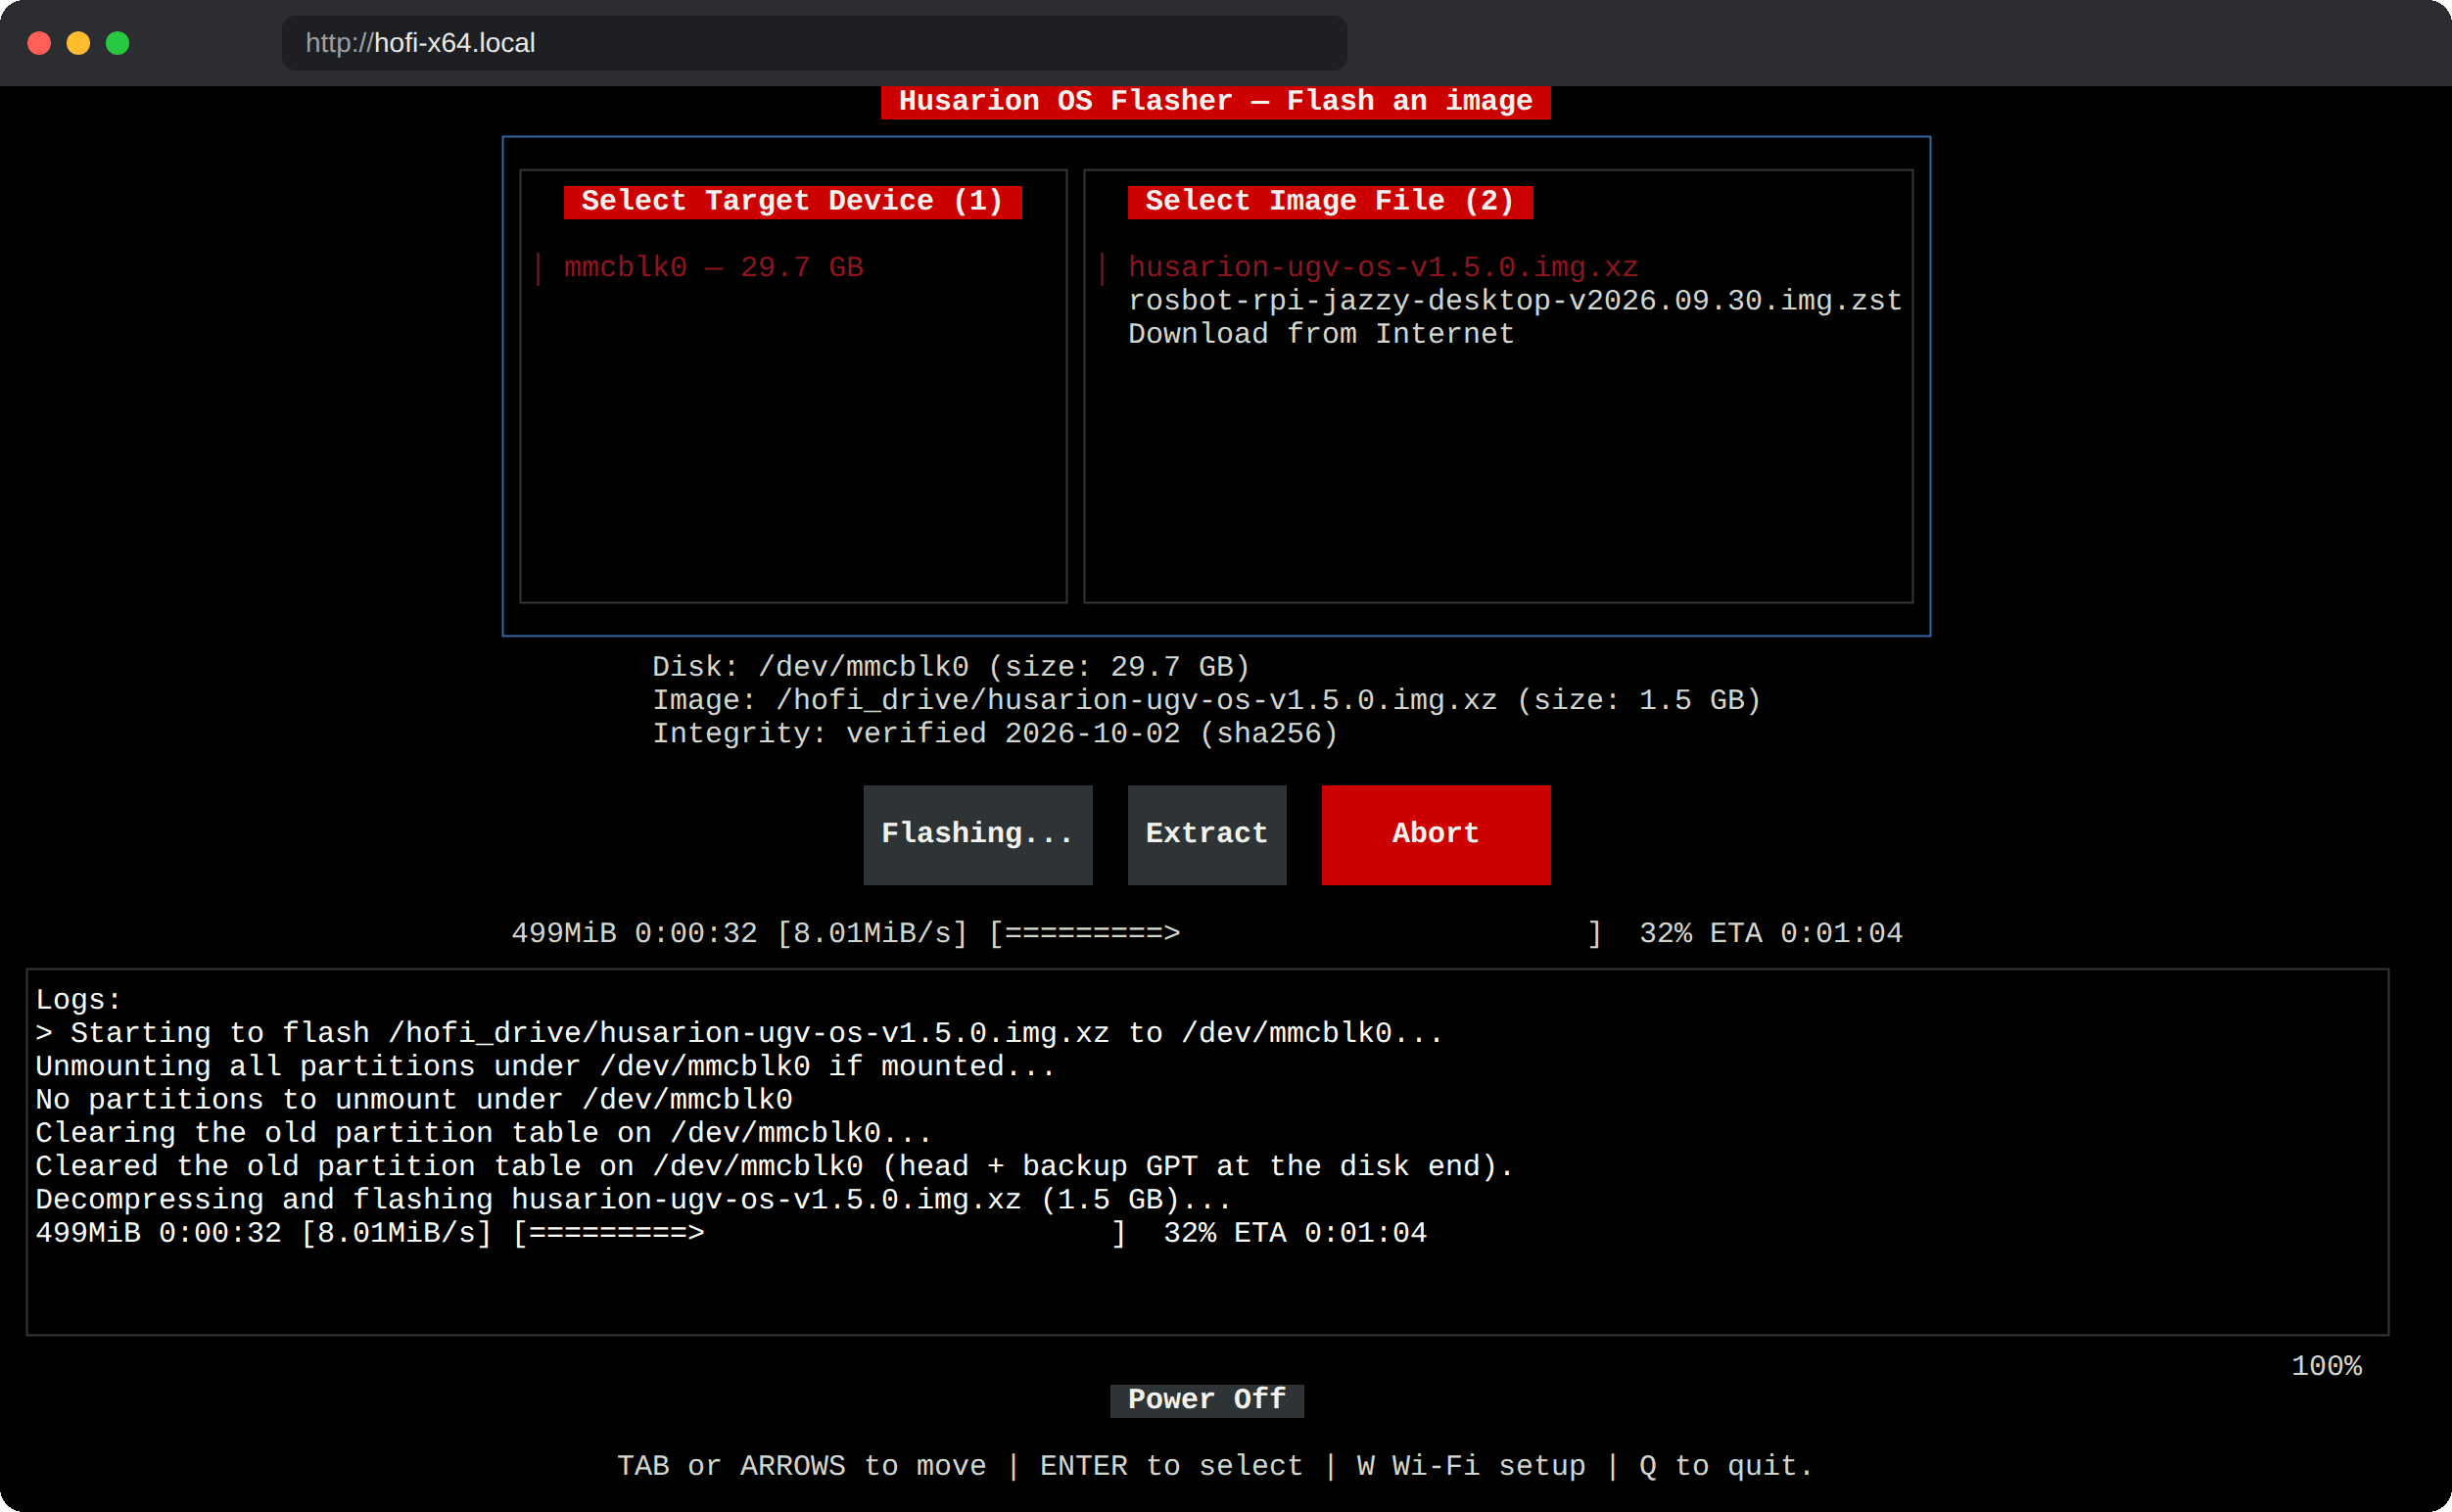
Before writing, HOFI checks that the image fits on the disk and clears the disk's old partition table, so nothing of the previous system is left behind. Compressed images are unpacked on the fly.
Do not turn the robot off or unplug the USB stick while flashing. To stop, use Abort.
Closing the browser or SSH window is safe. The flash keeps running on the robot, and only one flash can run at a time.
Step 5: Start the new system
- Select ⏻ Power Off, press it again to confirm, and wait until the computer turns off.
- Unplug the HOFI USB stick and turn the robot on 🚀
- Complete the robot-specific configuration.
Wi-Fi 📶
HOFI can join a Wi-Fi network, both to download OS images and so you can open its screen without a cable. The robot's computer needs a Wi-Fi adapter; the Raspberry Pi's built-in Wi-Fi works.
Join a network
- Open the HOFI screen with a monitor and keyboard, or in a browser over an Ethernet cable. The first time, HOFI isn't on Wi-Fi yet, so you need one of these.
- Press W on the main screen. HOFI also opens this screen by itself when you select Download from Internet and it has no internet.
- Pick your network from the list (strongest first; R scans again) and press Enter.
- Enter the password and press Enter. On a phone, the ⌨ button opens the keyboard.
Once connected, HOFI is reachable on that Wi-Fi under the same .local name, so you can open its screen from a phone or laptop on the same network.
What HOFI remembers
HOFI remembers one Wi-Fi network and reconnects to it every time it starts. Joining another network replaces it.
The password stays in HOFI's own system partition, never on hofi_drive. For the same reason you can't set up Wi-Fi from a file: hofi_drive is shared on the network, and anyone on it could read a password stored there.
Supported networks
| Network | Works? |
|---|---|
| WPA2 or WPA with a password | ✅ |
| Open network (no password) | ✅ |
| WPA3-only | ❌ |
| Enterprise networks (username and password, 802.1X) | ❌ |
| WEP | ❌ Listed, but HOFI can't join it |
If the Wi-Fi screen says Wi-Fi is not available, it also says why: usually the computer has no Wi-Fi adapter, or its radio is switched off.
The network profiles below apply only to Ethernet. On Wi-Fi, HOFI always takes its address from the router.
Network settings
The defaults suit almost every setup. For special cases, the hofi_drive partition holds ready-made network profiles. HOFI uses the one whose name ends in -active.yaml. To switch, rename the files so that exactly one ends in -active.yaml, then restart HOFI.
| Profile | What it does |
|---|---|
network-zeroconf-active.yaml | Default. Takes an address from a router, or picks one itself on a direct cable. Reachable by .local name; never hands out addresses. |
network-auto.yaml | Previous default. Takes an address from a router, or hands one out to a directly connected laptop. Also always reachable at 192.168.77.5. |
network-rosbot.yaml | Fixed address 192.168.77.2 with an address server on eth0. That is the robot's own address, so don't use this profile next to a ROSbot. |
network-production.yaml | Router address on eth0; fixed 192.168.77.2 with an address server on eth1. |
network-husarion-ugv.yaml | Fixed address 10.15.20.2 on eth0, the Panther / Lynx internal network. |
Several HOFI sticks on one network? Give each one its own name by adding a hostname to the active profile:
network:
  mode: zeroconf             # already in the file
  hostname: hofi-panther-1   # reachable as hofi-panther-1.local
The name may contain lowercase letters, digits and -. It takes effect at the next start and travels with the stick.
The robot does not start HOFI
If a Raspberry Pi looks completely dead with the HOFI stick in (no network, no hofi-*.local), unplug any external USB hub and power it on again. While the Pi's bootloader reads HOFI from the stick, a hub can make the read fail. On a monitor, the boot screen then ends in lines such as xHC-CMD err and FAT read failed.
The stick can go in any USB port, and you can plug the hub back in once HOFI is running. Only the start is affected.
If the robot starts its usual system instead of HOFI, change the order in which it looks for a system to start:
To boot HOFI, you need to configure your device to prioritize USB storage during startup. This ensures the board will attempt to boot from the HOFI USB drive before falling back to internal storage (e.g., microSD card, eMMC, or NVMe).
The method for setting USB boot priority depends on the target platform, eg.:
- Raspberry Pi
- x64-Based SBCs
- Jetson Orin Nano
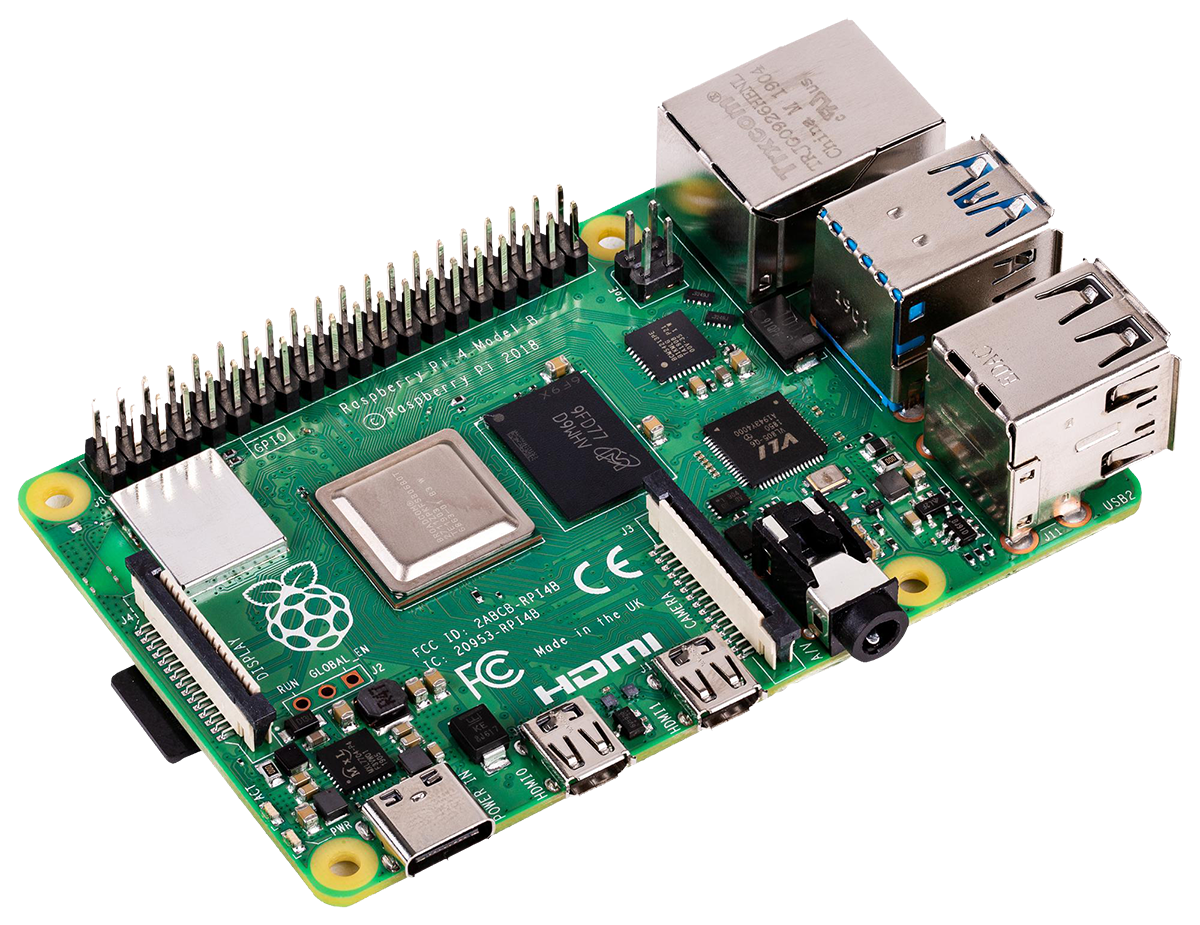
Edit the bootloader configuration using:
sudo -E rpi-eeprom-config --edit
Set BOOT_ORDER so that 4 (USB) comes first. For example:
BOOT_ORDER=0xf164→ USB → NVMe → SD card (repeat)BOOT_ORDER=0xf14→ USB → SD card (repeat)
Save the changes and reboot the Pi.
👉 Learn more in the Raspberry Pi bootloader configuration guide
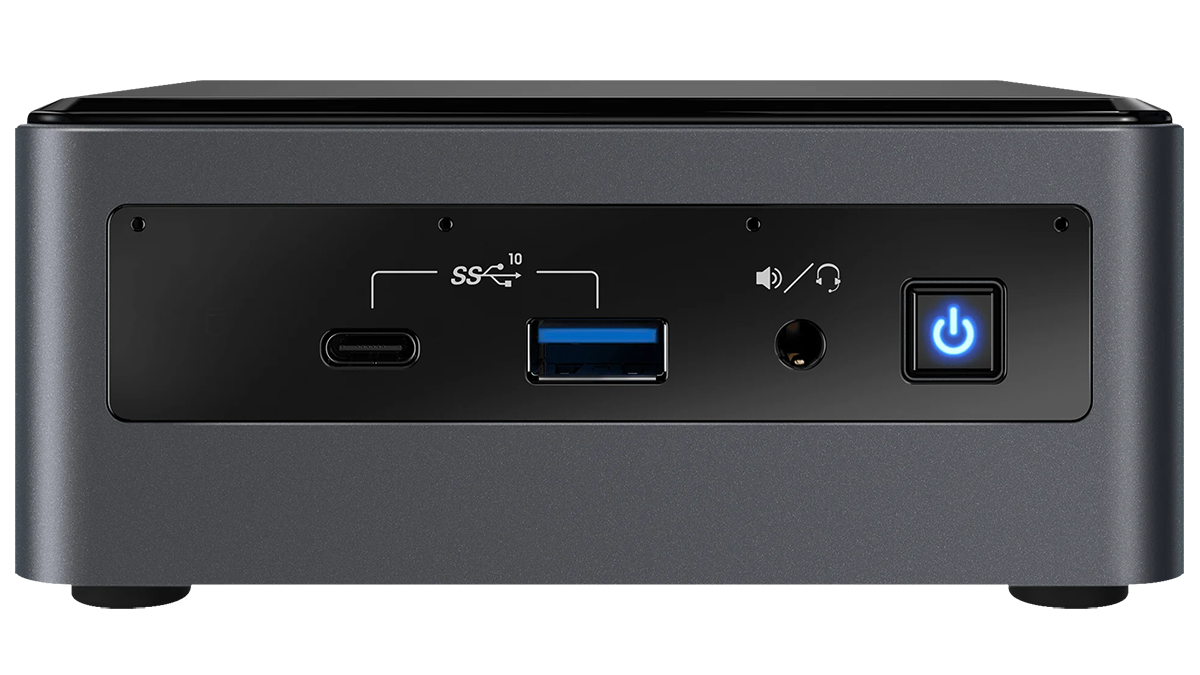
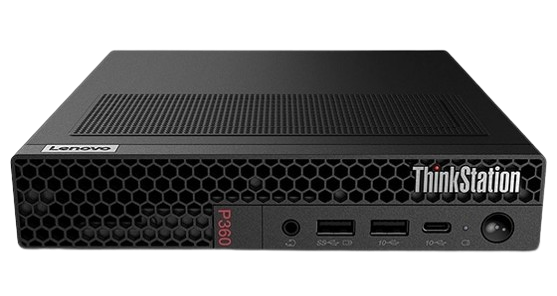
During boot, press the key required to enter BIOS or UEFI settings — commonly ESC, F2, or F12 depending on the board. Then change the boot order to prefer USB devices.
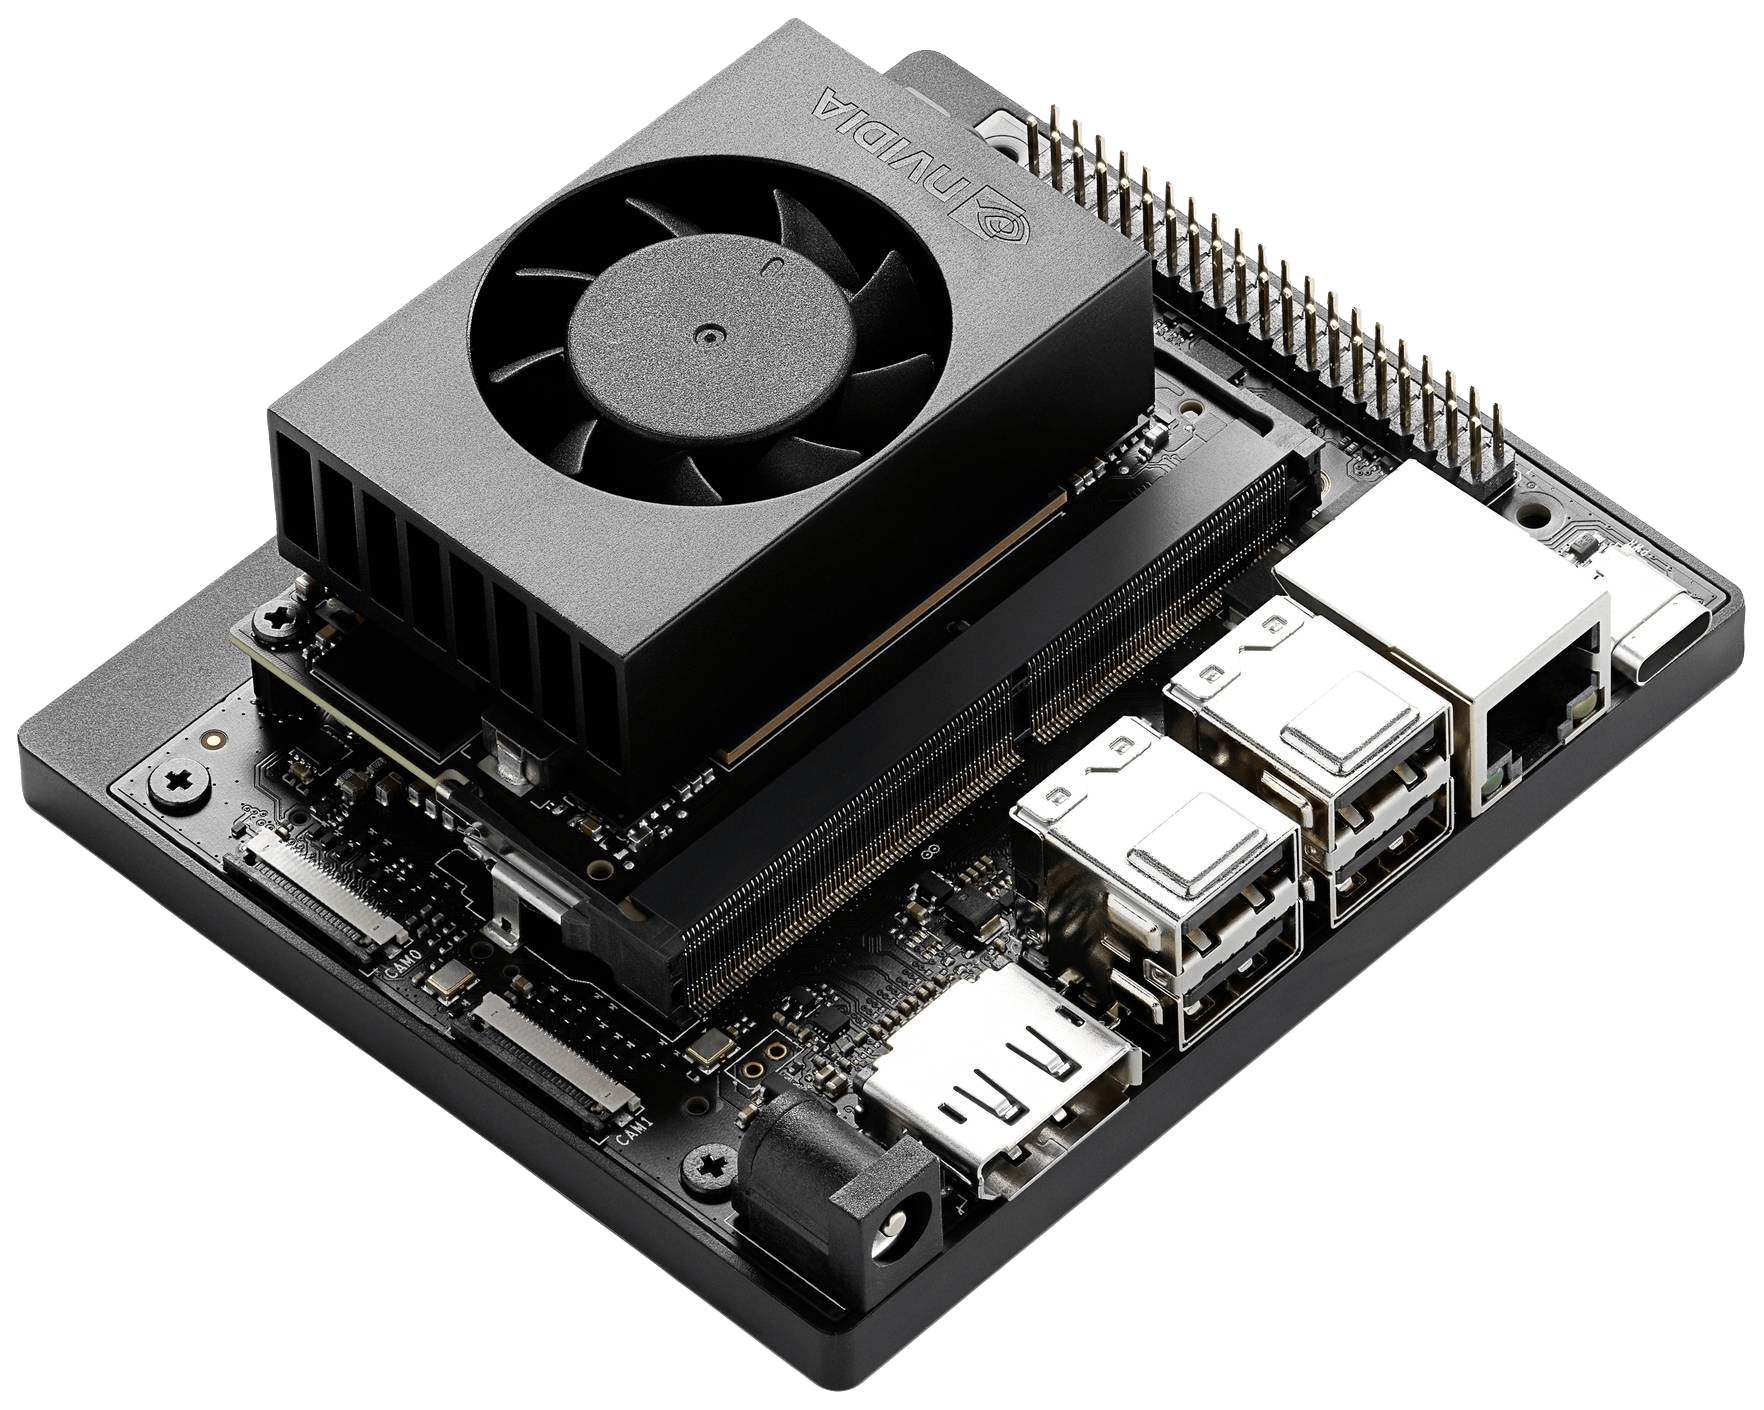
USB boot is usually enabled by default. If HOFI doesn't boot:
- Connect an HDMI display and USB keyboard to the Jetson
- Power it on and press ESC during boot
- Select Boot Manager and set USB as the first boot device
⚠️ Jetson Orin Boot Firmware (QSPI) — required for L4T R39.2
HOFI for Jetson and the Husarion OS images built on top of it require the board's QSPI boot firmware (UEFI) to be at L4T R39.2 / JetPack 7.2. Older firmware (for example 36.5.x) fails in non-obvious ways: the display engine does not start (black HDMI output), and an R39.2 kernel/userland may not boot at all.
This procedure flashes only the QSPI firmware — the internal NVMe drive is left untouched.
Applies to the Orin Nano 4GB and 8GB modules on the NVIDIA devkit carrier board, the Seeed reComputer J401 / J3010 and the ROSbot XL. The stock devkit QSPI configuration reads the module SKU and boots all of them correctly, so no carrier-specific firmware is needed.
1. Prepare the host computer (x86_64 Linux, ~1.3 GB download)
Any working directory will do — the BSP unpacks into a self-contained Linux_for_Tegra/
subdirectory:
mkdir -p jetson-qspi-r39.2 && cd jetson-qspi-r39.2
curl -sLO https://developer.nvidia.com/downloads/embedded/L4T/r39_Release_v2.1/release/release_sha_hashes.txt
curl -LO  https://developer.nvidia.com/downloads/embedded/L4T/r39_Release_v2.1/release/Jetson_Linux_R39.2.1_aarch64.tbz2
grep Jetson_Linux release_sha_hashes.txt   # compare with: sha1sum Jetson_Linux_R39.2.1_aarch64.tbz2
tar xf Jetson_Linux_R39.2.1_aarch64.tbz2   # unpacks to Linux_for_Tegra/
2. Put the board into Force Recovery (RCM) mode
Connect the board's USB-C port to the host PC first, then use either method:
-
Software (the board still boots Linux):
sudo reboot --force forced-recovery -
Hardware (the board is off or does not boot): power it off, short
FC REC↔GNDon the button header (on the devkit it isJ14, pin labels are on the silkscreen), then connect power. The jumper can be removed right after power-on — only the state at power-up matters. The screen stays black in recovery mode, which is expected.
Verify from the host that the board enumerates as NVIDIA APX:
lsusb | grep -i "0955.*NVIDIA\|APX"
# Bus ... ID 0955:7623 NVIDIA Corp. APX   (Orin Nano 4GB)
# Bus ... ID 0955:7523 NVIDIA Corp. APX   (Orin Nano 8GB)
3. Flash the QSPI (~5–10 minutes)
cd Linux_for_Tegra
sudo ./tools/l4t_flash_prerequisites.sh      # first run only, installs apt packages
sudo ./flash.sh jetson-orin-nano-devkit-qspi internal
⛔ Do not interrupt the flashing process — do not disconnect power or the USB cable while flashing, as an interrupted QSPI write can brick the board.
The last two lines of a successful run are:
*** The target generic has been flashed successfully. ***
Reset the board to boot from internal eMMC.
The "generic" target name and the "internal eMMC" wording are flash.sh boilerplate — nothing was written to
any storage other than the QSPI.
4. Verify
Remove the recovery jumper if it is still fitted, disconnect the USB-C cable and power-cycle the board. Then check the firmware version:
cat /sys/devices/virtual/dmi/id/bios_version # expected: 39.2.x-gcid-...
Troubleshooting
lsusbshows nothing — recovery mode was not entered (check the jumper timing and make sure the USB-C cable carries data, not just power), or the host USB port/hub is at fault.ERROR: might be timeout in USB write, followed bycvm.bin does not exist— the board's recovery mode is stuck after a previous failed or interrupted attempt. The error that matters is the USB timeout; the missingcvm.binis only its consequence. Disconnect power completely (a reset is not enough), enter recovery mode again and rerunflash.sh. If it persists, connect the board directly to a different host USB port with a different cable, without a hub.- The board keeps returning to the UEFI Boot Manager after reflashing — this is not a QSPI problem. Either the UEFI locked itself into Recovery Boot after three failed boot attempts (HOFI clears that counter automatically on every successful boot), or the UEFI did not enumerate the USB stick on that particular port — Boot Manager entries are port-specific, so try a different USB port.
Once HOFI runs, you can also change the start order from HOFI: pick a preset in the EEPROM list and select Config EEPROM.