What is HOFI?
Husarion OS Flasher Image (HOFI) is a USB stick that installs the operating system on the computer inside a Husarion robot. You plug it into the robot, open the HOFI screen on your laptop or phone, pick an OS image and press Flash.
The same stick works on every robot computer we ship: Raspberry Pi (SD card), x64 computers (eMMC or SSD) and NVIDIA Jetson Orin. It holds as many OS images as fit on it.
Use it from any screen 🖥️
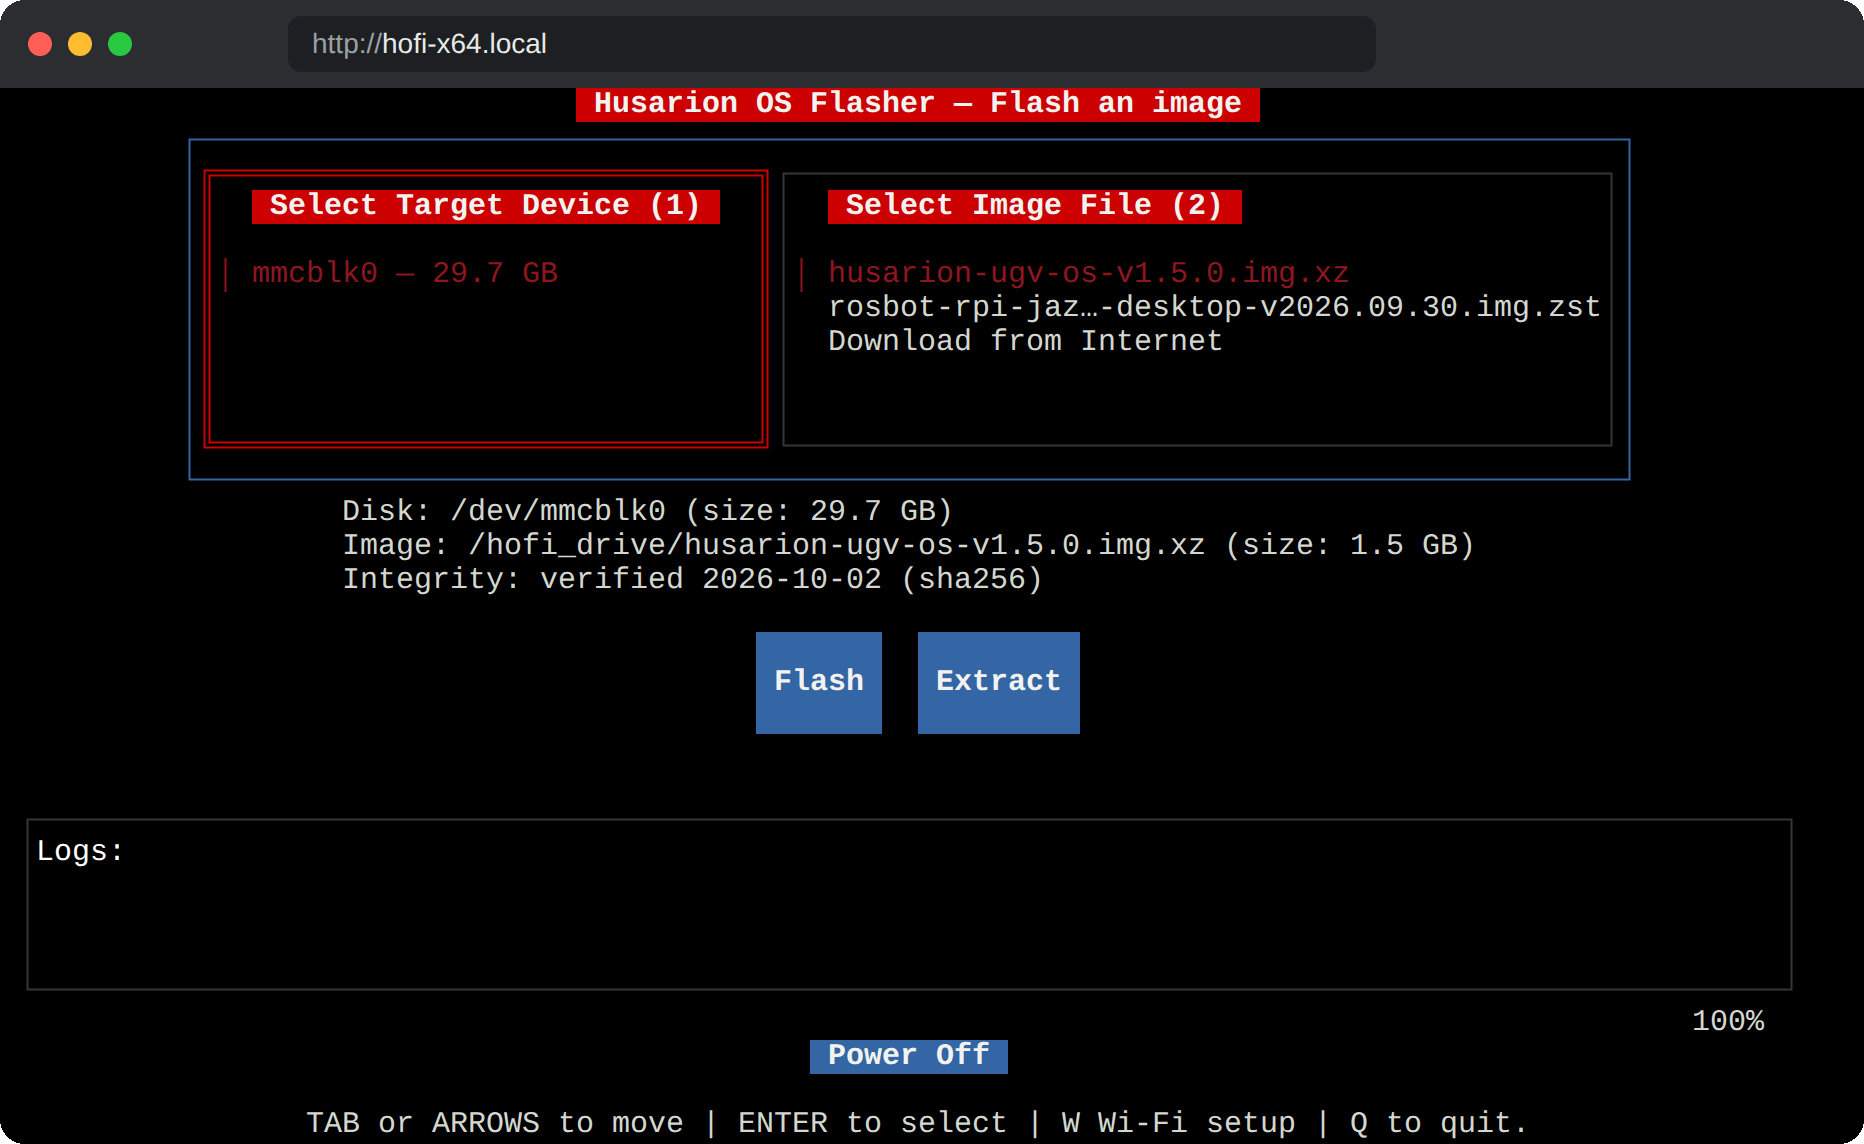
The HOFI screen opens in a web browser on your laptop or phone, on a monitor and keyboard plugged into the robot, or over SSH. All of them show the same live screen, so you can start a flash on your laptop and watch it finish on your phone while a colleague at the robot's monitor follows along.
- Laptop: use the keyboard, or click with the mouse.
- Phone: a row of on-screen keys (Esc, Tab, arrows, Enter) sits under the screen, and you can also tap list items and buttons. Add the page to your home screen to open it full-screen.
- There is no app to install. Any modern browser works.
No network setup 🌐
HOFI announces itself on the network by name, so you don't have to look up its IP address. Type http://hofi-rpi.local (or hofi-x64.local / hofi-jetson.local) in your browser.
- Behind a router: plug the robot into your router and HOFI takes an address from it like any other device.
- Straight to your laptop: connect one Ethernet cable and HOFI and the laptop agree on addresses by themselves. This works out of the box on macOS and Windows; Linux needs one command.
- Over Wi-Fi: join a network once from the HOFI screen and HOFI reconnects to it on every start. See Wi-Fi.
- By default HOFI never hands out addresses itself, so it can't clash with your router or with a robot on the same network.
HOFI also shows up in your file manager's network view (Finder, GNOME Files, Windows "Network").
Drop images over the network
The stick's storage partition, hofi_drive, is shared on the network. Open it in Finder or Windows Explorer and drag an OS image in. It shows up in HOFI's image list right away, so you don't have to move the USB stick between the robot and your computer. The partition is exFAT, so you can also plug the stick into any Windows, macOS or Linux computer and copy images onto it.
Download and verify in one place ⬇️
When it has internet access (Ethernet or Wi-Fi), HOFI downloads OS images itself:
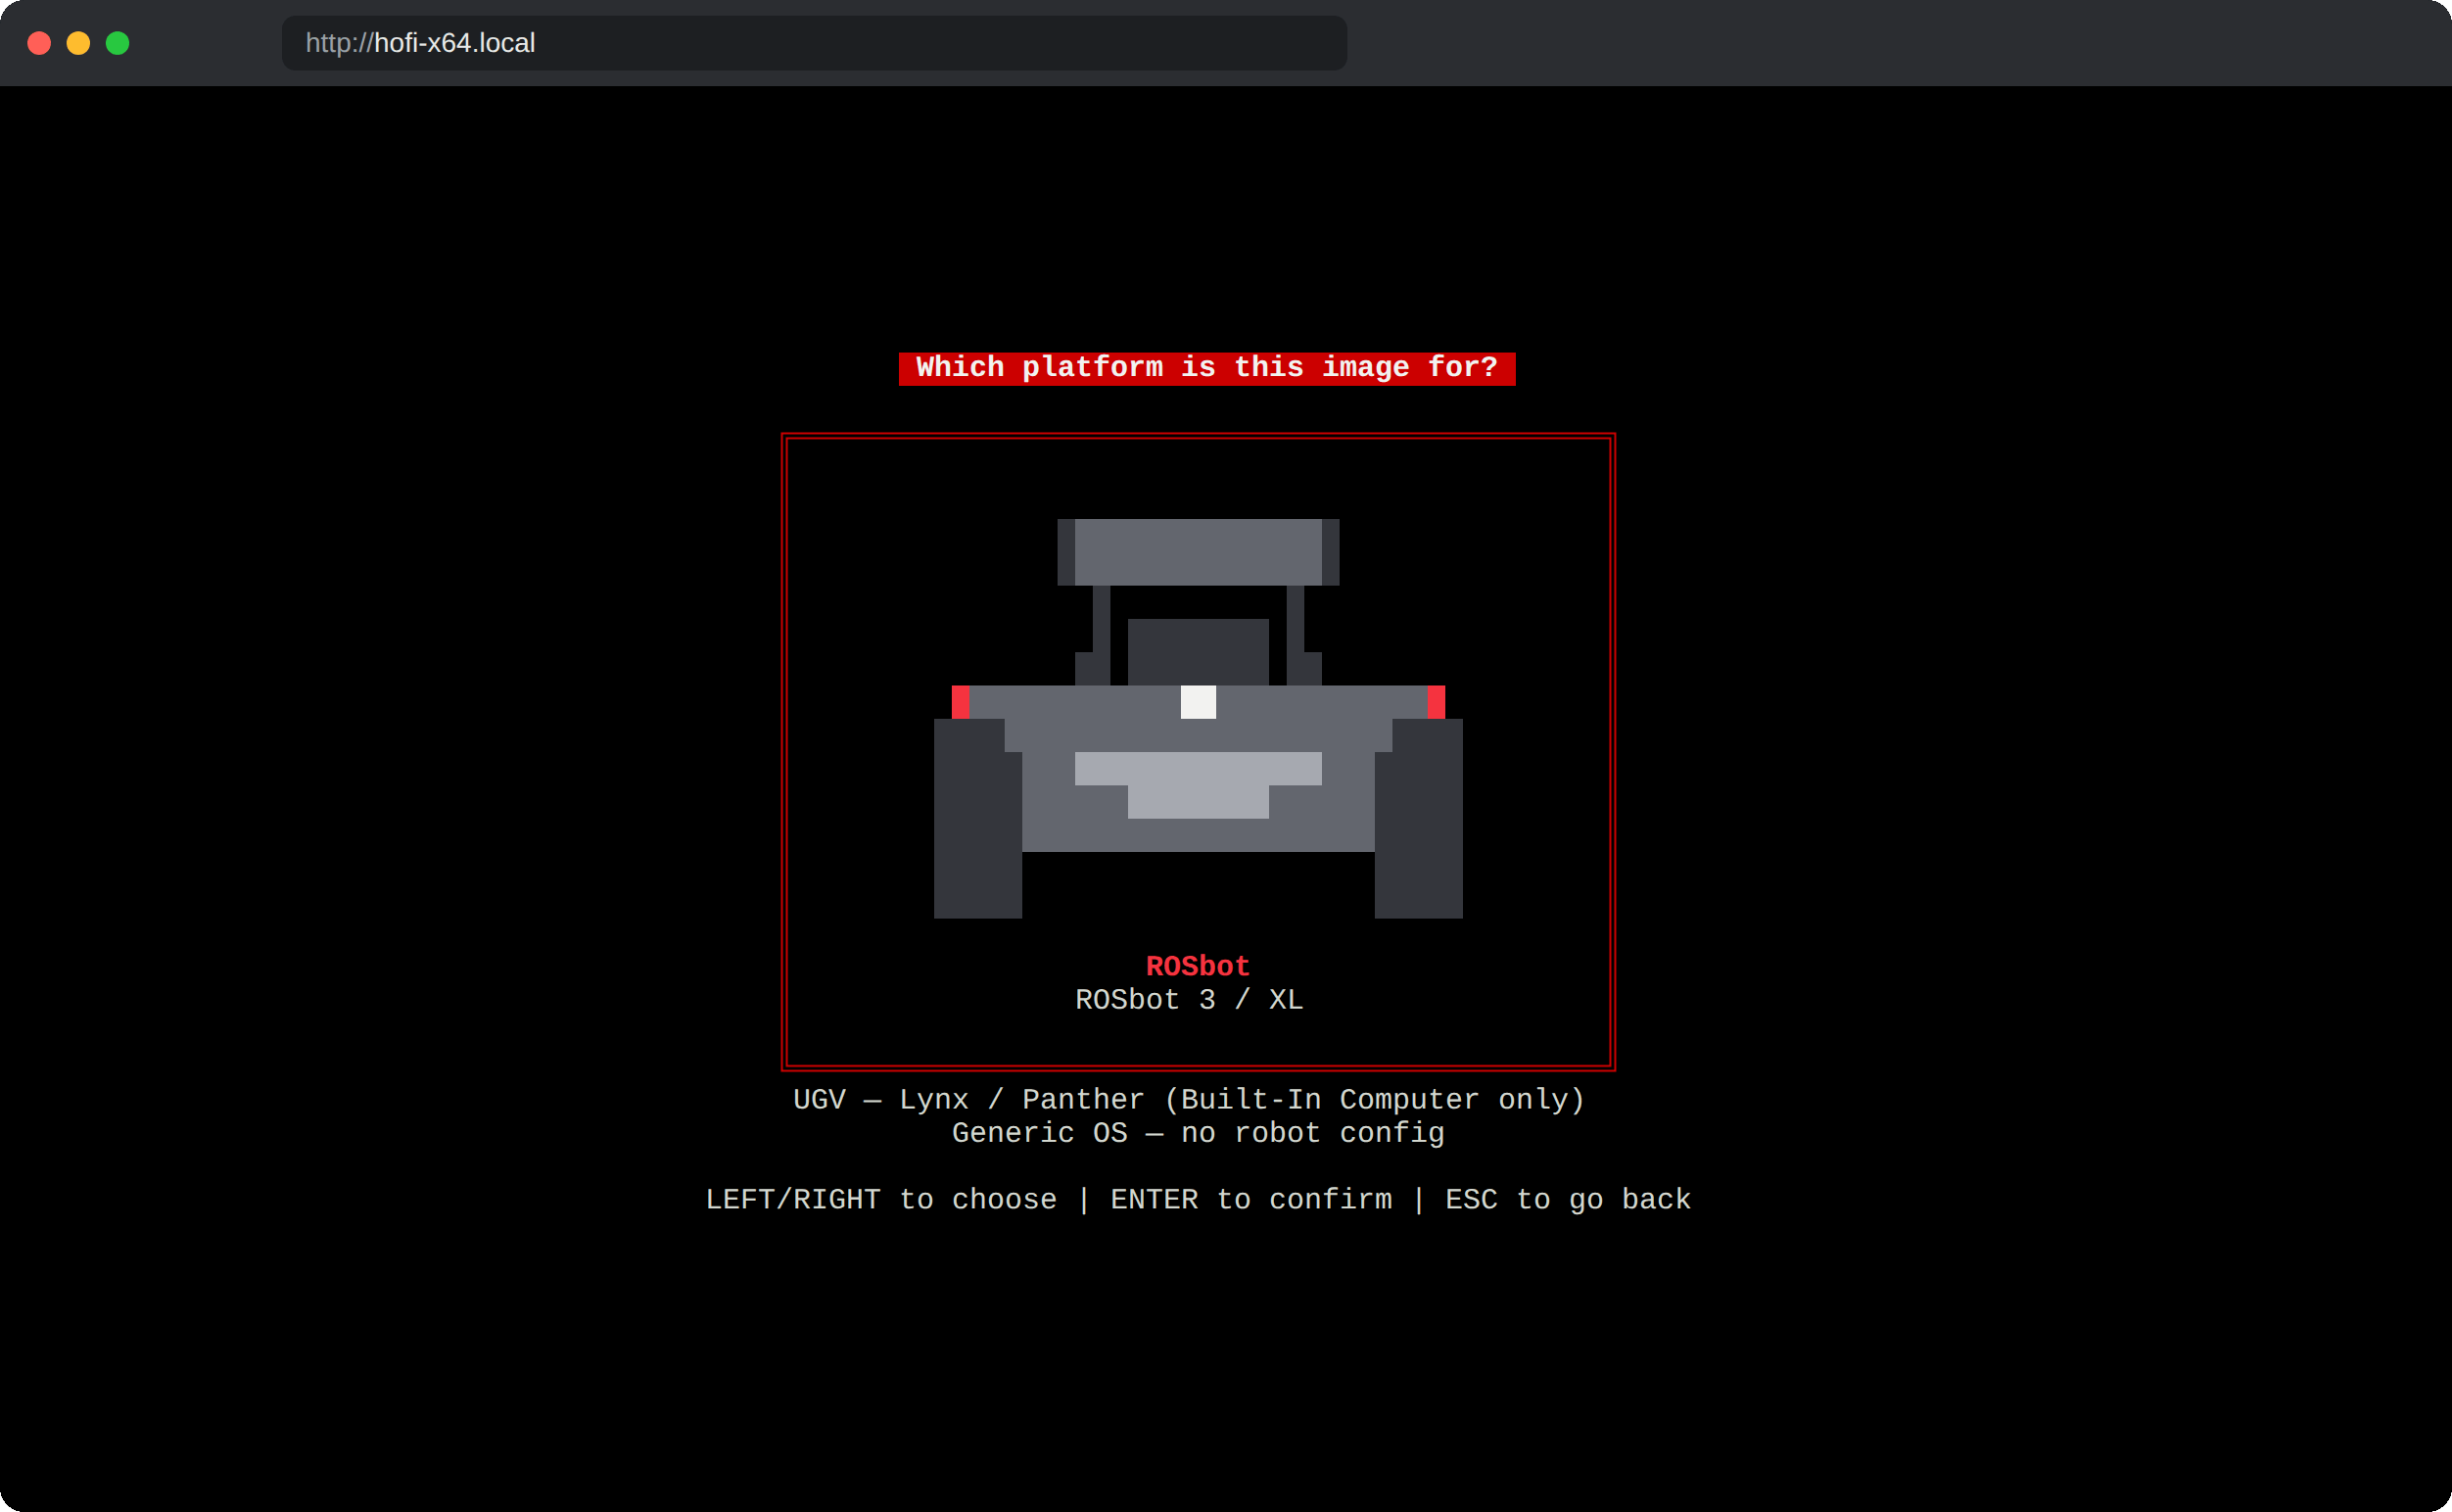
- You pick your robot first, then the image. The newest image is at the top.
- Each download is checked against the published checksum before you can flash it, and the image list then shows Integrity: verified.
- An interrupted download resumes where it stopped. Cancelling one deletes the partial file.
- HOFI remembers the Wi-Fi network and reconnects by itself the next time it starts.
Safeguards 🛡️
Installing an OS erases a disk, so HOFI adds a check at each step:
| Safeguard | What it prevents |
|---|---|
| HOFI never lists its own USB stick | Erasing the flasher by picking the wrong disk |
| Flash asks twice | Erasing anything before you have seen which image goes to which disk. Power Off asks twice too. |
| Images too big for the disk are refused up front | Finding out minutes into the write. The image is rejected before anything is erased. |
| The disk's old partition table is cleared | Leftovers of the previous system that keep booting |
| One flash at a time | A second flash from another window; the Flash button tells every window that one is running |
| The flash runs on the robot, not in your browser | A flash stopping when you close the browser. Reconnect any time to see its progress. |
.img.xz and .img.zst are decompressed on the fly | Having to unpack images first |
Supported robots
| Robot | Robot computer | HOFI image |
|---|---|---|
| Panther, Lynx | Built-in Computer (Raspberry Pi) | hofi-rpi |
| User Computer (ASUS NUC, Lenovo ThinkStation) | hofi-x64 | |
| User Computer (Jetson Orin) | hofi-jetson | |
| ROSbot XL | Raspberry Pi 5 / Raspberry Pi 4 | hofi-rpi |
| Intel NUC | hofi-x64 | |
| Jetson Orin Nano | hofi-jetson | |
| ROSbot 3 / 3 PRO | Raspberry Pi 5 | hofi-rpi |
Get started
- 🔧 Initial setup: download HOFI and prepare the USB stick.
- 💾 Usage: open HOFI, get an OS image and install it on your robot.
- ⚙️ Settings: change the language, hide actions, or lock HOFI to your SSH keys.