Installing Husarion OS
Requirements
To reinstall the system, you must have a HOFI flash drive. If you don't already have one, you can do so using HOFI - Initial Setup Guide.
The system installation process consists of the following steps:
- Downloading and extracting the image to the HOFI flash drive.
- Making one-time changes to the bootloader (you can usually skip this step).
- Plug the HOFI USB drive to the target SBC.
- Uploading the selected image to the computer's memory.
- Execute the configuration script depending on the robot model.
The exception here are computers with SD cards, such as the RPi 4/5. In their case, it may be easier to upload the image directly to the SD card (e.g., using Balena Etcher or Raspberry Pi Imager). However, the HOFI approach outlined here is also a viable solution.
Select OS Image
Platform based
Husarion OS images can be obtained for many different computer platforms and single board computers. Below table specify, which image should be chosen for a commonnly computer which can be found on our robots:
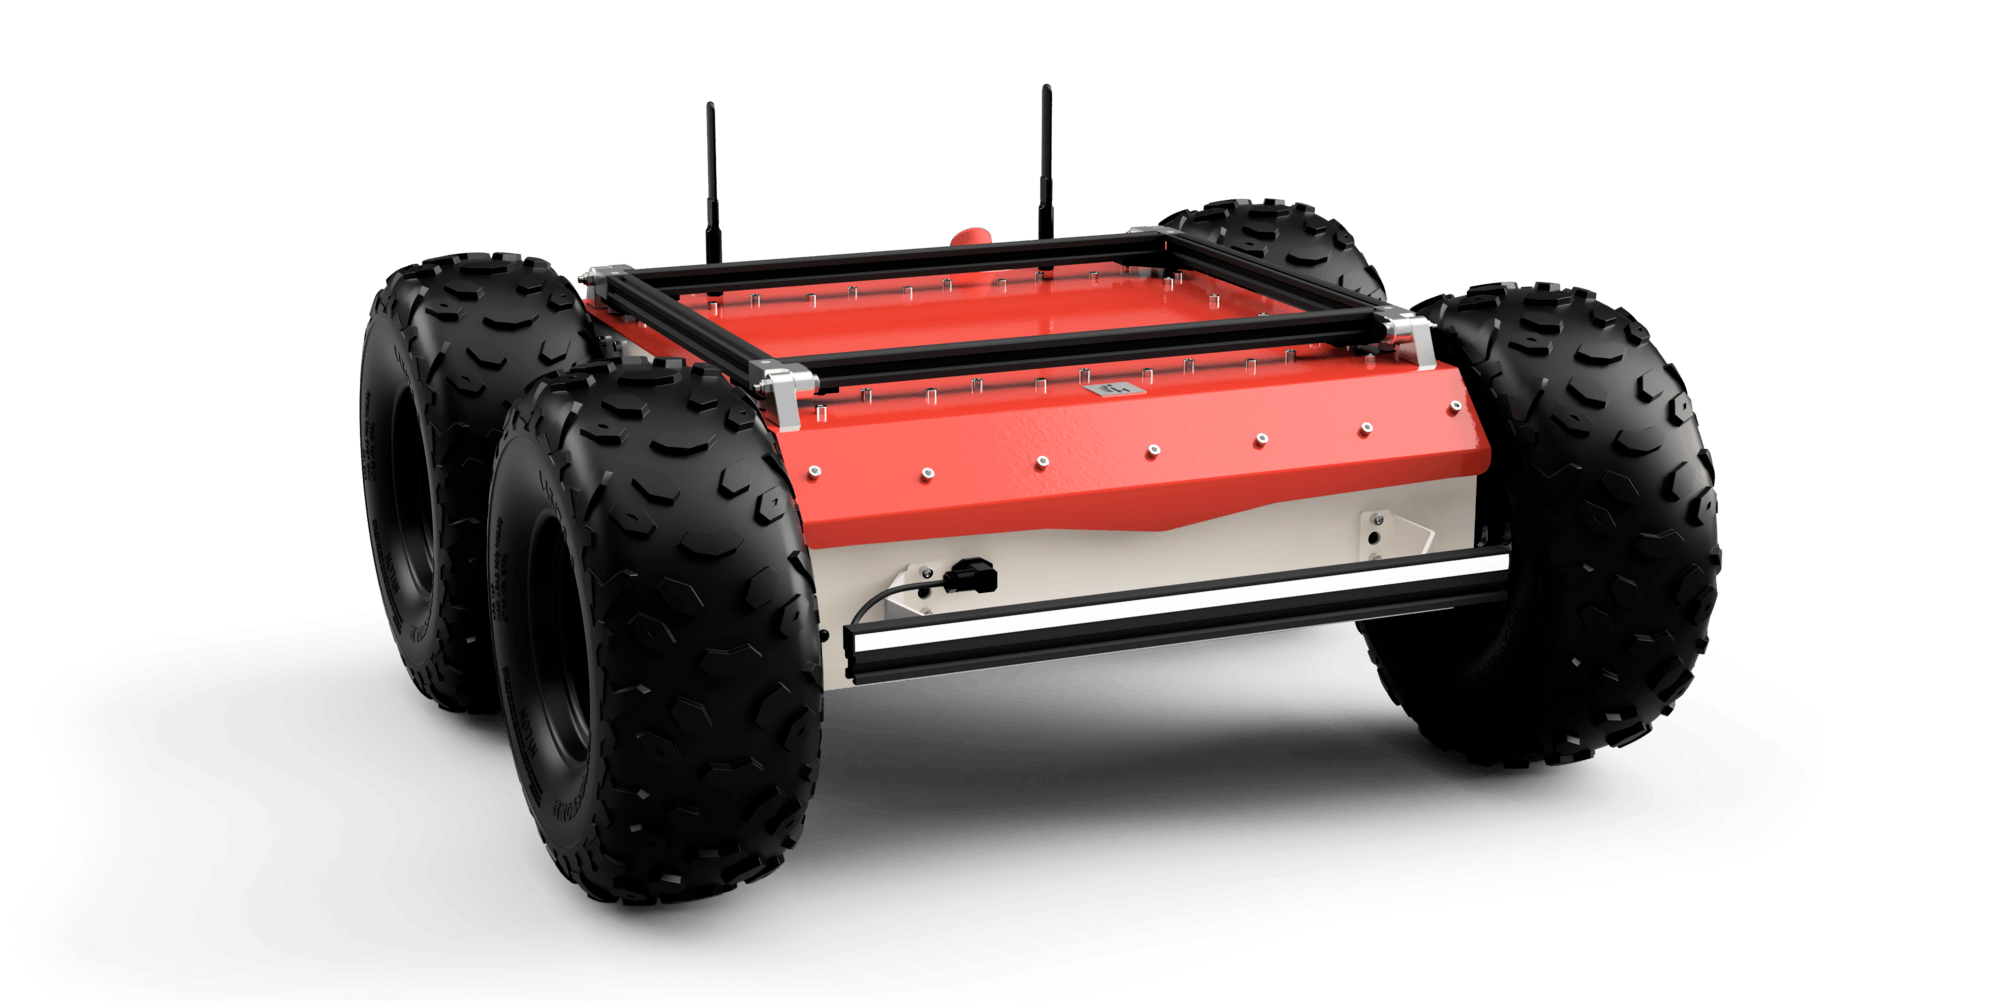
- Panther/Lynx
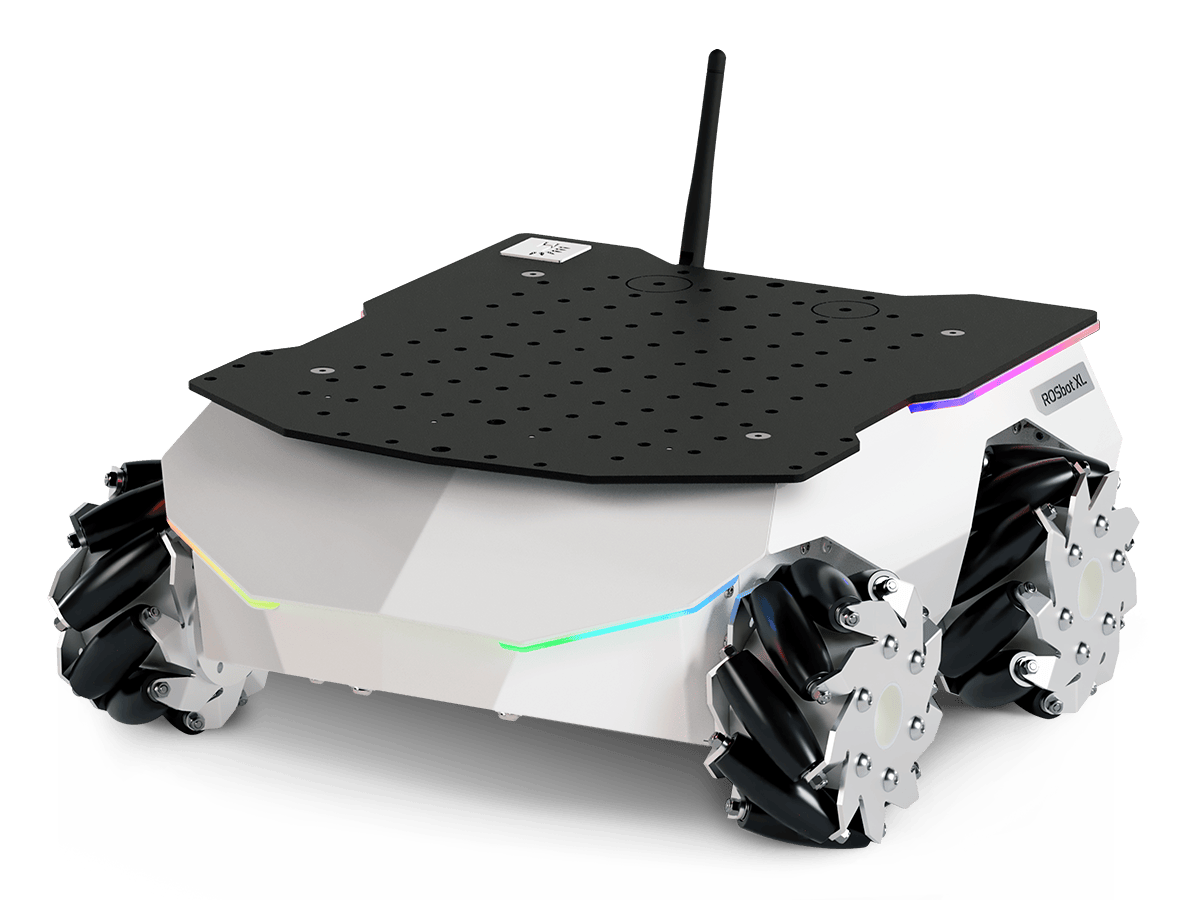
- ROSbot XL
- ROSbot 3 / 3 PRO
- ROSbot 2R
- ROSbot 2 PRO
Available images:
| User Computer SBC | OS Image |
|---|---|
| Intel NUC, Lenovo ThinkStation P360 Tiny (amd64) | ROS 2 Jazzy (amd64) ROS 2 Humble (amd64) |
| Jetson Orin platforms | Not available* |
*Use official JetPack image and configure according to: User Computer Setup Guide
DO NOT install Husarion OS on a Built-in Computer in Lynx/Panther!
Available images:
| SBC Type | Golden Image |
|---|---|
| Intel NUC (amd64) | ROSbot XL - ROS 2 Jazzy (NUC) |
| Jetson Orin platforms | ROSbot XL - ROS 2 Humble (Jetson) |
| Raspberry Pi 4/5 | ROSbot XL - ROS 2 Jazzy (RPi) |
Golden Image is a production-ready OS image based on Husarion OS, pre-configured with Robot-Specific Configuration and all required drivers already installed. It is ready to use immediately after flashing — no additional setup or configuration is needed.
Available images:
| SBC Type | Golden Image |
|---|---|
| Raspberry Pi 5 | ROSbot 3 - ROS 2 Jazzy (RPi) |
Golden Image is a production-ready OS image based on Husarion OS, pre-configured with Robot-Specific Configuration and all required drivers already installed. It is ready to use immediately after flashing — no additional setup or configuration is needed.
Available images:
| SBC Type | OS Image |
|---|---|
| Up Board | ROS 2 Foxy (UP Board) |
Ubuntu 20.04 for (Up Board) is the latest available system image. For this reason, the Husarion OS for UP Board uses ROS 2 Foxy. You can still use newer ROS 2 distributions thanks to Docker containers.
Architecture based
| Target SBC Architecture | OS Image |
|---|---|
| AMD64 | ROS 2 Jazzy (amd64) ROS 2 Humble (amd64) |
| Jetson Orin Platform | ROS 2 Humble (Jetson) |
| Raspberry Pi 4 | ROS 2 Jazzy (RPi) ROS 2 Humble (RPi) |
| Raspberry Pi 5 | ROS 2 Jazzy (RPi) |
Looking for older images?
The images below are outdated and may not be fully compatible with the rest of the documentation.
amd64:
RPi:
UP Board:
To acquire the appropriate operating system image for your SBC and complete the initial setup for your Husarion robot, please adhere to the instructions provided below.
Installing the Husarion OS
Detailed instruction how flash OS image using HOFI is describe in a separate article: HOFI - Usage Guide.
Robot-Specific Configuration
This step ensures:
- expands the partition to its maximum size
- copies auxiliary files like
factory_reset.shto install and configure the appropriate applications - sets up the SSH login panel
- adds network settings
- robot specific setup
- ROSbot
- Panther / Lynx
If you are using golden image, you can skip this step. Robot driver will atomaticly starts up. Only executing sudo rosbot.flash might be required if you are changing ROS distribution.
-
Connect Hardware
Plug your ROSbot into a display via HDMI, and attach a mouse and keyboard to the USB ports for easier configuration.
-
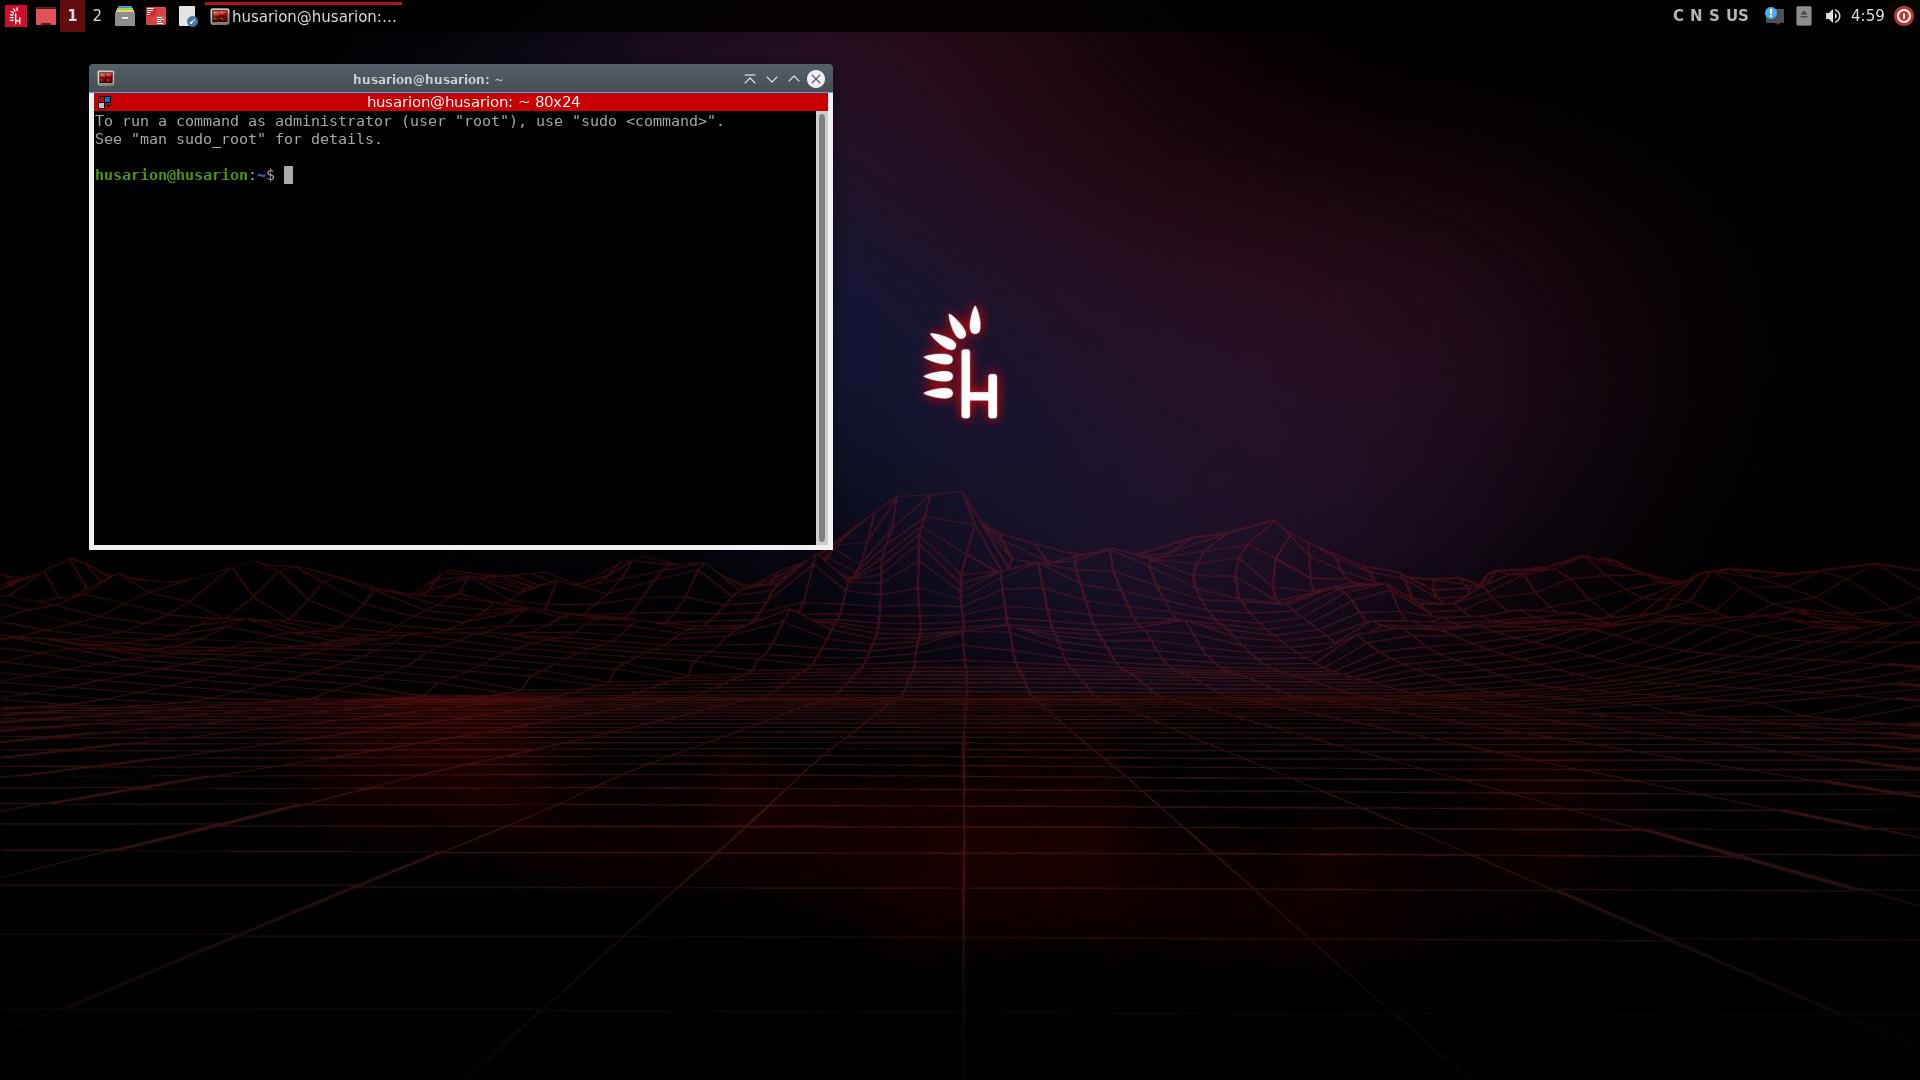
Open the Terminal
Once booted, launch the Application Launcher (click on the Husarion logo in the top-left corner of the screen) and navigate to System Tools > Terminator app. Alternatively, use the keyboard shortcut Ctrl + Alt + T to open a terminal quickly.
-
Run the Setup Command
Execute the command below with the corresponding command line arguments, based on the Husarion robot you are using:
sudo setup_robot_configuration <robot_model> [ros_version]Examples:
Your Robot Command to execute ROSbot XL sudo setup_robot_configuration rosbot_xlROSbot 3 sudo setup_robot_configuration rosbot_3ROSbot 2R sudo setup_robot_configuration rosbot_2rROSbot 2 PRO sudo setup_robot_configuration rosbot_2_proDescription of
setup_robot_configurationargumentsUsage:
sudo setup_robot_configuration <robot_model> [ros_version][ros_version]options (optional)This parameter is detected automatically and can be omitted.
ros2_jazzy/jazzyros2_humble/humbleros_noetic
-
Finish the Installation Process
infoThis step requires the robot to be connected to the Internet. Instructions on how to do this can be found in the How to Start guide for your robot.
Run script to apply factory settings:
sudo ./factory_reset.sh
-
Connect Hardware
Plug the User Computer into a display via HDMI, and attach a mouse and keyboard to the USB ports for easier configuration.
-
Open the Terminal
Once booted, launch the Application Launcher (click on the Husarion logo in the top-left corner of the screen) and navigate to System Tools > Terminator app. Alternatively, use the keyboard shortcut Ctrl + Alt + T to open a terminal quickly.
-
Run the Setup Command
Execute the command below with the corresponding command line arguments, based on the Husarion robot you are using:
sudo setup_robot_configuration <robot_model> <ros_version>Examples:
Your Robot Command to execute Panther sudo setup_robot_configuration pantherLynx sudo setup_robot_configuration lynxDescription of
setup_robot_configurationargumentsUsage:
sudo setup_robot_configuration <robot_model> [ros_version]<ros_version>options (optional)This parameter is detected automatically and can be omitted.
ros2_jazzy/jazzyros2_humble/humbleros_noetic
-
Restart the User Computer
sudo reboot -
Finish the Installation Process
infoThis step requires the robot to be connected to the Internet. Instructions on how to do this can be found in the How to Start guide for your robot.
Run script to apply factory settings:
sudo ./factory_reset.shInstall NVIDIA drivers and CUDA for Lenovo ThinkStation
Install NVIDIA drivers:
sudo ubuntu-drivers install --gpgpuInstall CUDA toolkit:
sudo apt-get install nvidia-cuda-toolkitIf you encounter issues during installation process please refer to the official guides for NVIDIA drivers and CUDA installation: