Cable Communication Modules
This subpage contains additional descriptions and manuals about Panther's communication modules not included in Panther options.
CAN01 - USB to CAN Interface
CAN01 is a hardware adapter for Panther that provides CAN interface for external devices, like sensors. It is also mandatory to use with WCH01 option. The interface is galvanically isolated. This means that you can safely connect it (including GND on the CAN side) to devices at different potentials.
The firmware on CAN01 is compatible which CAN version 2.0 (not compatible with FDCAN) and the maximum CAN bus speed is 1Mbps.

CAN01 Software
The CAN01 adapter is compatible with Lawicel SLCAN protocol and also with the official Linux CAN implementation. The detailed tutorial how to use the CAN01 adapter is in the ROS Equipment Husarion - CAN01 USB CAN Interface.
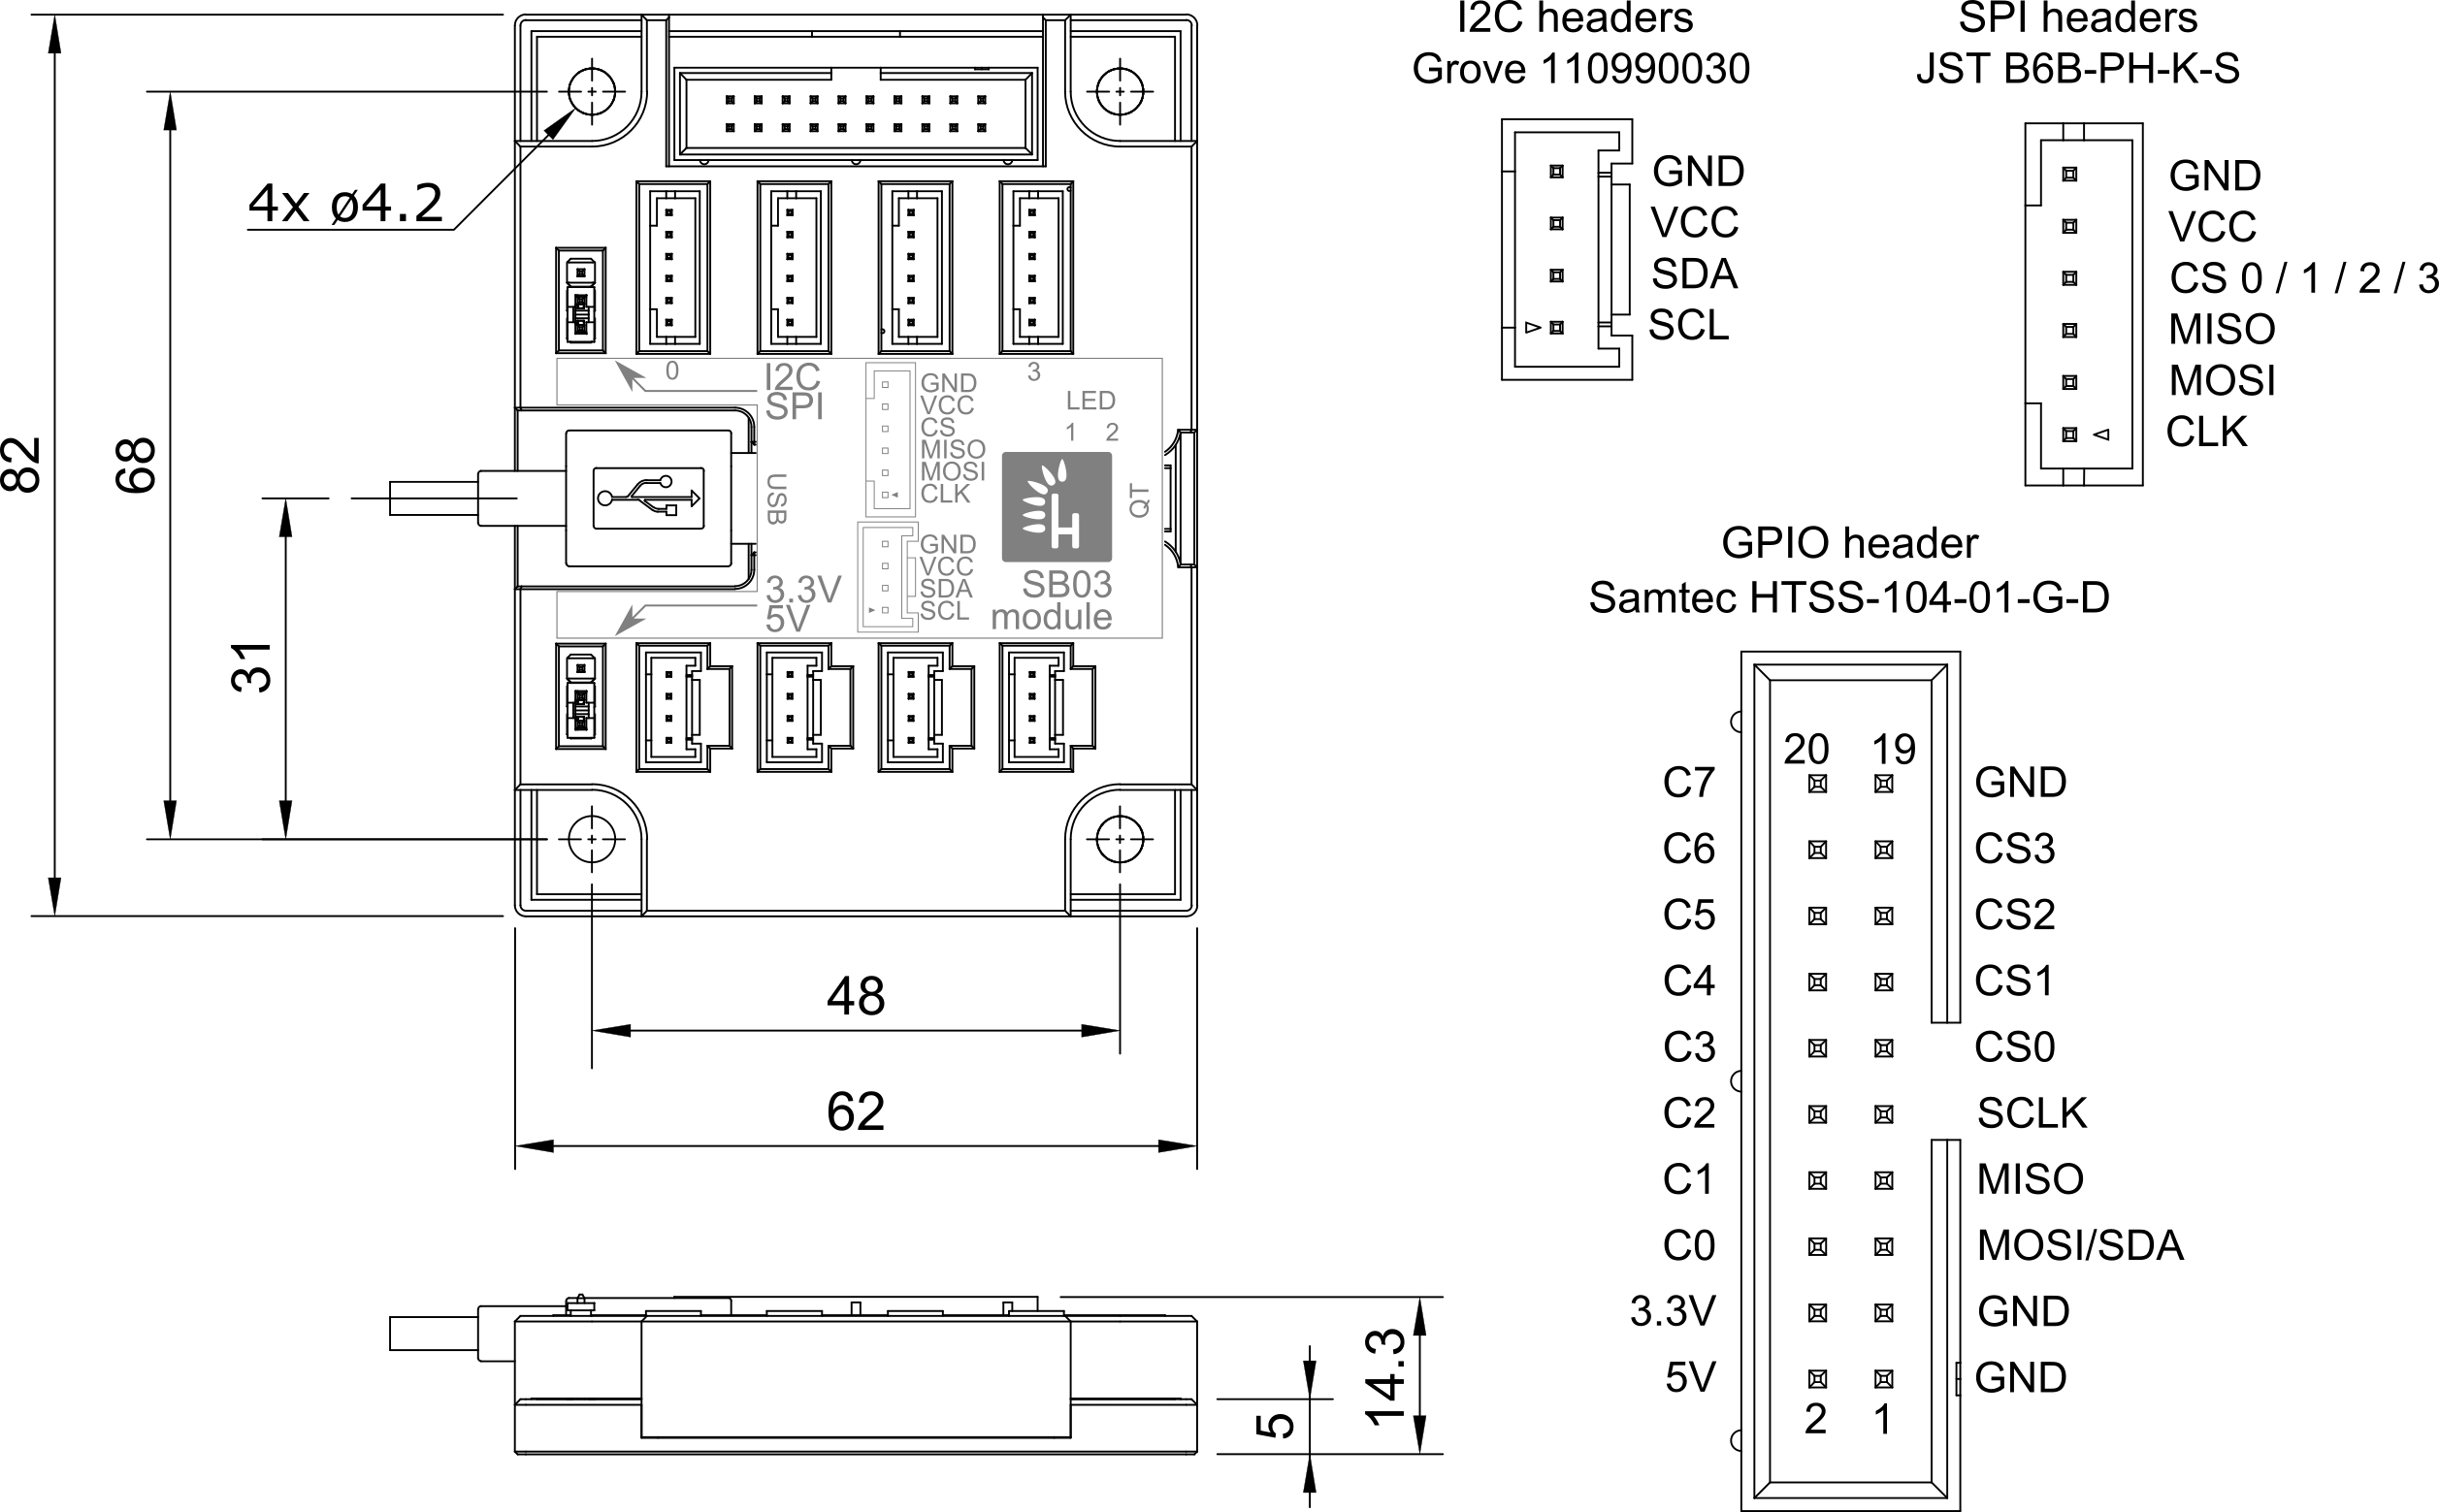
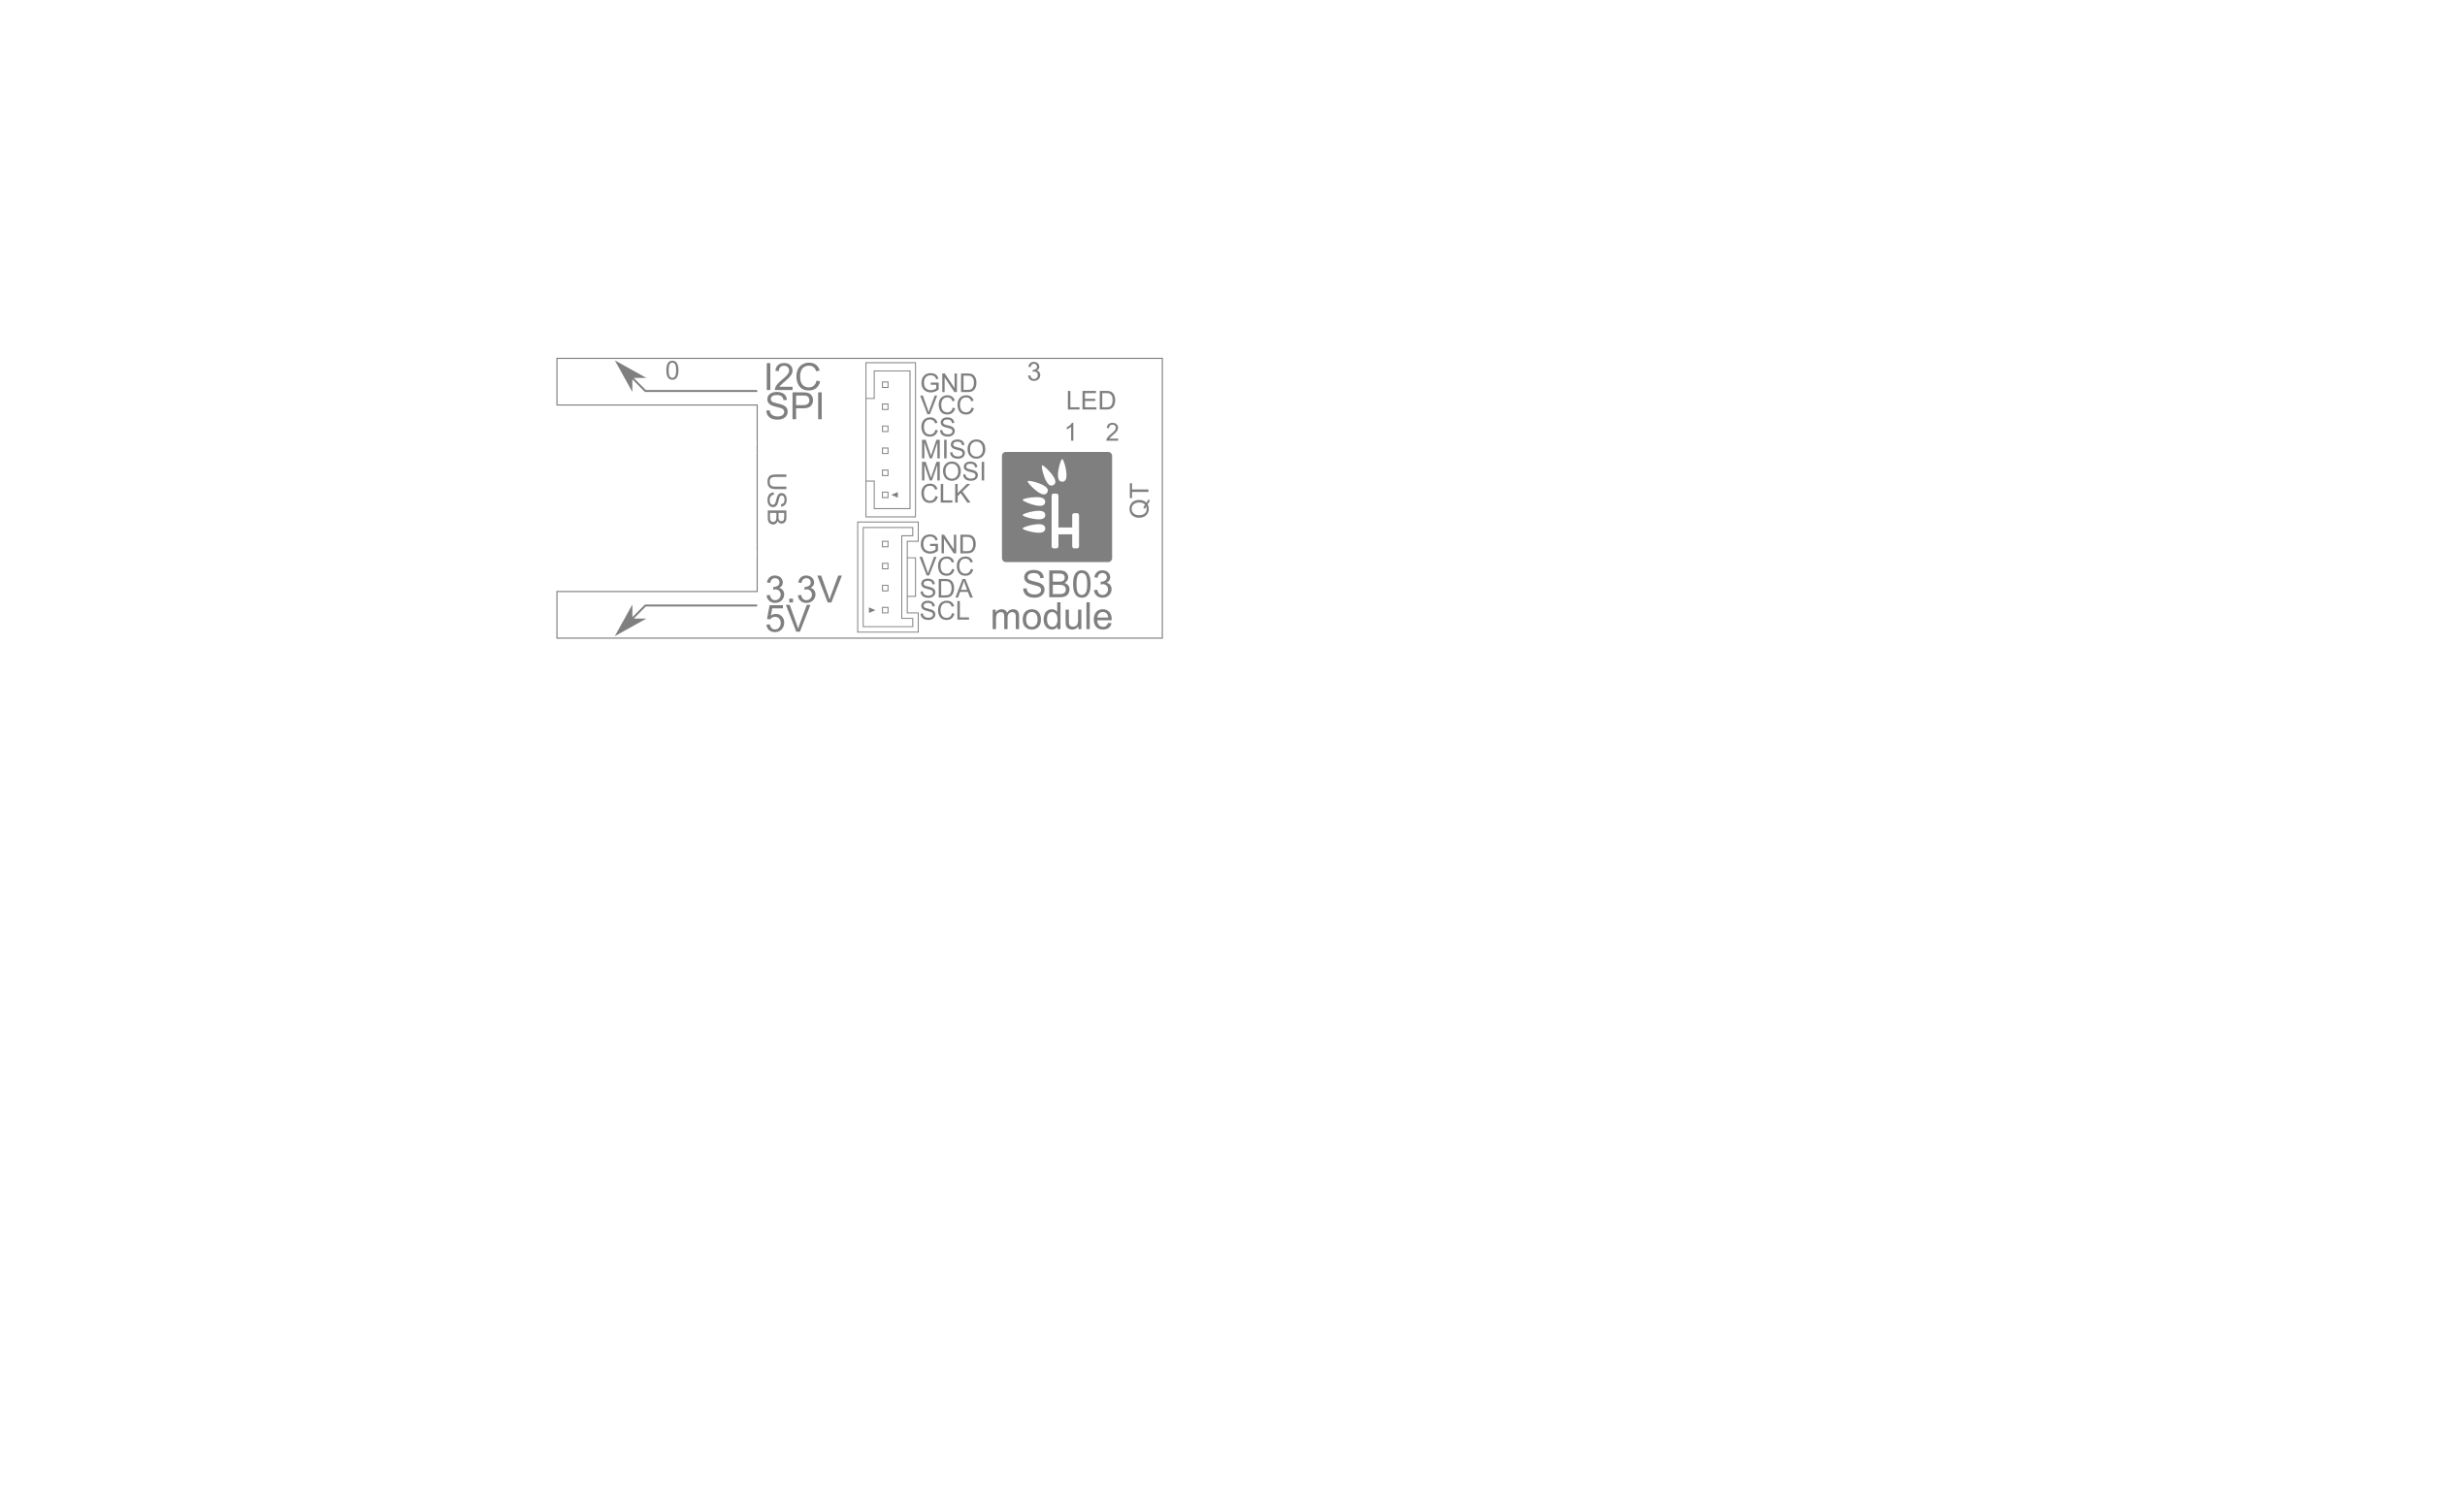
SB03 - USB to I2C/SPI Interface
SB03 is a hardware adapter for Panther that provides I2C and SPI interfaces for external devices, like sensors. There are four connectors available for each interface, enabling you to use four I2C slave devices or four SPI slave devices. It is not possible to use both I2C and SPI interfaces together.
SB03 Software Setup
This guide is based on the manual CircuitPython Libraries on any Computer with FT232H by Adafruit.
SB03 is based on the FT232H chip. It has CircuitPython support, giving it a wide range of preexisting libraries.
SB03 Install Dependencies
Install the following dependency:
sudo apt-get install libusb-1.0
Later install Python 3 dependencies:
pip3 install pyftdi
pip3 install adafruit-blinka
SB03 Setup Udev Rules
Create a new Udev rule and edit it with your favorite text editor. We will use nano due to its simplicity.
sudo touch /etc/udev/rules.d/11-ftdi.rules
sudo nano /etc/udev/rules.d/11-ftdi.rules
While editing the file, paste:
SUBSYSTEM=="usb", ATTR{idVendor}=="0403", ATTR{idProduct}=="6001", GROUP="plugdev", MODE="0666"
SUBSYSTEM=="usb", ATTR{idVendor}=="0403", ATTR{idProduct}=="6011", GROUP="plugdev", MODE="0666"
SUBSYSTEM=="usb", ATTR{idVendor}=="0403", ATTR{idProduct}=="6010", GROUP="plugdev", MODE="0666"
SUBSYSTEM=="usb", ATTR{idVendor}=="0403", ATTR{idProduct}=="6014", GROUP="plugdev", MODE="0666"
SUBSYSTEM=="usb", ATTR{idVendor}=="0403", ATTR{idProduct}=="6015", GROUP="plugdev", MODE="0666"
Save and exit the file. If you are using nano press Ctrl+s and follow it by Ctrl+x and then y to confirm.
Reload Udev with:
sudo udevadm control --reload-rules
sudo udevadm trigger
SB03 Environment Variables
adafruit-blinka library relies on environment variables to select FT232H chip. It requires the BLINKA_FT232H environment variable to be set to 1. You can do so by running:
export BLINKA_FT232H=1
This will create a required variable, but it will only exist in a given terminal session. Once you open a new terminal session the variable will not be present.
If you are sure the only blinka device you will use is FT232H you can modify the .bashrc file. Now, every time you launch a Python script by a given user, you will have the environment variable set. Run the following commands to create this variable every time you log into a terminal as the given user.
echo "export BLINKA_FT232H=1" >> ~/.bashrc
source ~/.bashrc
A more secure way to do so is by creating the environment variable every time you run a Python script. You can achieve this by exporting the variable before the script loads the Blinka library.
import os
os.environ["BLINKA_FT232H"] = "1"
import board
import digitalio
Now you are ready to use the SB03 board.
SB03 Example
This example covers using the VL53L0X range sensor.
First, install the CircuitPython library:
pip3 install adafruit-circuitpython-vl53l0x
After successful installation, attach VL53L0X to the Groove connector on SB03. Remember to set the BUS jumper to I2C and output voltage to 3.3V.
# Setup environment variable for FT232H
import os
os.environ['BLINKA_FT232H'] = '1'
# Import libraries
import adafruit_vl53l0x
import board
import busio
import time
# Setup I2C
i2c = busio.I2C(board.SCL, board.SDA)
sensor = adafruit_vl53l0x.VL53L0X(i2c)
# Measure distance in a loop
while (True):
    r = sensor.range
    if r < 8000:
        print(f'Range: {r}mm')
    else:
        print('Object is too far to measure.')
    time.sleep(0.1)