Run ROS tutorials
This tutorial was created and is based on AWS RoboMaker as of July 2019. Please refer to the official documentation for the latest and most accurate information, as there may have been updates or changes since then.
Introduction
AWS RoboMaker is the newest service by Amazon for robot developers community. It’s ROS based and provides web tools for robot development, simulation and deployment - https://aws.amazon.com/robomaker/ .
In this tutorial we will show you how to setup environment at AWS RoboMaker to learn ROS with our ROS tutorials:
- ROS introduction
- Creating Nodes - Messages
- Creating Nodes - Services
- Kinematics and Visualization
- Track object with OpenCV
- Robot Network
- Transformation
- SLAM
- Navigation
- Exploration
IMPORTANT: AWS RoboMaker is a paid service and you may be charged based on the usage of some of its functionalities. For pricing info visit https://aws.amazon.com/robomaker/pricing/ .
Setting up AWS account
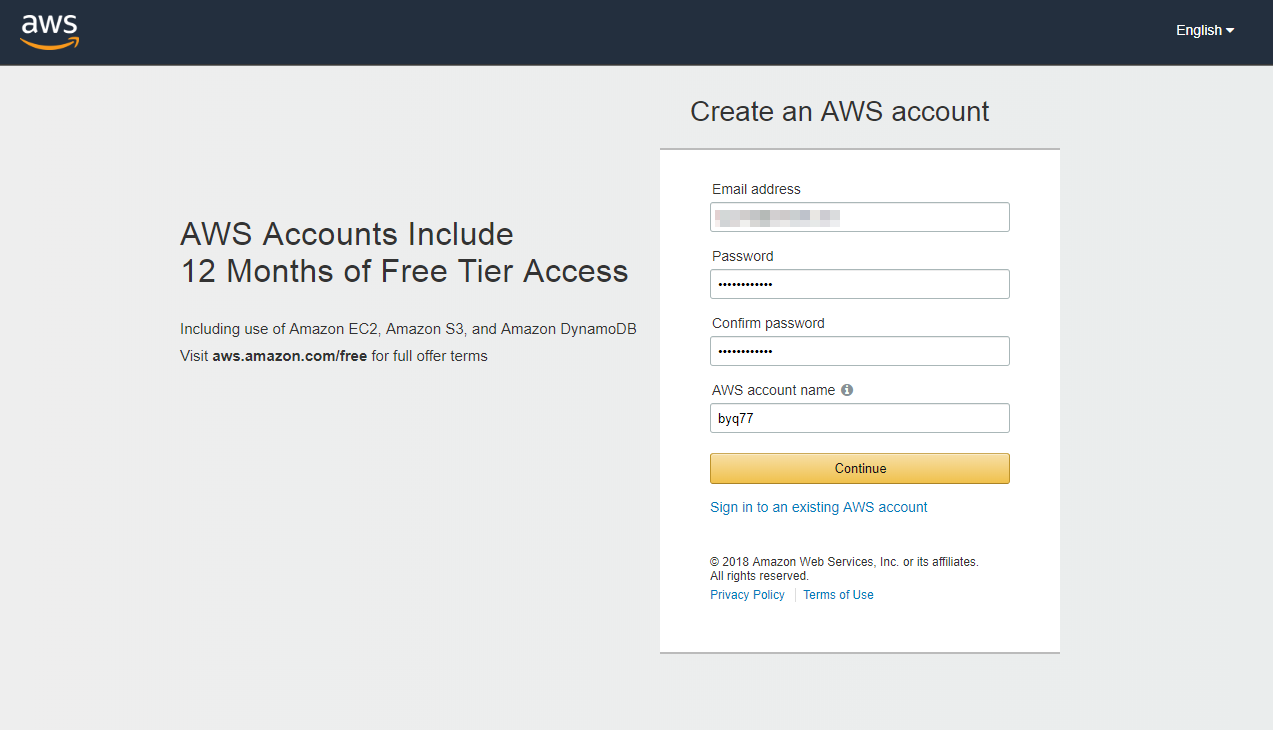
To begin, you need to have an active AWS account. Go to signup panel and follow steps required to create account.
Configure AWS Environment
Before we use AWS RoboMaker to build and deploy the tutorial applications, we must first set up the AWS environment. To simplify the configuration, we will use AWS CloudFormation. CloudFormation enables us to use a template file to define the configuration of our environment. We will use CloudFormation to create a bucket in Amaazon S3, as well as to create the necessary permissions in AWS Identity and Access Manager (IAM) that AWS RoboMaker requires to simulate and deploy our robot applications.
To deploy the template, sign in to the CloudFormation console. Following the following steps to deploy the template:
- Download the template file from here.
- Click the Create Stack button.
- Under Choose a template, choose Upload a template to Amazon S3 and click Choose File.
- Browse to the rosbot_tutorial_template.yaml file you download in Step 1 above.
- Click Next.
- On the next screen, provide a Stack name. This should be something descriptive such as "ROSbot-setup".
- In the S3BucketName field, provide a globally-unique name for the S3 bucket that will be created. This S3 bucket will be used to store your robot application bundles, as well as any logs that your robot may generate during simulation. Use a name unique to you, such as "<user_id>-rosbot-tutorial". Replace "<user-id>" with a unique string.
- Choose Next.
- On the Options page, leave all defaults and choose Next.
- On the Review page, click the checkbox to acknowledge that CloudFormation will create IAM resources on your behalf.
- Click Create.
After a few brief minutes, the stack will be created. When the status has changed to CREATE_COMPLETE, choose the stack you just created, and view its Outputs. You will see 3 key/value pairs. You will use these values later in this guide.
Setup RoboMaker IDE
-
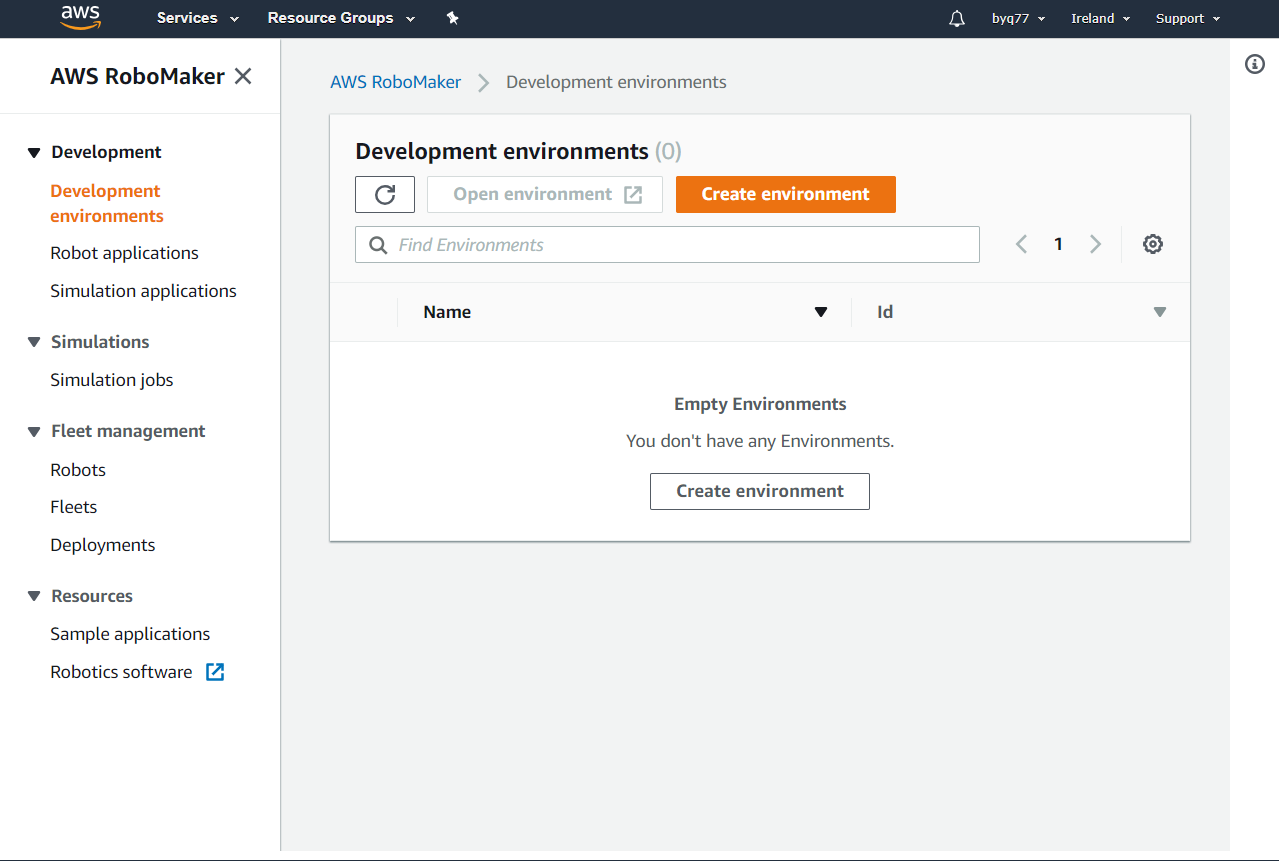
Open RoboMaker module
-
Open “Development environments” tab.
- Click “Create environment”
- In field Name type
robomaker_envand as instance type choosec3.2xlarge. You can select different instances type to improve bundling performance. - In VPC dropdown list choose the default value.
- In the Subnets dropdown list choose the first subnet. You can select different subnet if necessary.
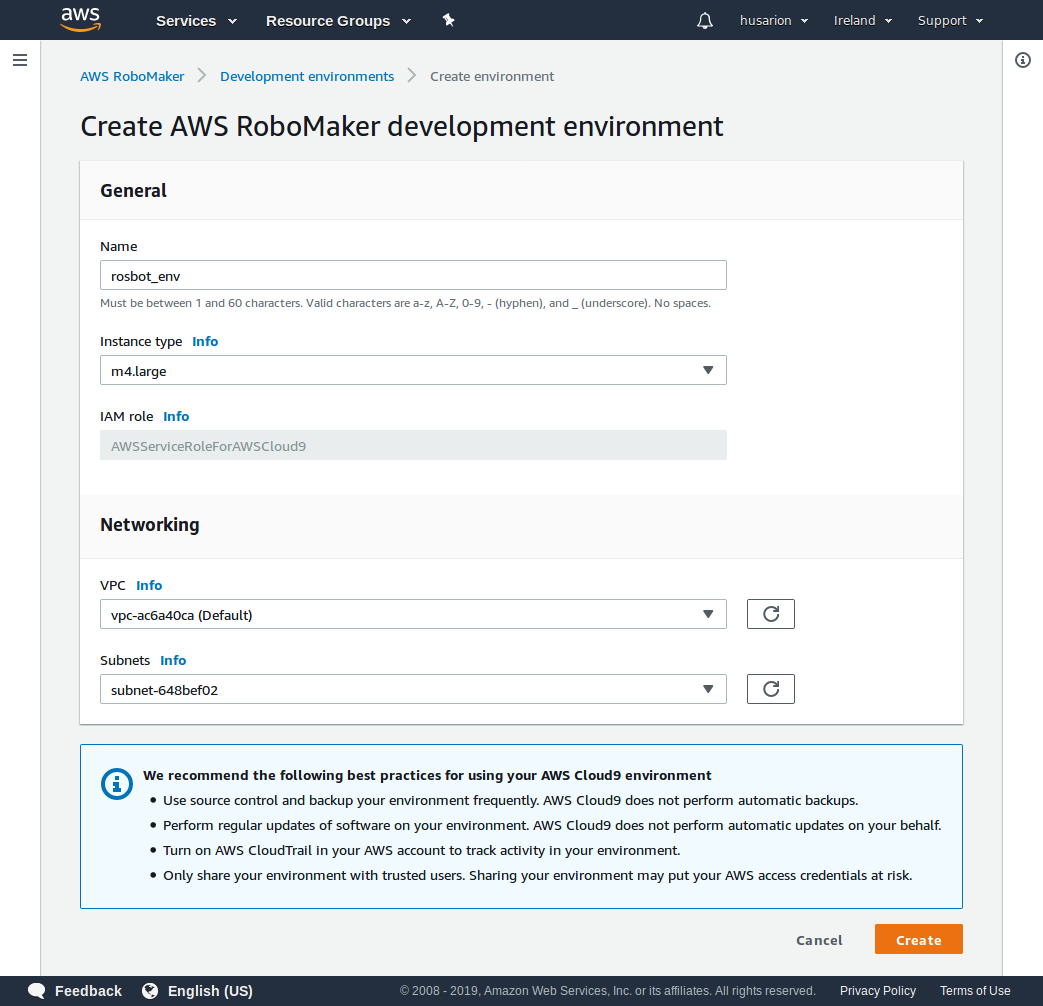
- Click "Create". You will be redirected to IDE.
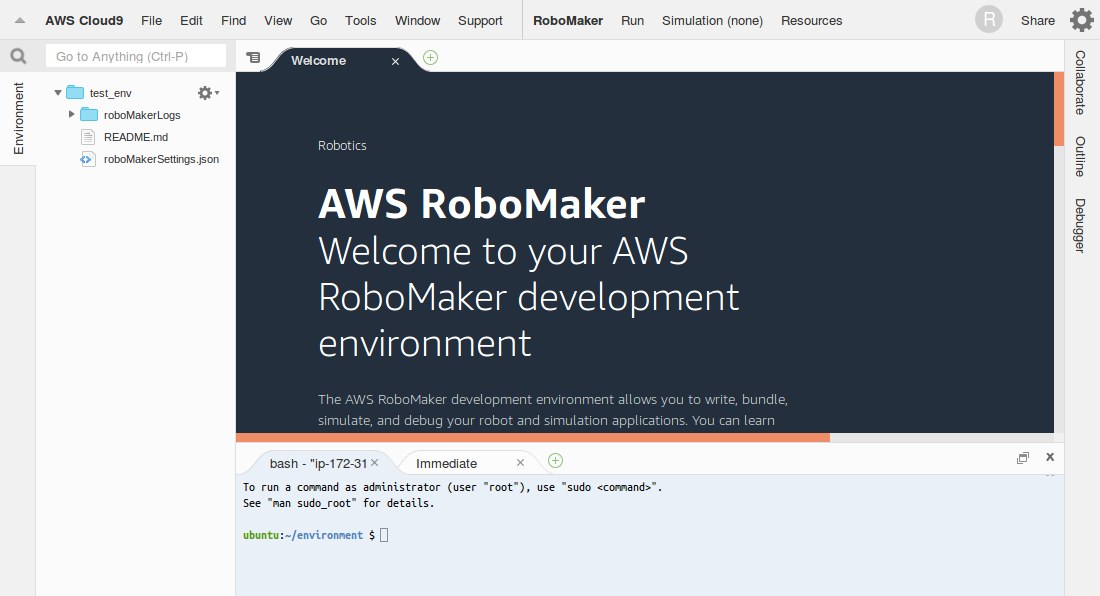
- In the IDE, go to bash tab and clone the
rosbot-robomakerrepository in~/environment/directory:
cd ~/environment/
git clone --recurse-submodules https://github.com/husarion/rosbot-robomaker.git RoboMakerROSbotProject
- Configure project
In this step you will need key/value pairs obtained in CloudForamtion module
- Replace
$BUCKET_NAMEwith value ofS3BucketNamefrom CloudFormation - Replace
$IAM_ROLEwith value ofRoboMakerRolefrom CloudFormation
cd ~/environment/RoboMakerROSbotProject/
python configure_project.py --bucket $BUCKET_NAME --iam $IAM_ROLE
Launch sumilation job
- Choose menu Run -> Add or Edit Configurations.
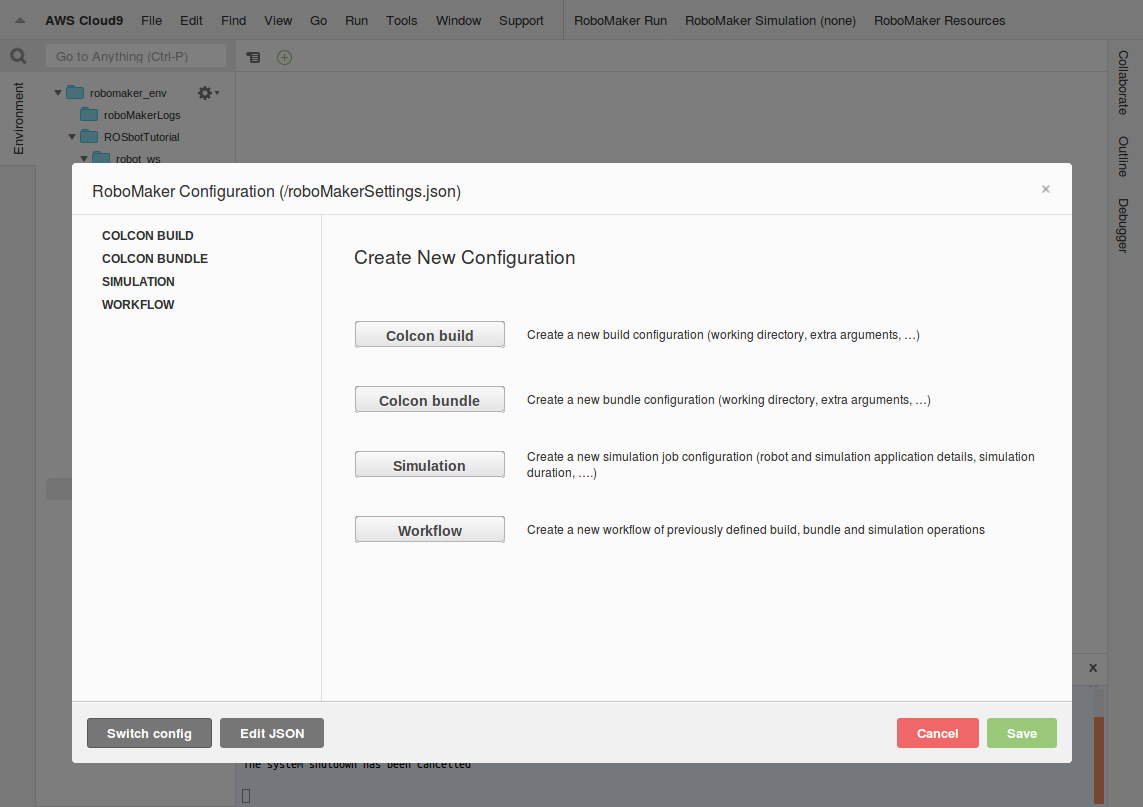
-
Click button Switch config.
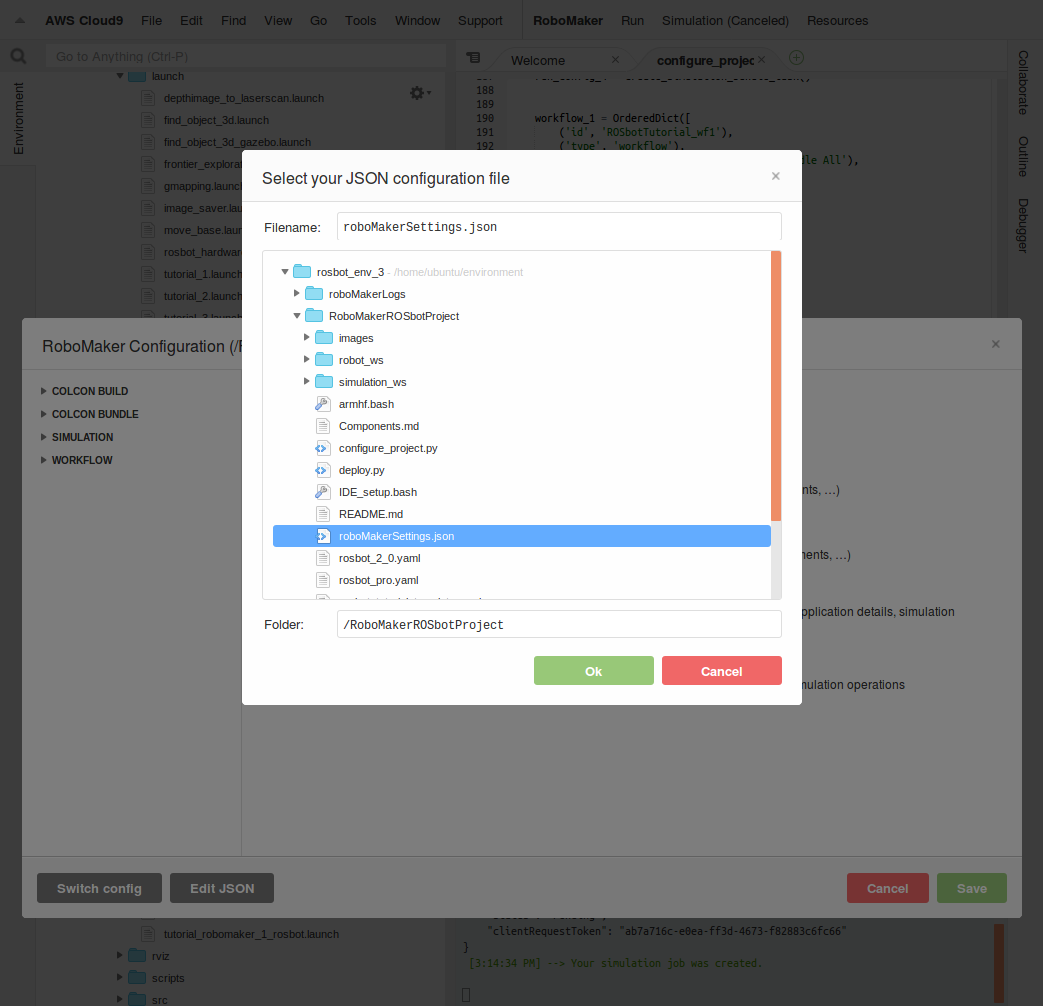
-
Choose
RoboMakerSettings.jsonfrom folderRoboMakerROSbotProjectand click OK button and then Save button.
- Choose menu Run -> Workflow -> ROSbotTutorial - Build and Bundle All.
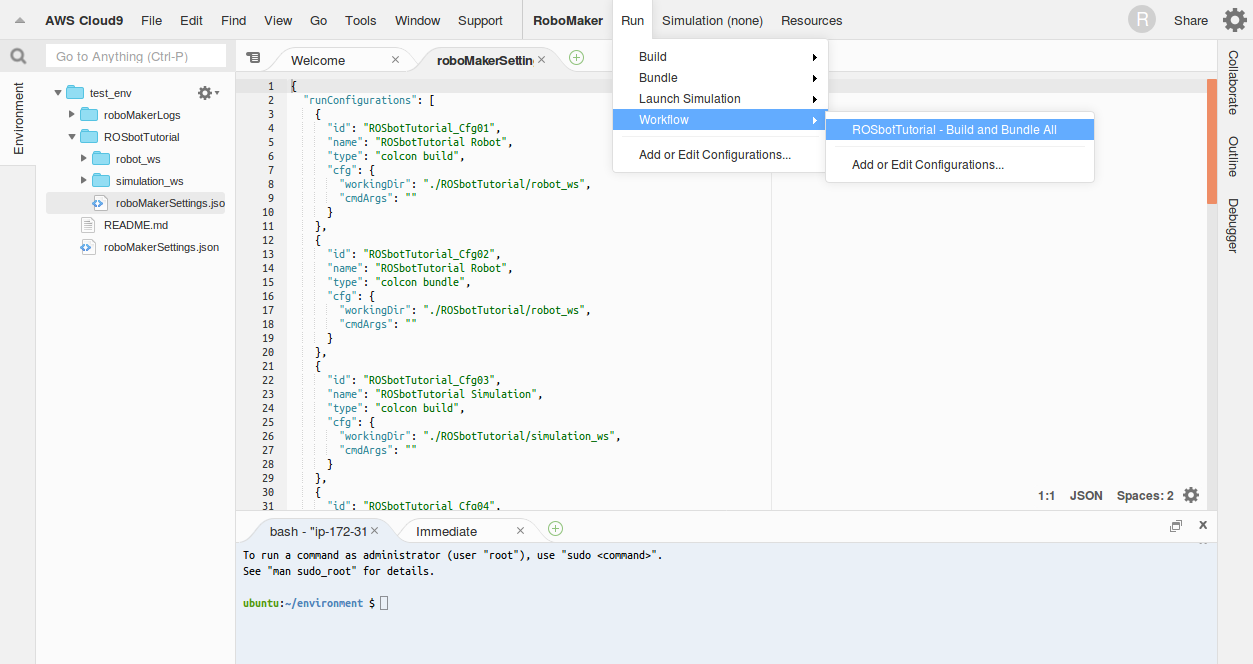
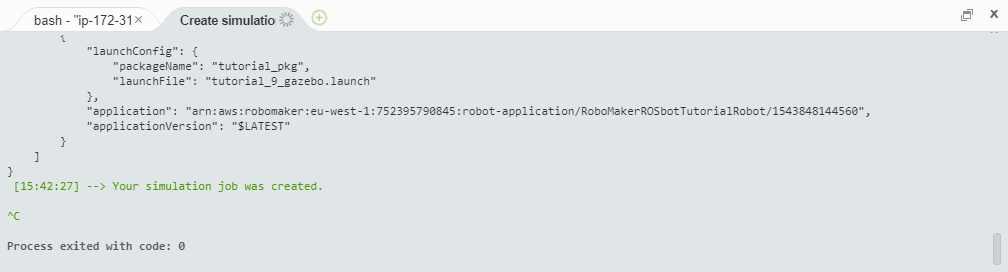
- Package build process will start, when it is done, choose menu Run -> Launch Simulation -> ROSbotTutorial9. Simulation job will be sent to RoboMaker. Wait until Your simulation job was created. message appears in console.
- Go to RoboMaker and open “Simulation jobs” menu.
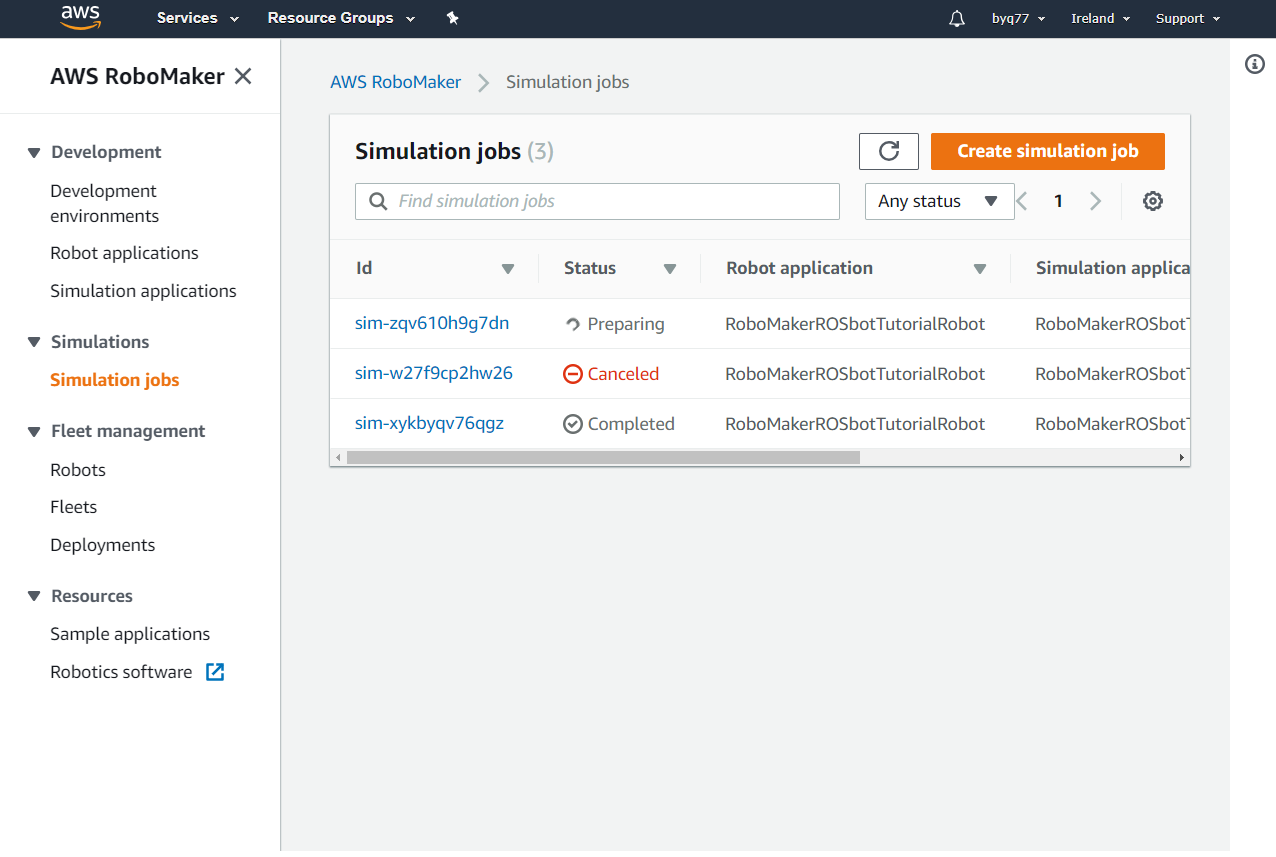
- Open simulation by clicking its name.
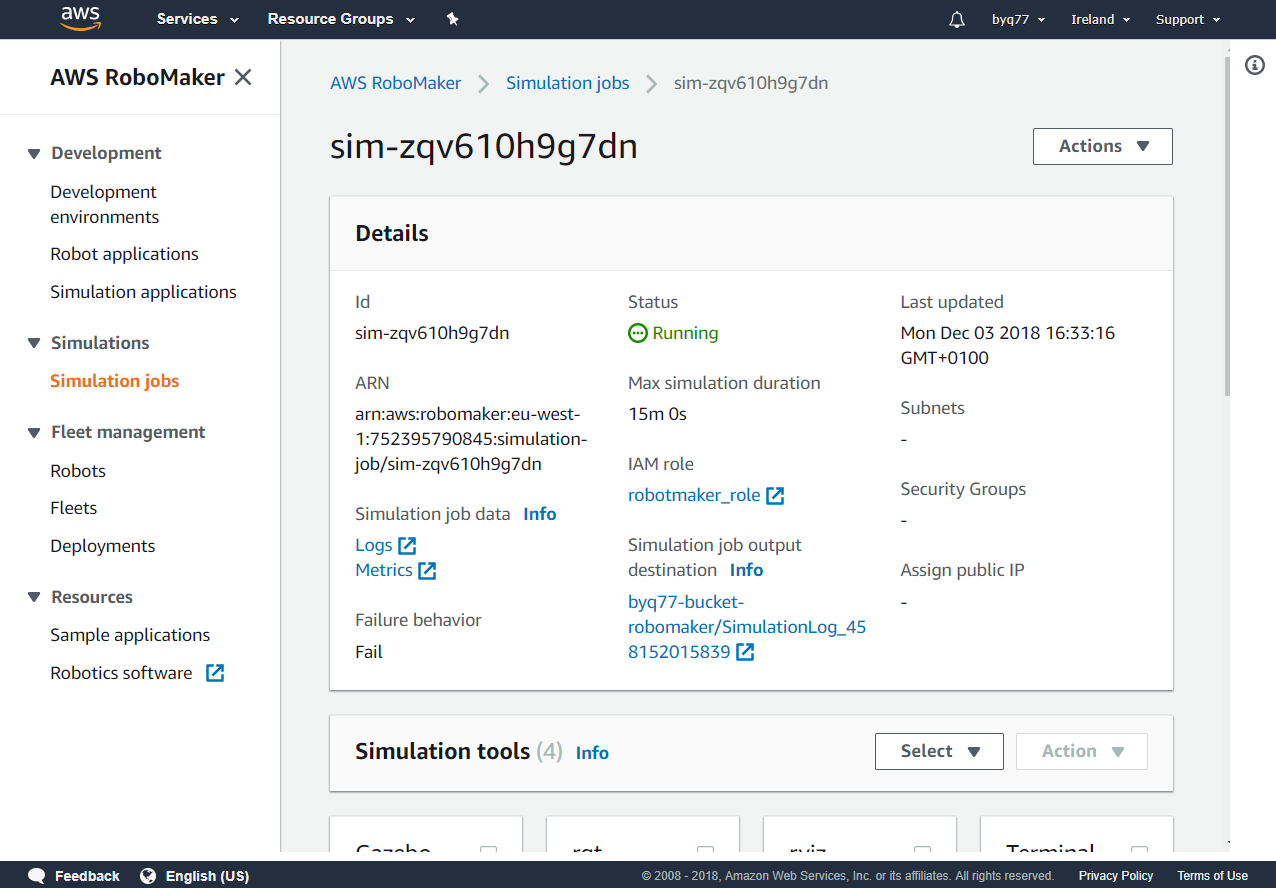
- When it starts, you can open Gazebo view to watch as simulation proceeds.
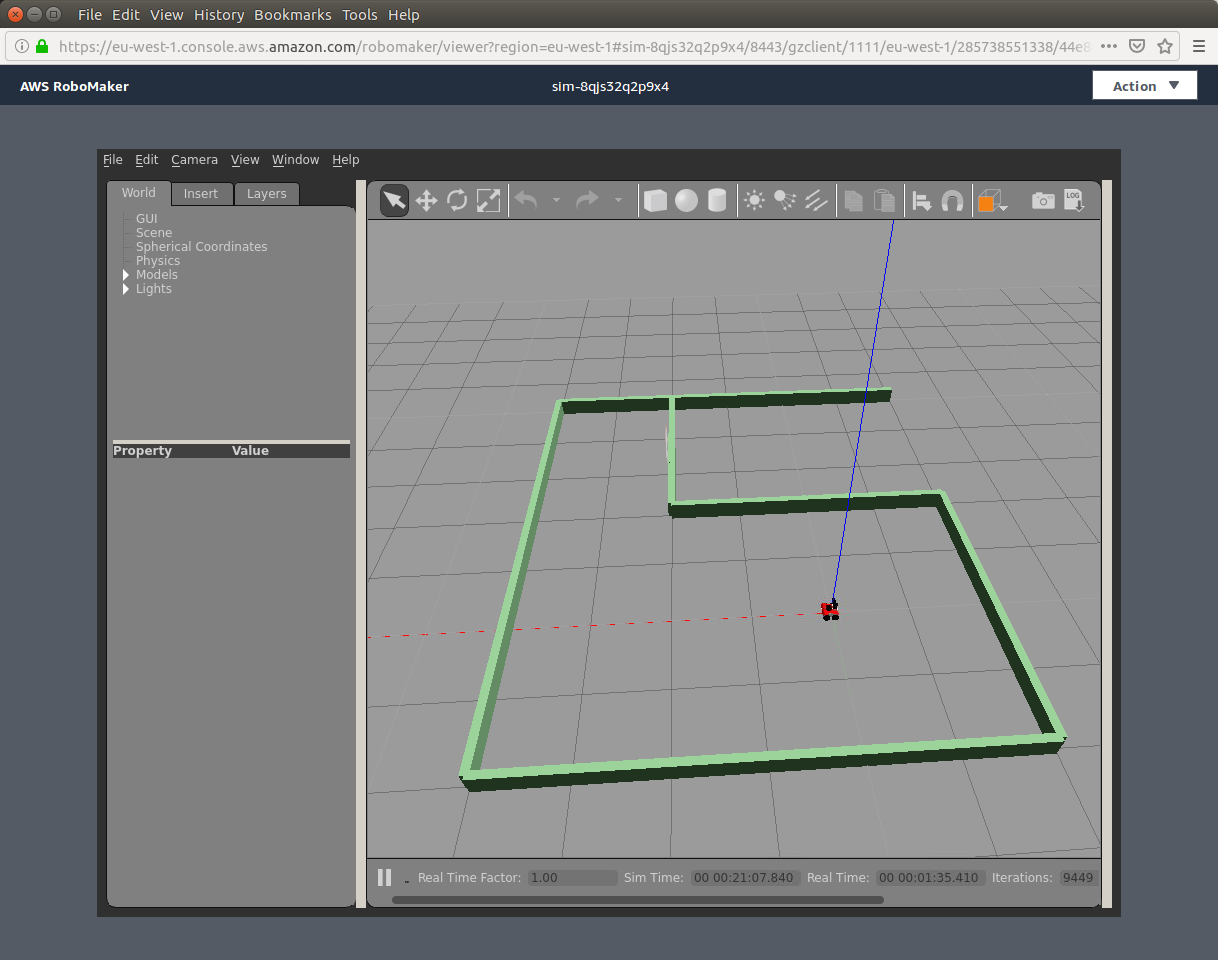
Congratulations!
You’ve just run Gazebo version of 8 - SLAM on AWS RoboMaker cloud computing platform. Other tutorials can be launched by selecting appropriate entry in Run -> Launch Simulation menu.
Summary
After completing this tutorial you should be familiar with AWS RoboMaker Service. You should be able to create your own environment and run various robotics simulations (in this case Husarion ROS Tutorial 9).
Possibility of outsourcing computation to powerful cloud servers opens doors for even more advanced robotics simulation for users that are not equipped with efficient work stations. We hope that this tutorial will help you understand basics of running ROS simulations in AWS RobotMaker by Amazon.
by Łukasz Mitka, Husarion
Need help with this article or experiencing issues with software or hardware? 🤔
- Feel free to share your thoughts and questions on our Community Forum. 💬
- To contact service support, please use our dedicated Issue Form. 📝
- Alternatively, you can also contact our support team directly at: support@husarion.com. 📧