ROSbot XL Autonomy Package Assembly
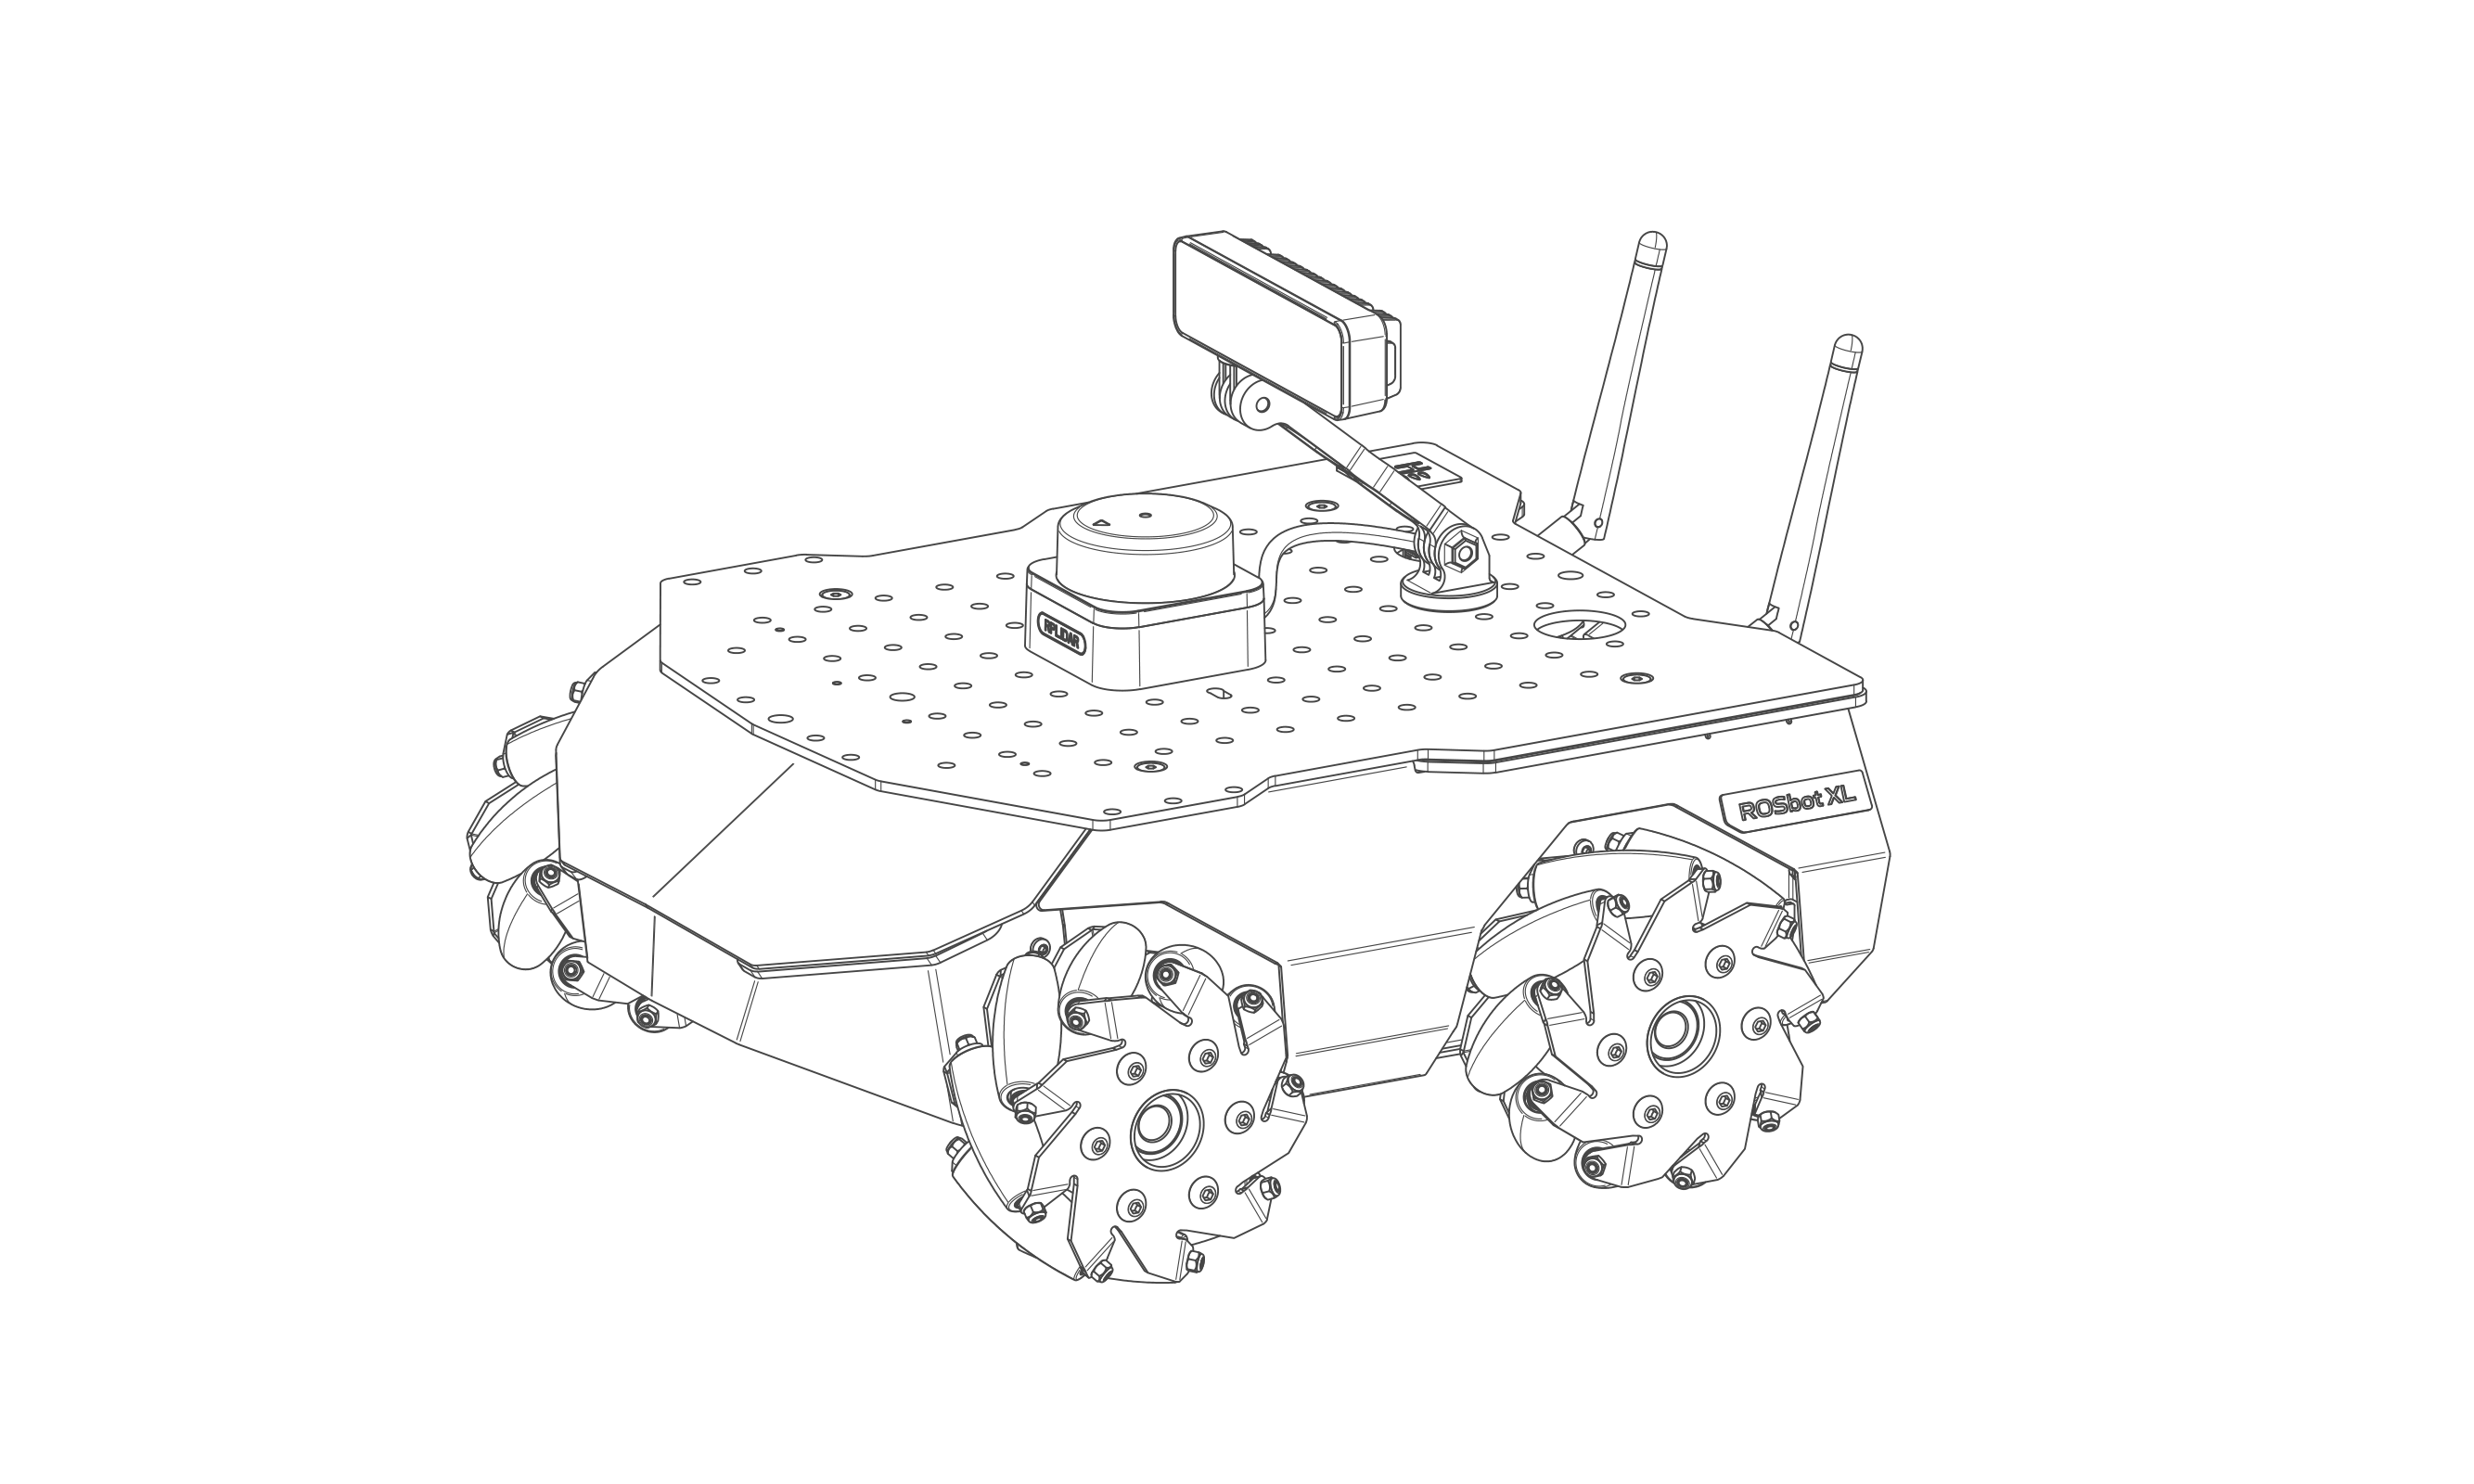
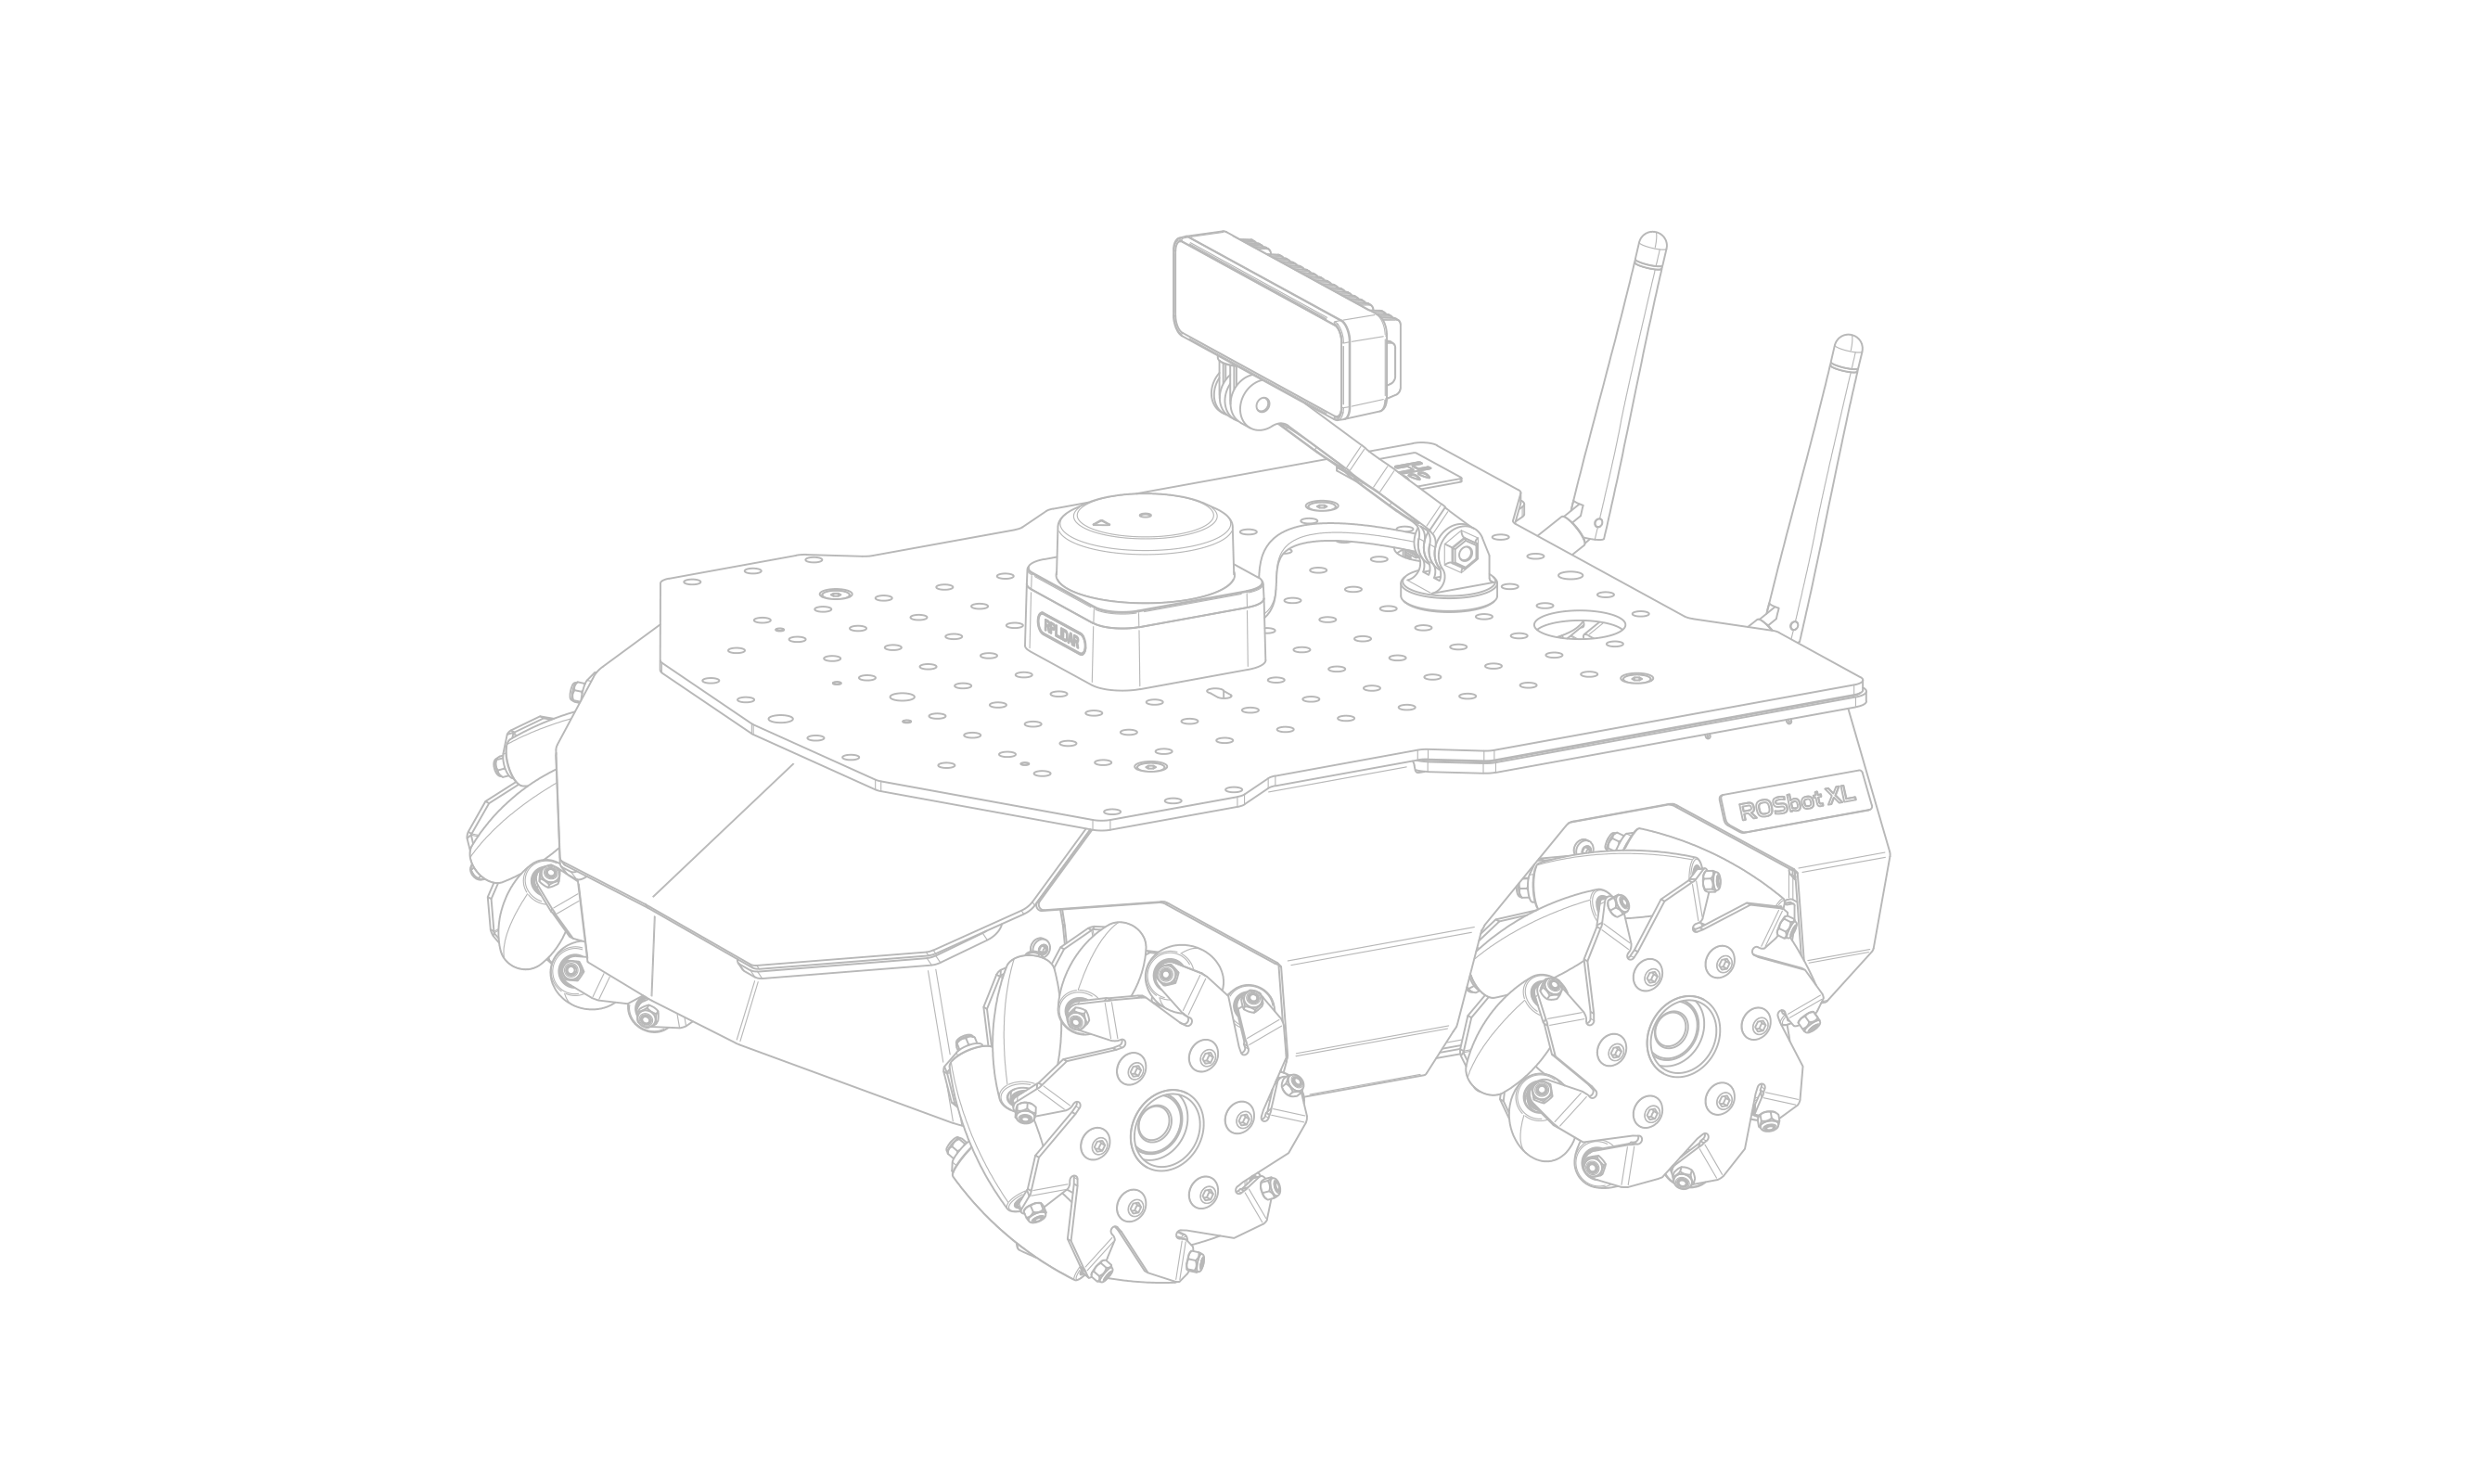
These are the assembly instructions for the Husarion ROSbot XL Autonomy Package.
Follow the instructions below and perform the steps in the order given.
A ROSbot XL purchased with the Autonomy Package is delivered unassembled. The plastic case contains the ROSbot XL and its standard equipment; the cardboard boxes contain the lidar, the camera and all the components required to mount them on the robot.
To perform the steps described below, you will need basic tools such as Allen keys and/or a PH1 screwdriver. The Allen keys are supplied with the platform.
Assembling the camera
-
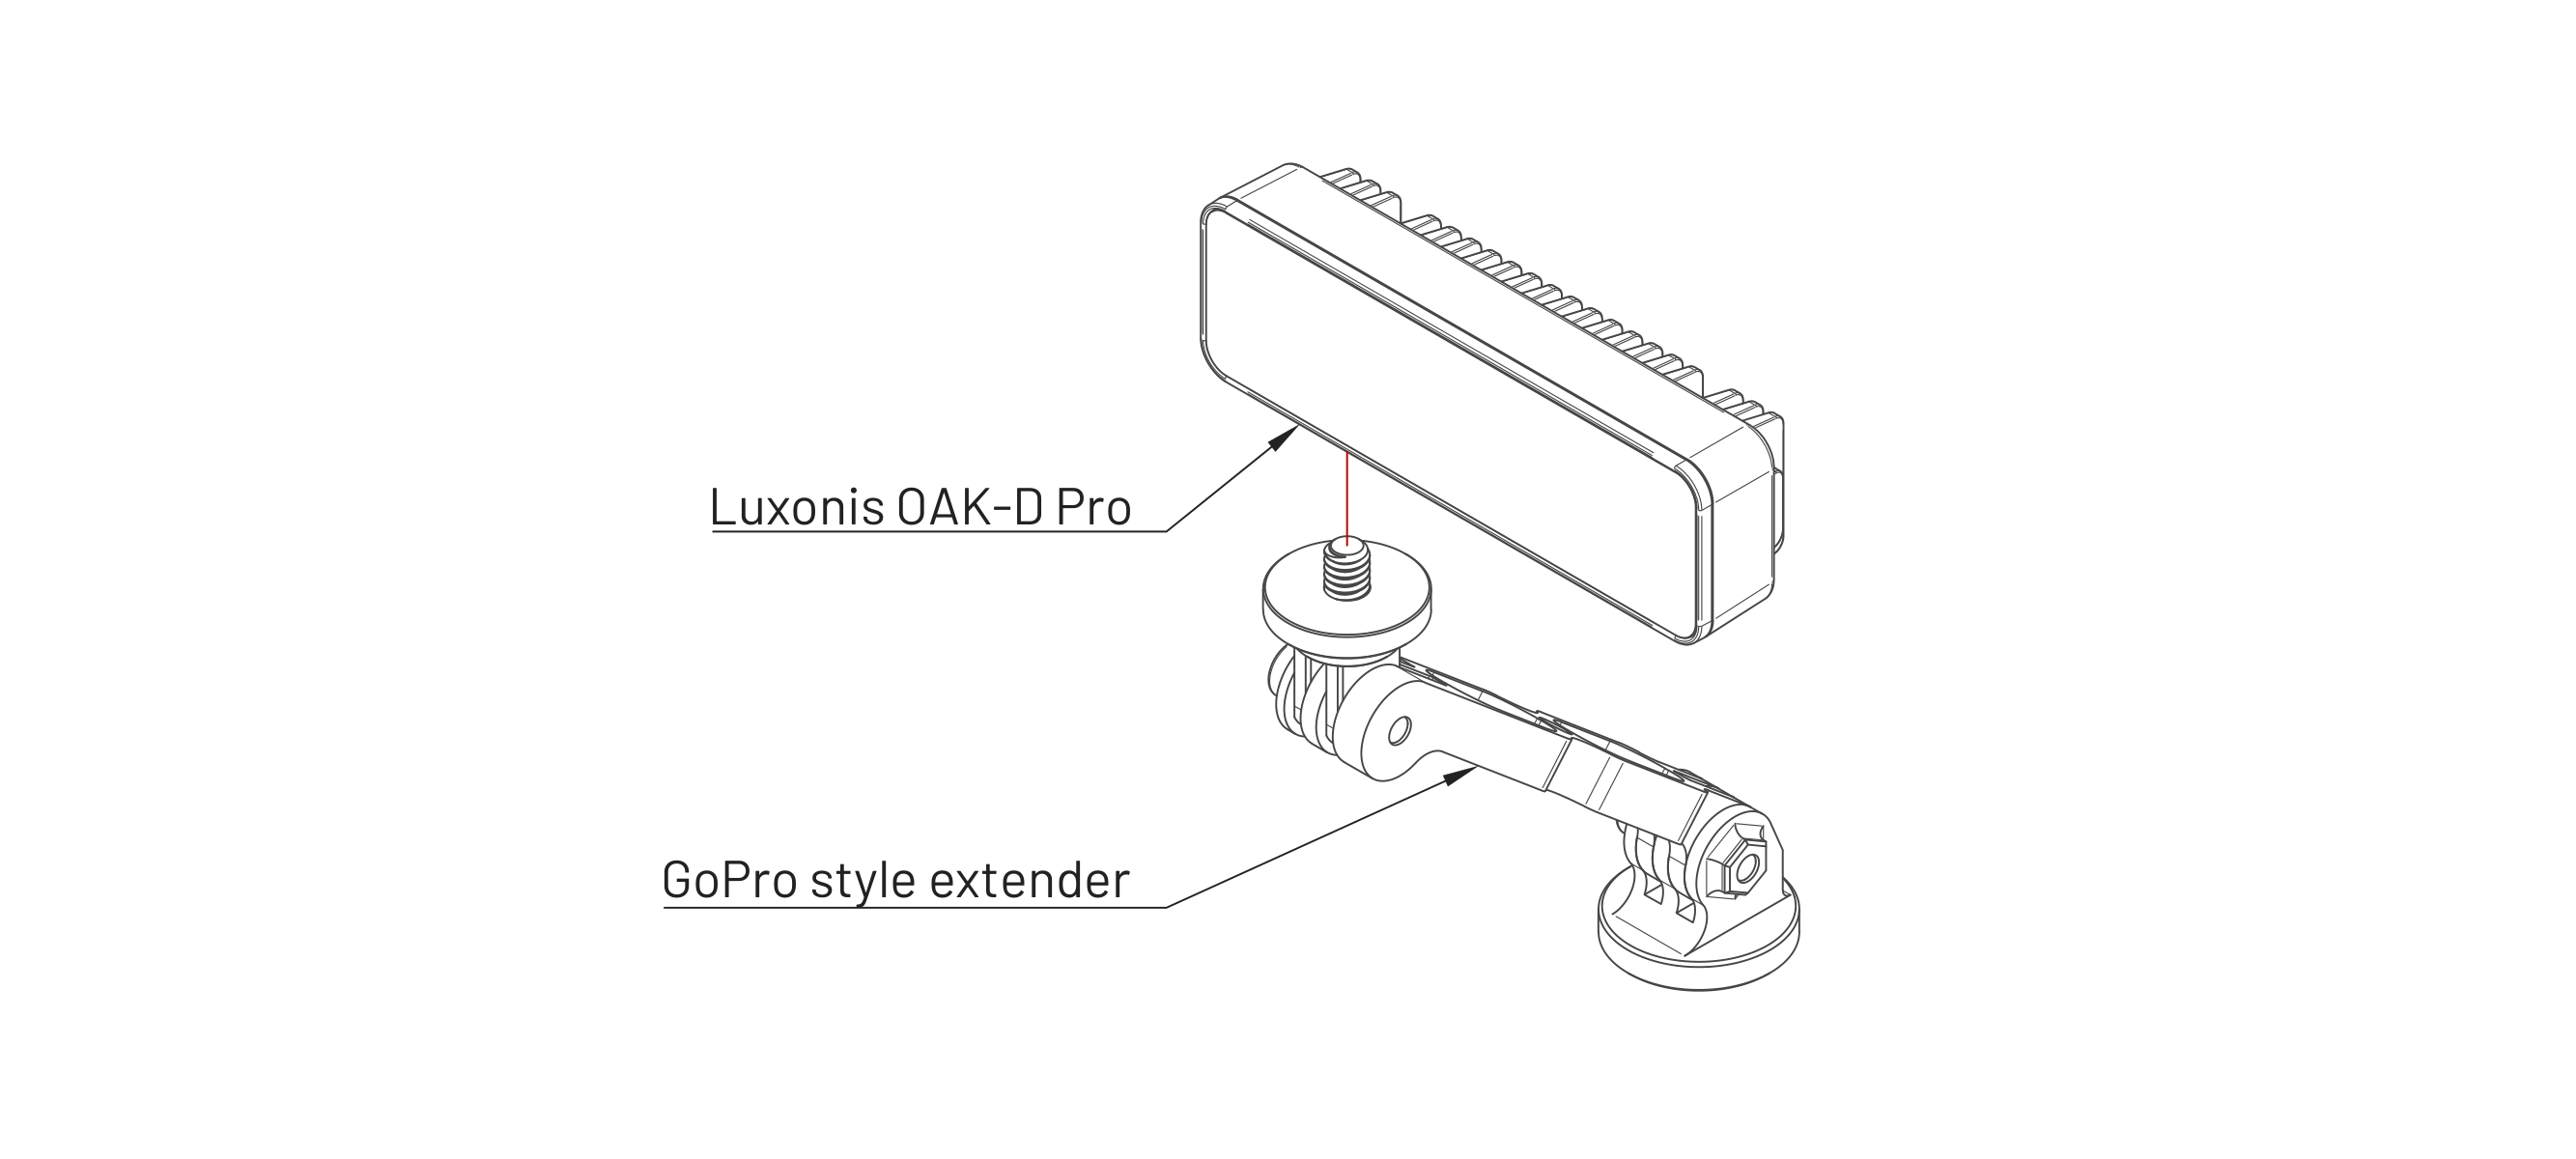
Screw the Luxonis OAK-D Pro camera to the GoPro-style mount.
Mounting on the ROSbot XL
-
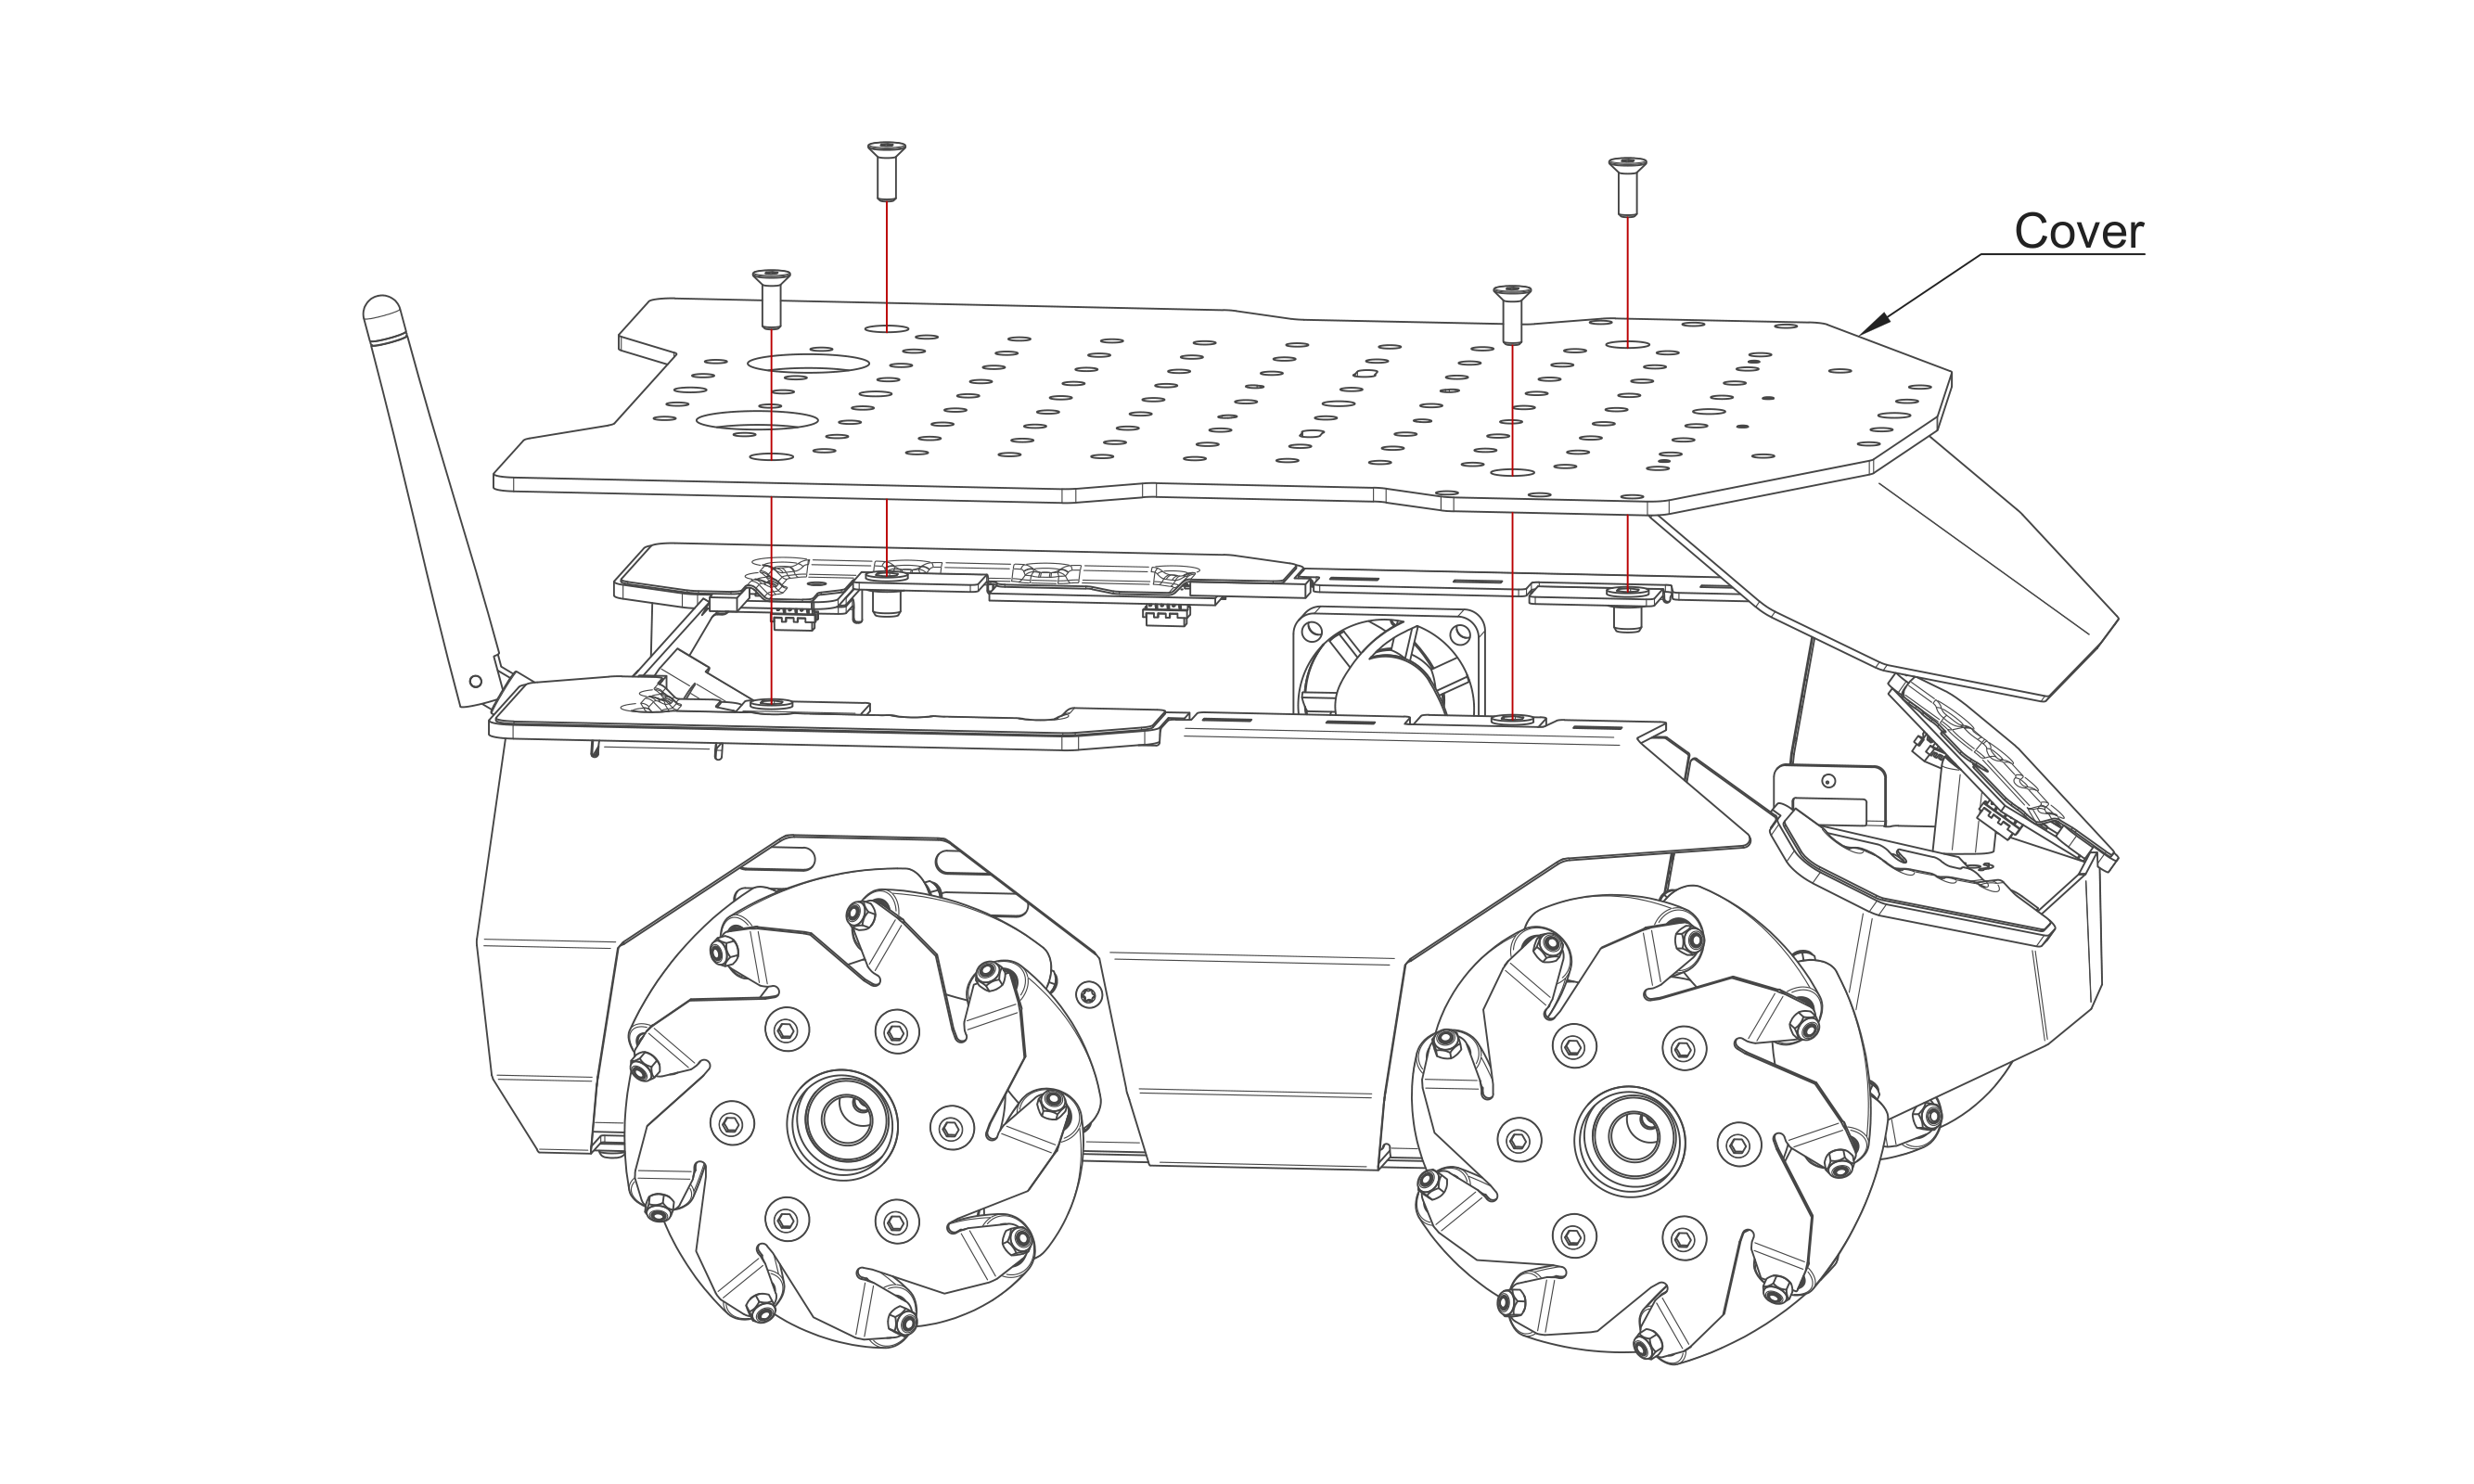
Unscrew and remove the Cover.
-
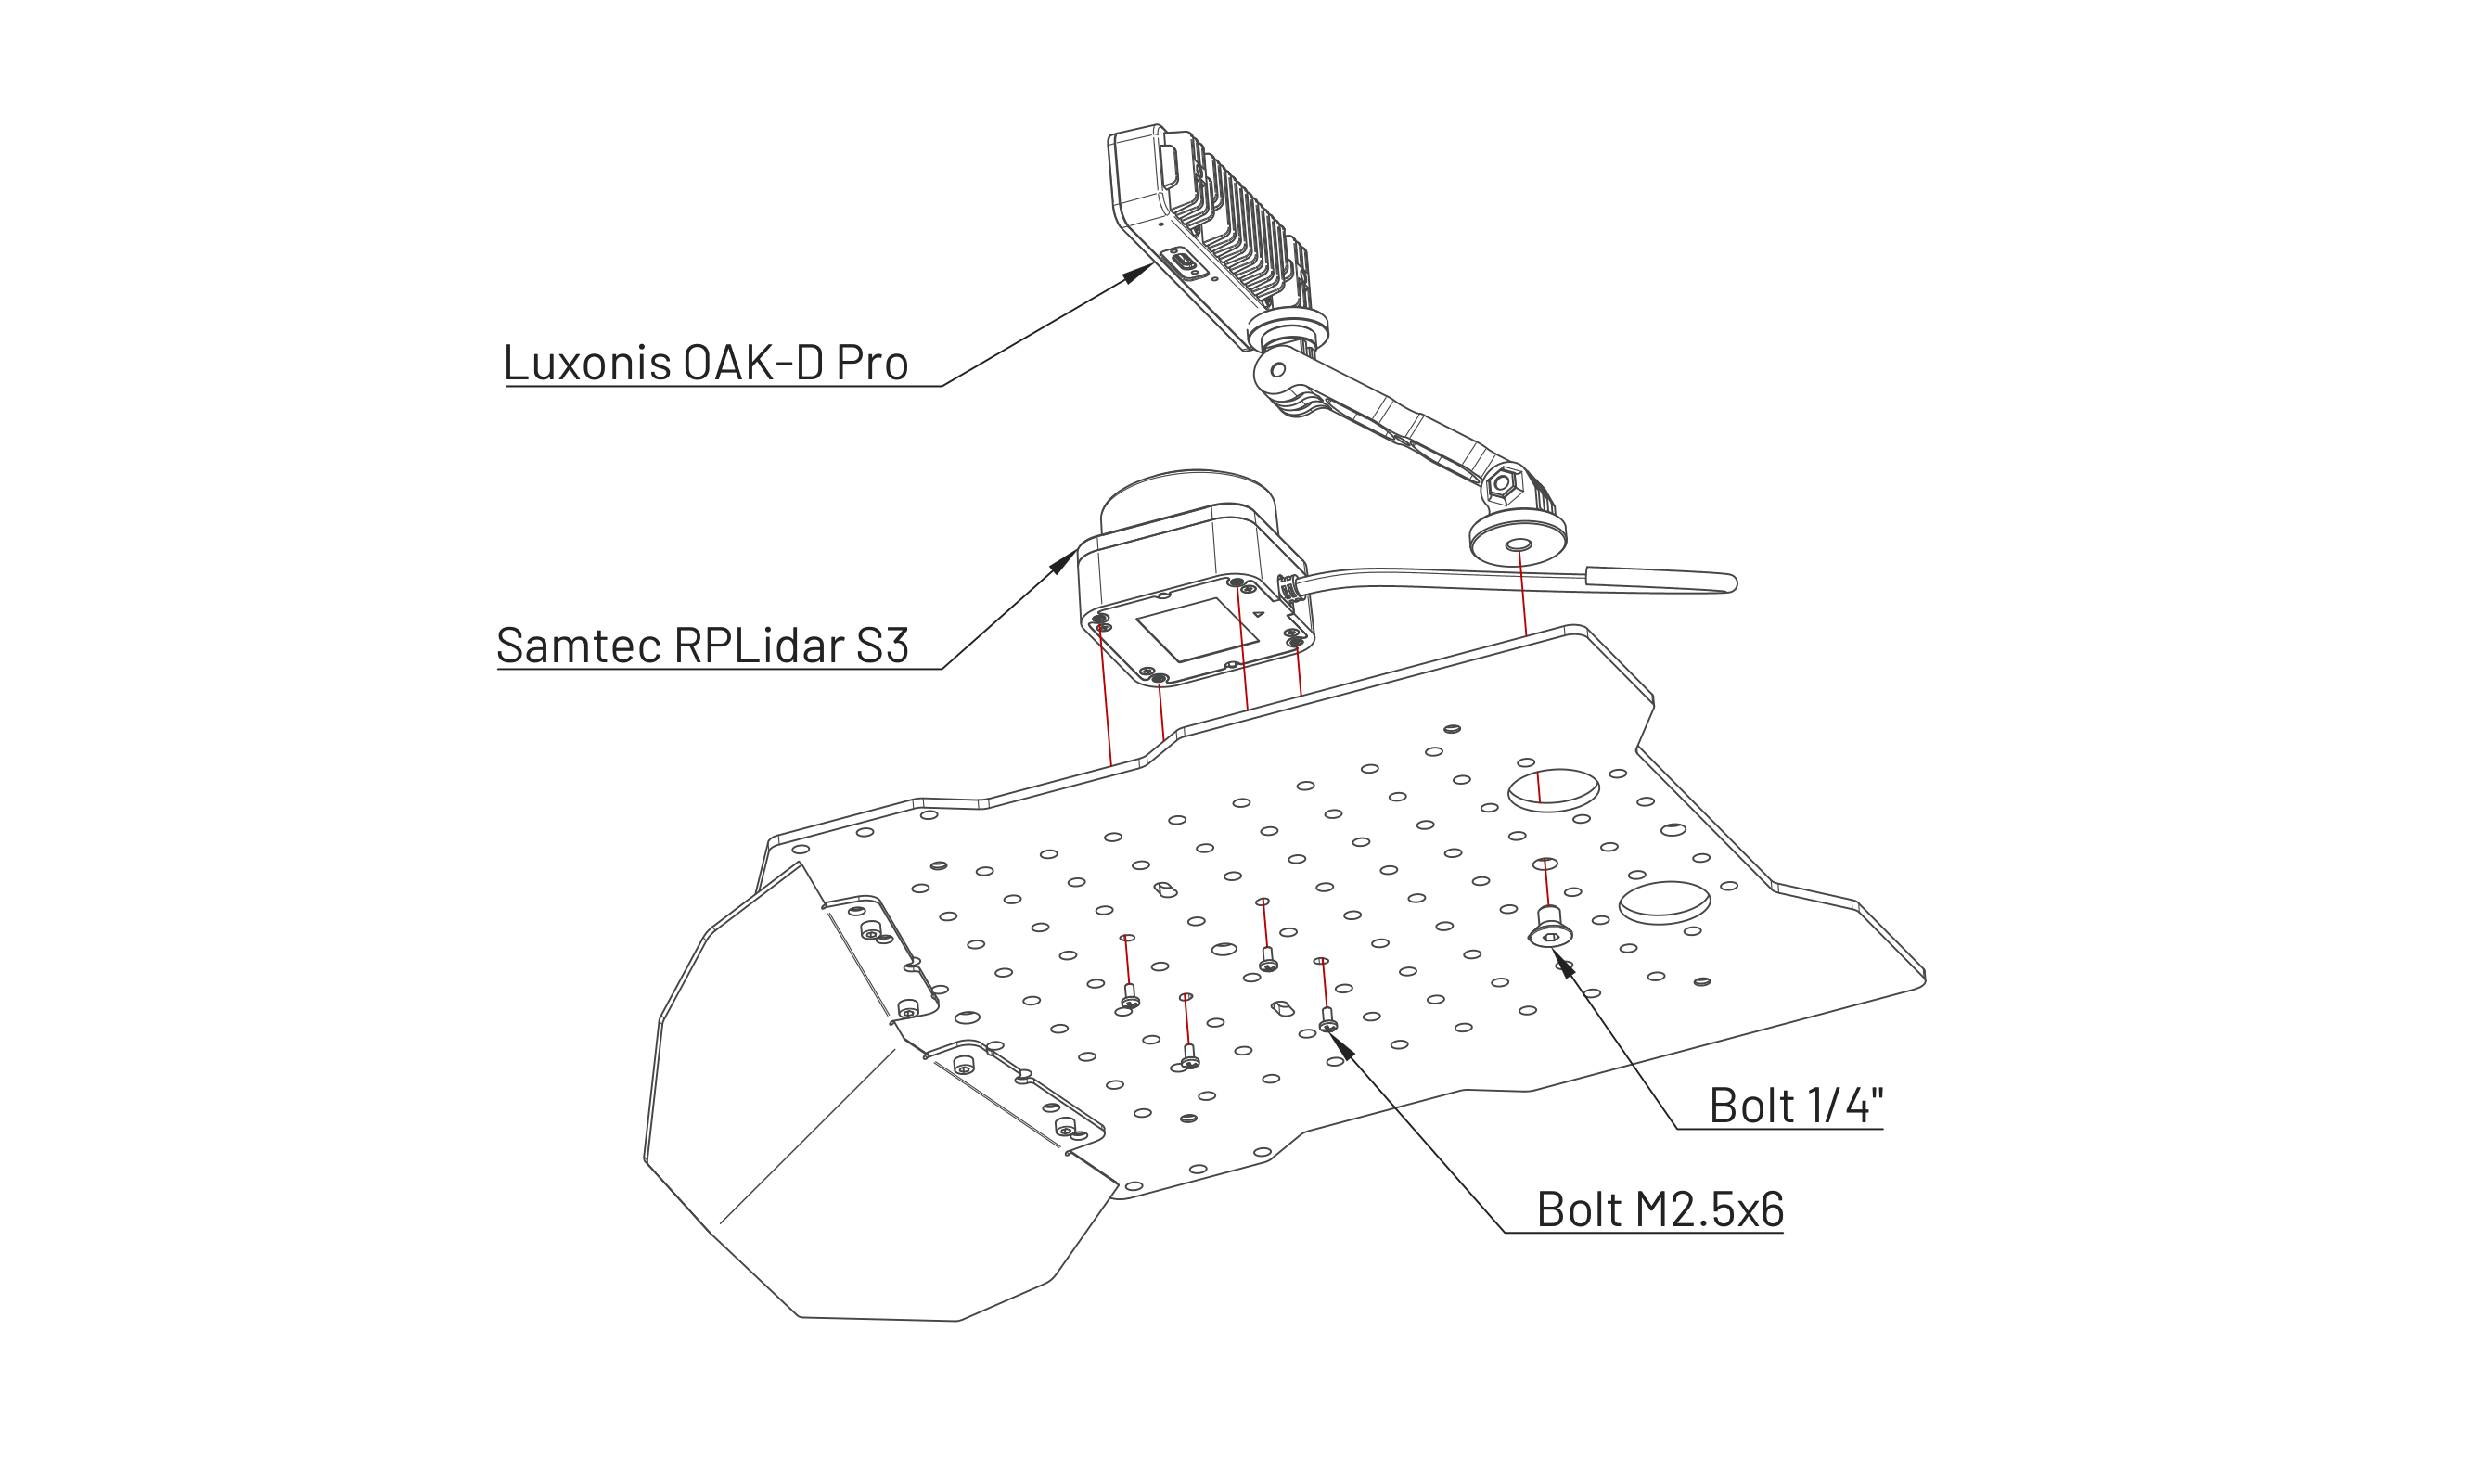
Mount the Luxonis OAK-D Pro camera and the Slamtec RPLIDAR S3 on the Cover.
-
Connect the USB-A to USB-C cable to the Luxonis OAK-D Pro camera.
-
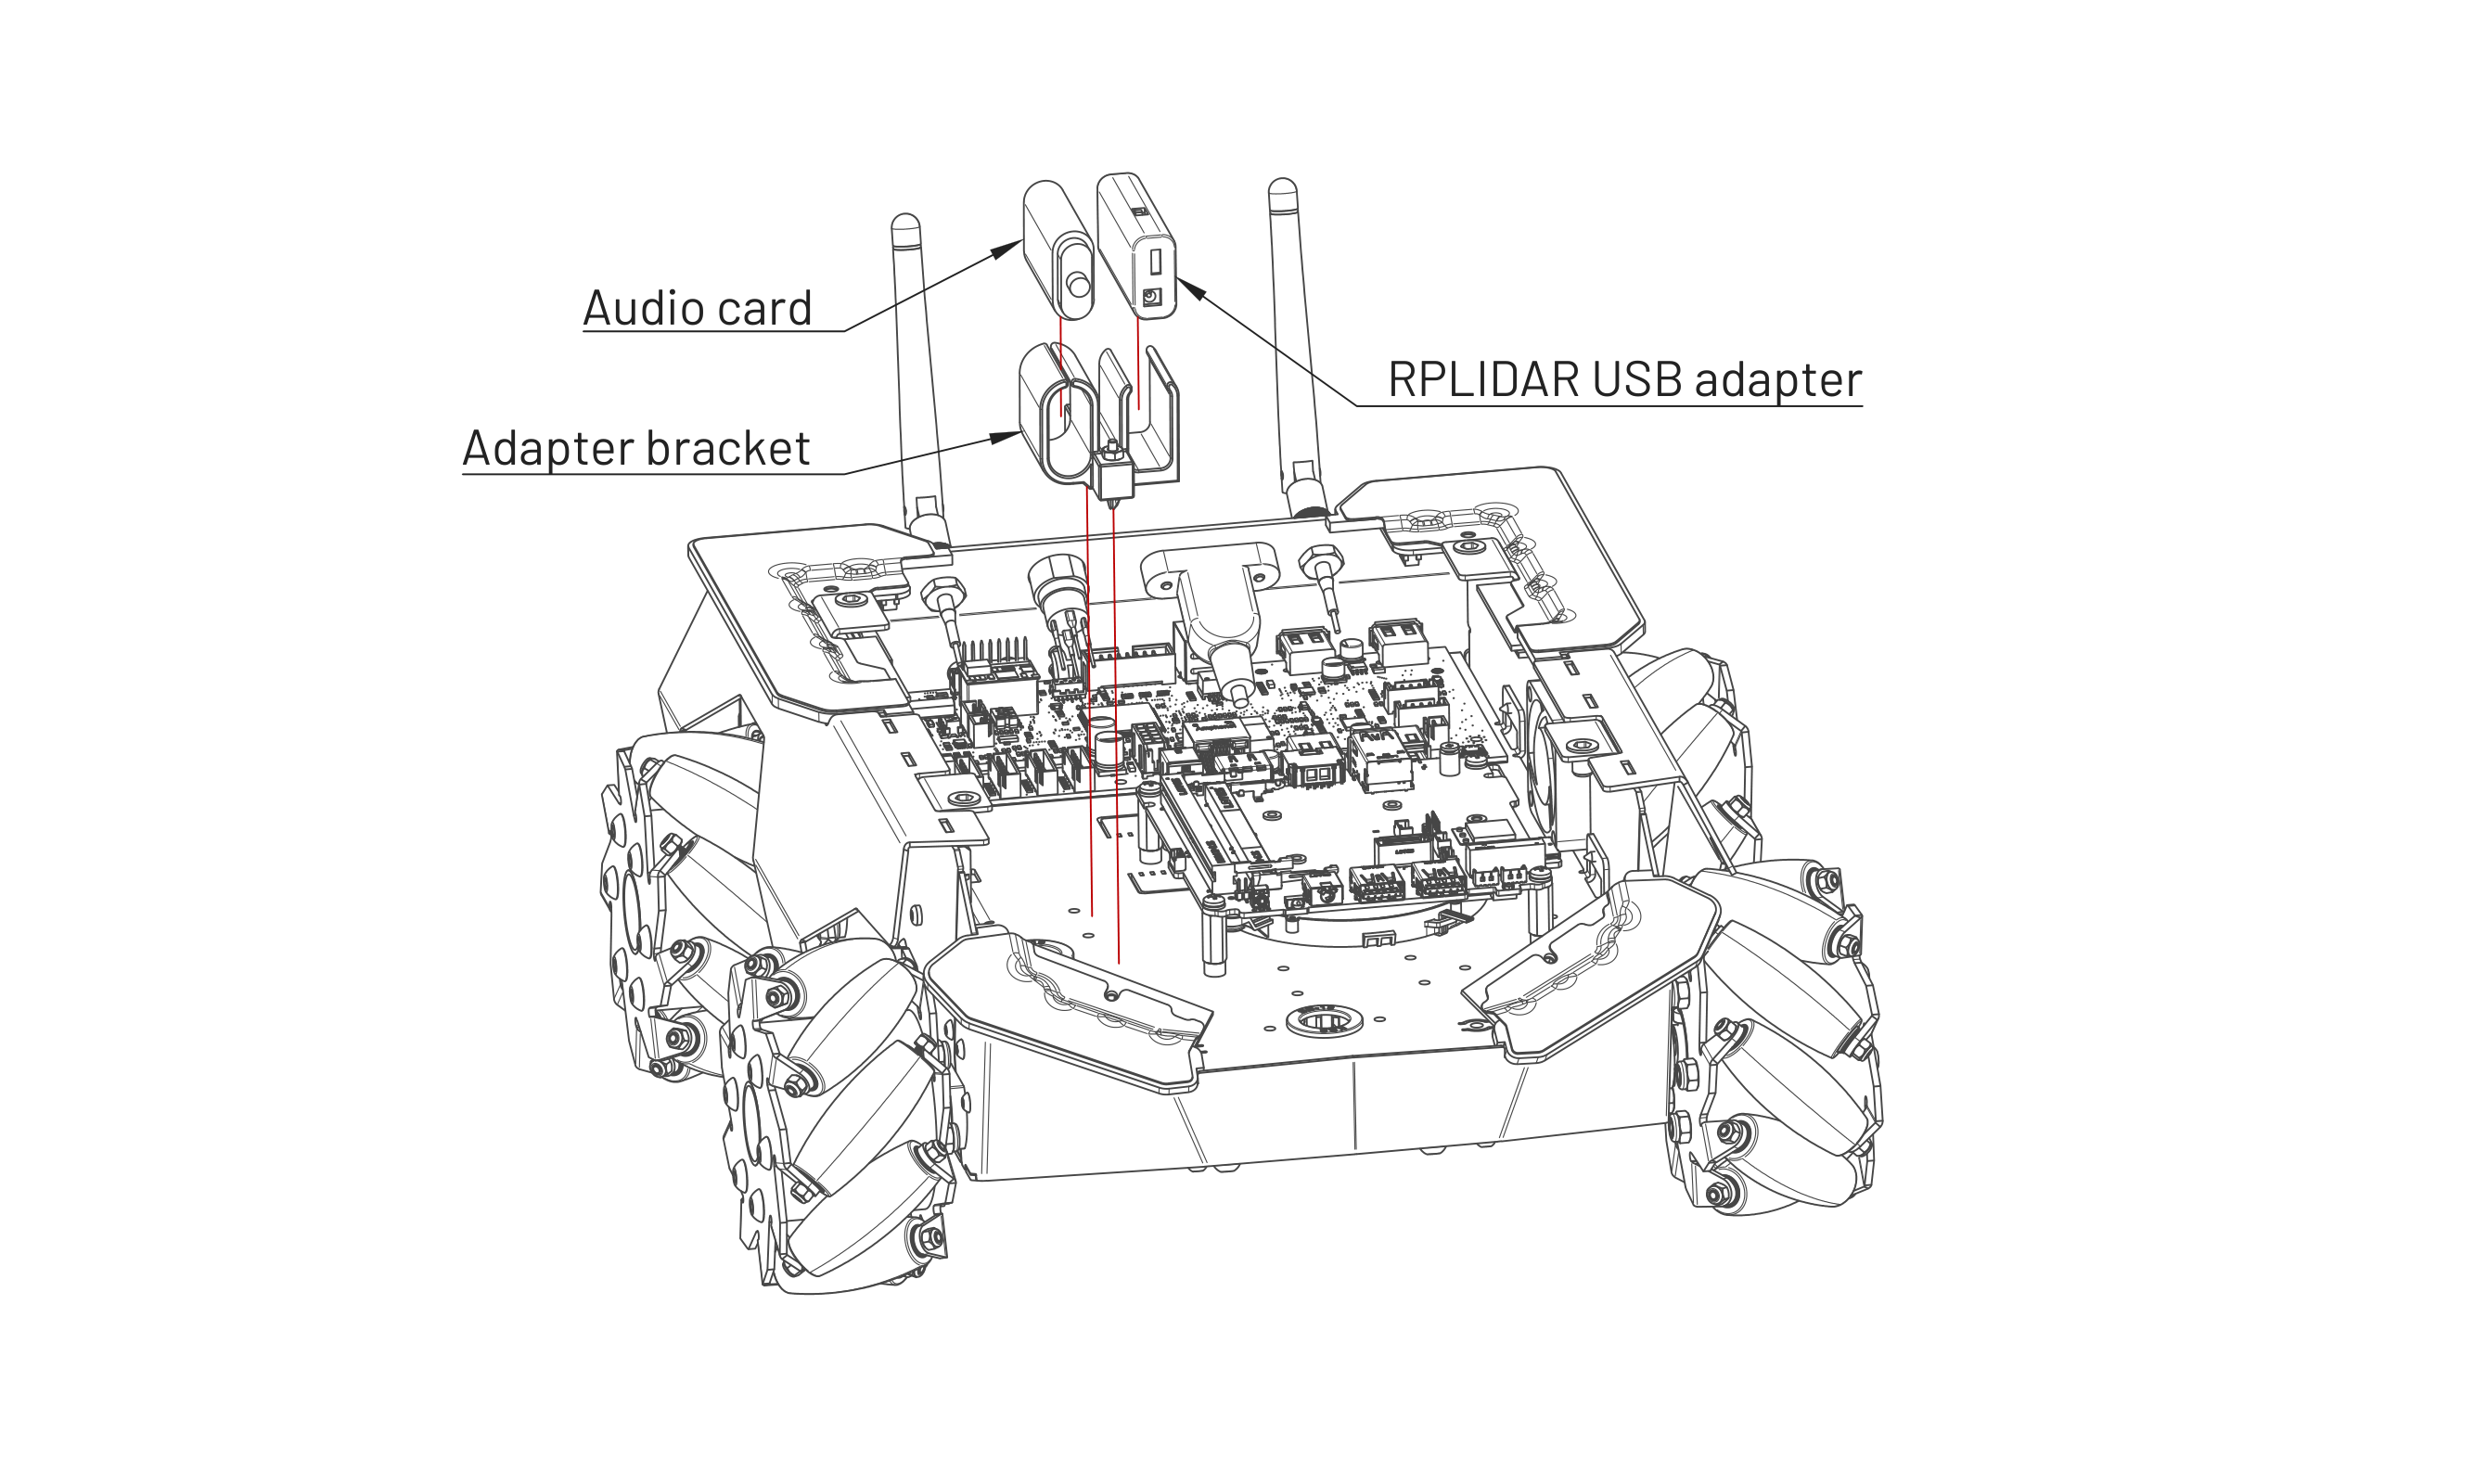
Insert the RPLIDAR USB adapter and the audio card with the adapter bracket into the User Shelf.
-
Connect the micro-USB to USB-A cable between the NUC computer and the RPLIDAR USB adapter.
-
Connect the RPLIDAR S3 to the RPLIDAR USB adapter.
-
Connect the USB-A plug of the camera cable to the NUC computer.
-
Mount the Cover on the ROSbot XL.
Software check
If the Luxonis OAK-D Pro camera has been installed correctly, the lsusb command run on the User Computer will show the following or similar output:
Bus 00x Device xxx: ID 03e7:2485 Intel Movidius MyriadX
or
Bus 00x Device 00x: ID 03e7:f63b Intel Myriad VPU [Movidius Neural Compute Stick]
For the lidar, the output should be:
Bus 00x Device 00x: ID 10c4:ea60 Silicon Labs CP210x UART Bridge