Introduction
Have you ever wanted to increase the amount of computing power in your CORE2-ROS with RPi or Asus Tinker Board? You can easily replace the SBC with for your laptop or PC. This tutorial shows how to use CORE2 in ROS project with any type of computer with Linux.
First steps
- Turn on your computer.
- Make sure you already have installed ROS. If you haven't, please check installation manual.
- Create new Husarion project in VSC following this tutorial.
- When you create new Husarion project open
main.cppfile and take a look on code from next chapter.
How to write a code
It's quite easy to create simple publisher to ROS. Let's create example with publishing battery voltage. Code should look like this:
#include "hFramework.h"
#include "ros.h"
#include "sensor_msgs/BatteryState.h"

using namespace hFramework;

ros::NodeHandle nh;
sensor_msgs::BatteryState battery;
ros::Publisher *battery_pub;

int publish_counter = 0;

void initBatteryPublisher()
{
    battery_pub = new ros::Publisher("/battery", &battery);
    nh.advertise(*battery_pub);
}

void hMain()
{
    Serial.init(500000, Parity::None, StopBits::One);
    uint32_t t = sys.getRefTime();
    nh.getHardware()->initWithDevice(&Serial);
    nh.initNode();

    initBatteryPublisher();

    while (true)
    {
        nh.spinOnce();
        publish_counter++;
        if (publish_counter > 10)
        {
            // get battery voltage
            battery.voltage = sys.getSupplyVoltage();
            // publish battery voltage
            battery_pub->publish(&battery);
            publish_counter = 0;
        }
        sys.delaySync(t, 10);
    }
}
Let's explain this code line by line.
Include required headers:
#include "hFramework.h"
#include "ros.h"
#include "sensor_msgs/BatteryState.h"
Load namespace for Husarion functions:
using namespace hFramework;
Create handle for node:
ros::NodeHandle nh;
Define type of message and publisher for a battery:
sensor_msgs::BatteryState battery;
ros::Publisher *battery_pub;
Declaration of integer variable for counting messages:
int publish_counter = 0;
Function for initialization of battery state publisher:
void initBatteryPublisher()
{
    battery_pub = new ros::Publisher("/battery", &battery);
    nh.advertise(*battery_pub);
}
Main function, initialization of serial with parameters and set USB serial as default:
void hMain()
{
    Serial.init(500000, Parity::None, StopBits::One);
    uint32_t t = sys.getRefTime();
    nh.getHardware()->initWithDevice(&Serial);
Messages initialization:
    nh.initNode();

    initBatteryPublisher();
Infinite loop, waiting for incoming messages:
while (true)
    {
        nh.spinOnce();
        publish_counter++;
        if (publish_counter > 10)
        {
            // get battery voltage
            battery.voltage = sys.getSupplyVoltage();
            // publish battery voltage
            battery_pub->publish(&battery);
            publish_counter = 0;
        }
        sys.delaySync(t, 10);
    }
You just have to build ([Ctrl]+[Shift]+[B]) this code and flash ([Ctrl]+[Shift]+[P] >> "Flash project to CORE2") it to your CORE2. You can also do it using IDE from Husarion Cloud.
How to connect CORE2 and run communication
You will need USB A ⟷ microUSB cable. One side with micro USB plug into CORE2 and second to one of USB ports ogf your computer running ros.
Open termnal and run:
roscore
Open new tab and type:
rosrun rosserial_python serial_node.py _baud:=500000 _port:=/dev/ttyUSB0
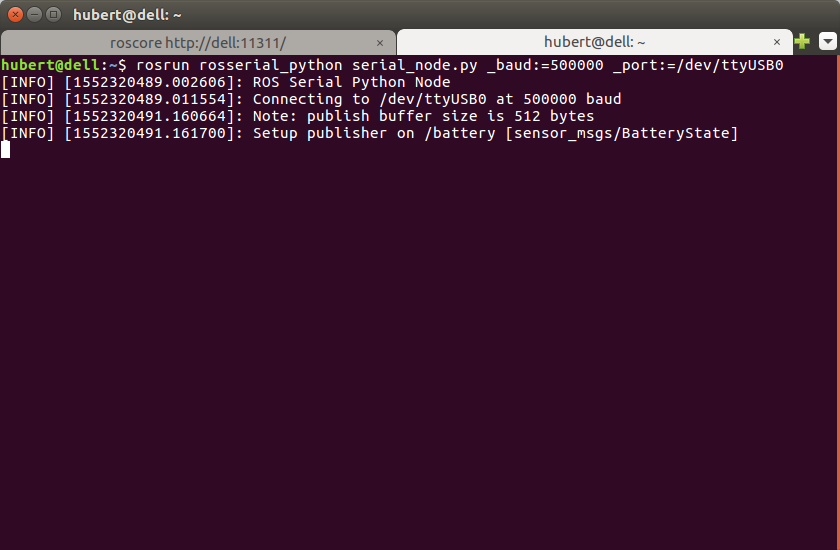
Note that CORE2 port name may be listed under different number, e.g. /dev/ttyUSB1
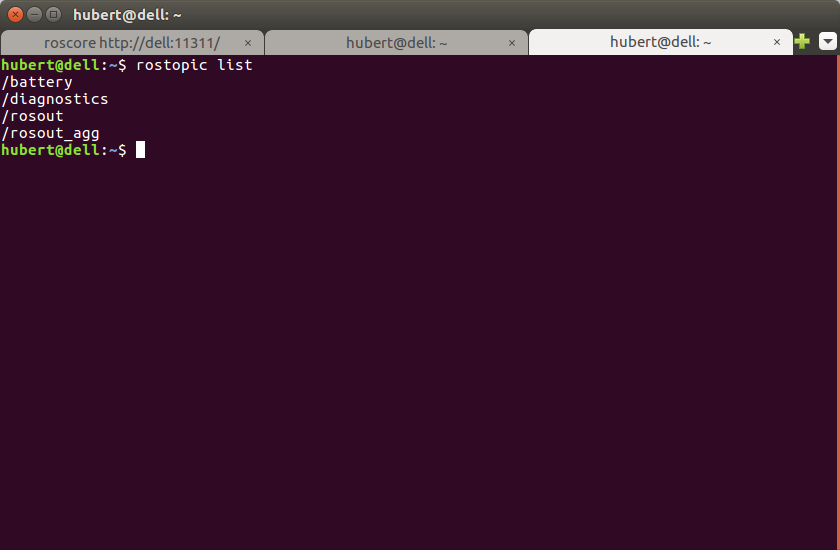
Type rostopic list to check list of available topics.
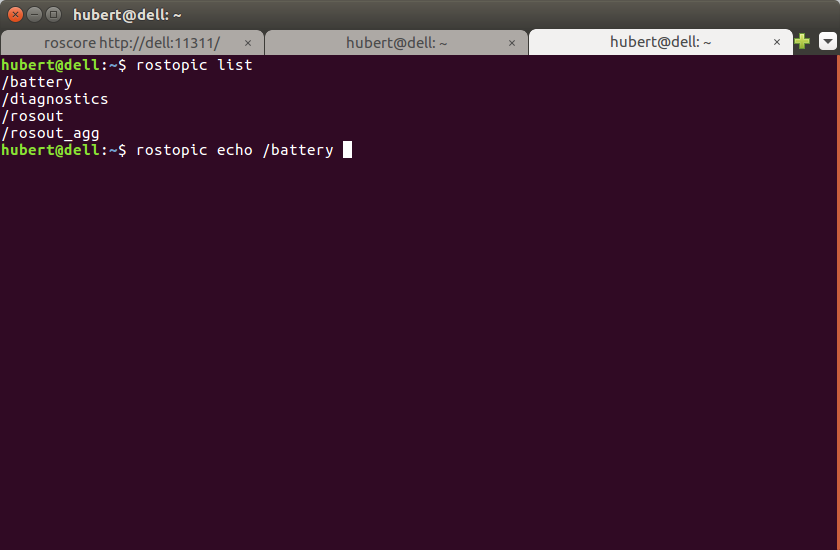
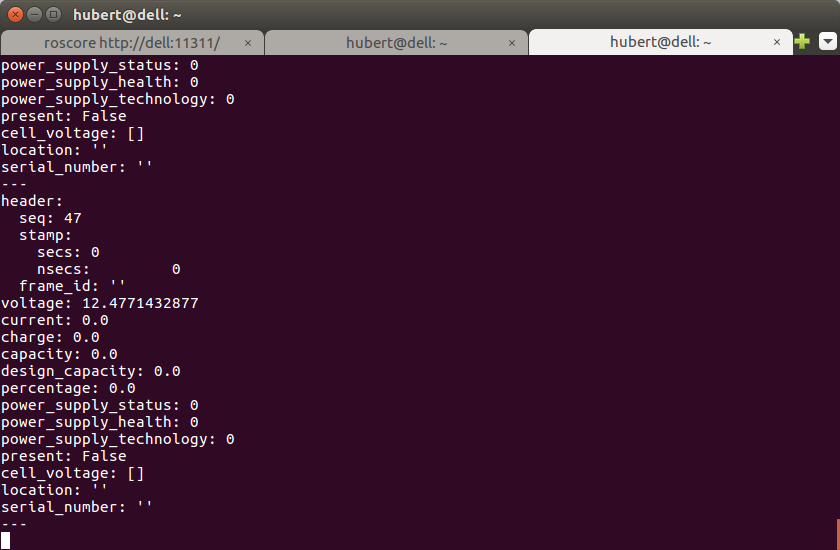
Using rostopic echo /battery you will see all messages from topic /battery
Output should look like this:
Summary
After completing this tutorial you should be able to use CORE2 as a part of your ROS project.
by Hubert Zwiercan, Husarion
Need help with this article or experiencing issues with software or hardware? 🤔
- Feel free to share your thoughts and questions on our Community Forum. 💬
- To contact service support, please use our dedicated Issue Form. 📝
- Alternatively, you can also contact our support team directly at: support@husarion.com. 📧