ROSbot 2R / 2 PRO / 2 - Network configuration (legacy images)
ROSbot 2R, 2 PRO and 2 shipped with older operating system images that configure the network differently. If you installed Husarion OS on them, follow the Network page instead.
Using display, mouse and keyboard
- ROSbot 2R
- ROSbot 2 PRO
- ROSbot 2
ROSbot is basically a computer running Ubuntu, so let's open it like a standard PC computer.
- Plug in a display with HDMI, mouse and keyboard into the USB port in the rear panel of ROSbot.
- Turn on the robot and wait until it boots.
- Open a terminal.
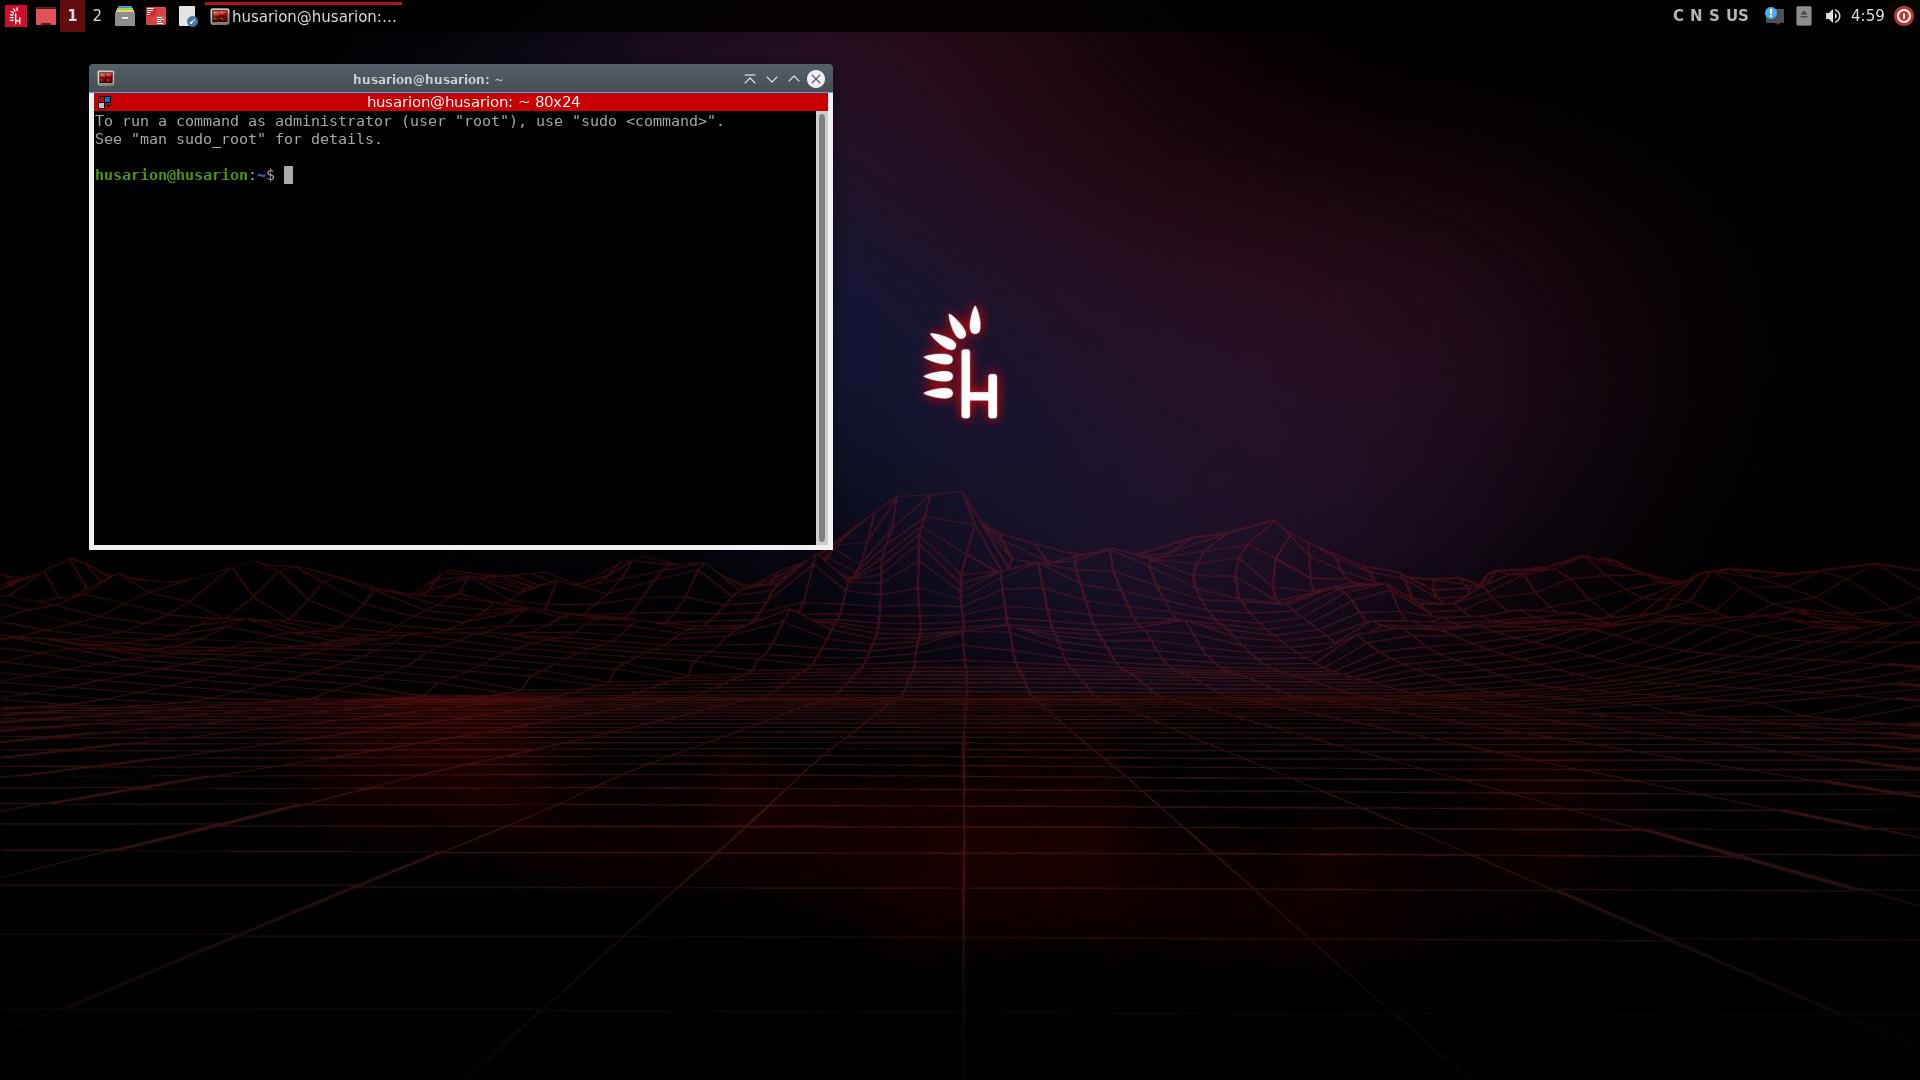
ROSbot's graphical desktop environment requires about 3 minutes to start during first boot. The following ones require only about 1 minute after power on.
Connecting to Wi-Fi with netplan
Find available Wi-Fi networks with this Linux command:
sudo iwlist wlan0 scan
ROSbot 2R is using netplan instead of GUI Wi-Fi manager. It allows you to have all physical network interfaces configured from a single text file.
To connect your ROSbot to a Wi-Fi network edit /etc/netplan/01-network-manager-all.yaml file, eg. with nano:
sudo nano /etc/netplan/01-network-manager-all.yaml
And modify lines 22-23 by replacing "PLACE_YOUR_WIFI_SSID_HERE" with your SSID (Wi-Fi network name) and "PLACE_YOUR_WIFI_PASSWORD_HERE" with your Wi-Fi password:
network:
  version: 2
  renderer: networkd

  ethernets:

    all-eths:
      match:
        name: eth*
      dhcp4: no
      dhcp6: no
      addresses:
       - 192.168.77.2/24

  wifis:

    wlan0:  # external USB Wi-Fi card (with antenna)
      dhcp4: true
      dhcp6: true
      optional: true
      access-points:
        "PLACE_YOUR_WIFI_SSID_HERE":
          password: "PLACE_YOUR_WIFI_PASSWORD_HERE"
save the file then, apply the new network setup:
sudo netplan apply
You can check to which Wi-Fi network your ROSbot is connected by using this command:
sudo iwgetid
If your Wi-Fi network setup is more complex (eg. if you want to connect to Eduroam based Wi-Fi that is popular in many universities), visit netplan configuration examples.
Open Linux terminal and type
sudo ifconfig
to find your IP address (for wlan1 network interface). Save it for later.
ROSbot is basically a computer running Ubuntu, so let's open it like a standard PC computer.
- Plug in a display with HDMI, mouse and keyboard into USB port in the rear panel of ROSbot.
- Turn on the robot and wait until it boots.
- Connect to a Wi-Fi network using Ubuntu GUI
- Open Linux terminal and type
ifconfigto find your IP address. Save it for later.
ROSbot is basically a computer running Ubuntu, so let's open it like a standard PC computer.
- Plug in a display with HDMI, mouse and keyboard into USB port in the rear panel of ROSbot.
- Turn on the robot and wait until it boots.
- Connect to a Wi-Fi network using Ubuntu GUI
- Open Linux terminal and type
ifconfigto find your IP address. Save it for later.
Using an Ethernet adapter
- ROSbot 2R
- ROSbot 2 PRO
- ROSbot 2
In the ROSbot 2R set there is one USB-Ethernet card.
-
Turn on the robot and wait until it boots.
-
Plug in the Ethernet adapter (included in a set) to a USB port in the rear panel.
-
Plug in one end of the Ethernet cable into your computer and another one to the adapter.
-
Set a static IP address on your computer for its Ethernet card in a
192.168.77.0/24subnet, eg:- IPv4:
192.168.77.27 - mask:
255.255.255.0
- IPv4:
-
To connect with ROSbot via ssh, type in your terminal application:
user@mylaptop:~$ ...ssh husarion@192.168.77.2The default password for user
husarionis alsohusarion.
At this point the Wi-Fi configuration process is the same as in the section above
In the ROSbot 2 PRO set there is one USB-Ethernet card.
- Turn on the robot and wait until it boots.
- Plug in Ethernet adapter (included in set) to USB port in the rear panel.
- Plug in one end of the Ethernet cable into your computer and the other one to the adapter.
- To connect with ROSbot via ssh, type in your terminal application:
ssh husarion@192.168.0.1and passwordhusarion. - Connect to a Wi-Fi network.
- In the terminal, type
nmtuiand press Enter. You should see:
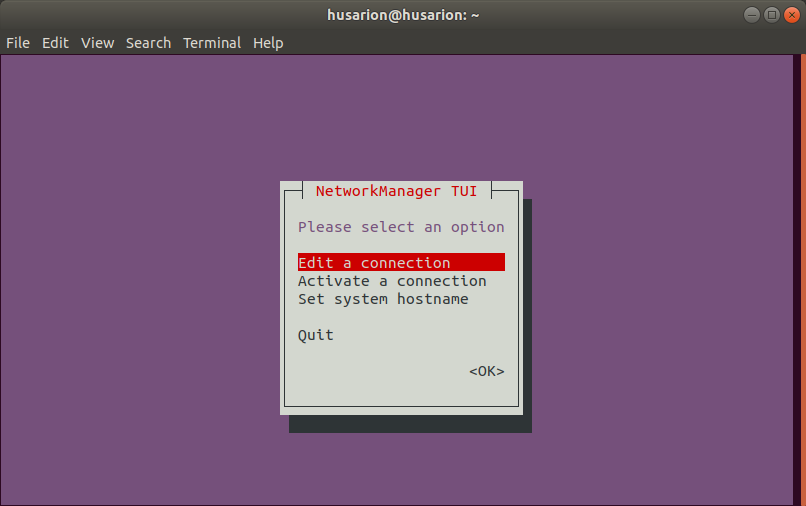
- Go to
Active a connectionand tapEnter
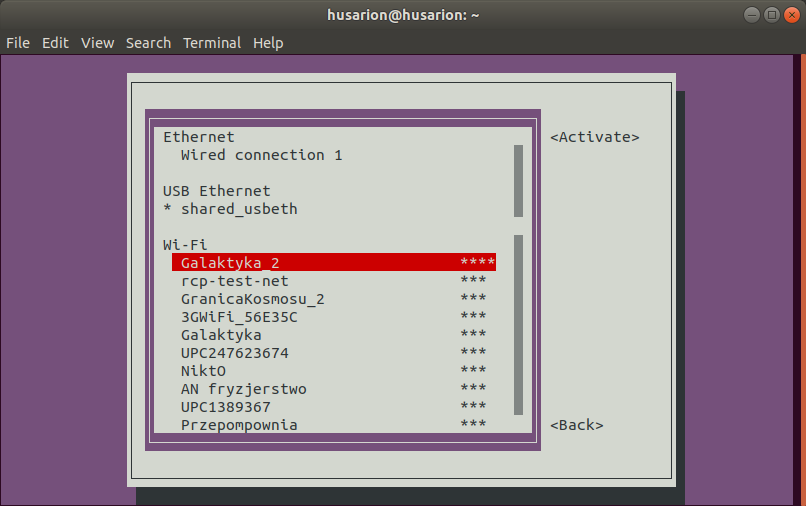
- Chose you Wi-Fi network and tap
Enterone more time. Enter your password, confirm it and tapEscto get back to main menu.
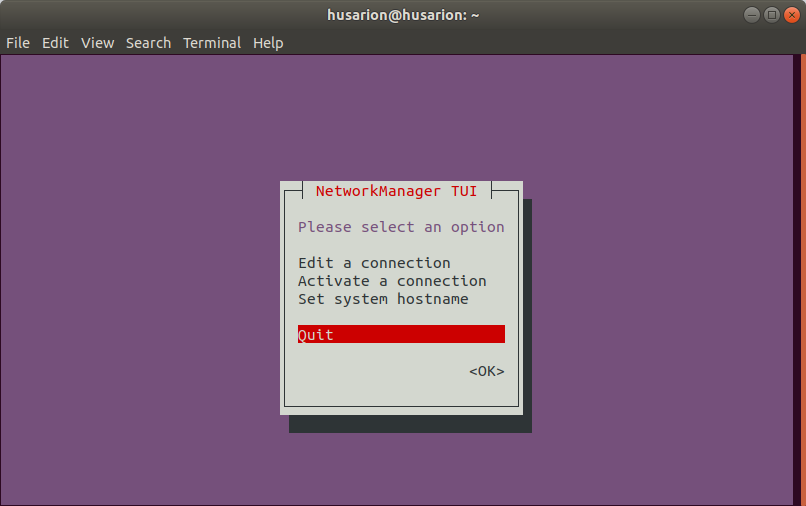
- Use
Quitto closenmtui.
- Type
ifconfigto find your IP address. Save it for later.
In the ROSbot 2 set there is one USB-Ethernet card.
- Turn on the robot and wait until it boots.
- Plug in Ethernet adapter (included in set) to USB port in the rear panel.
- Plug in one end of the Ethernet cable into your computer and the other one to the adapter.
- To connect with ROSbot via ssh, type in your terminal application:
ssh husarion@192.168.0.1and passwordhusarion. - Connect to a Wi-Fi network.
- In the terminal, type
nmtuiand press Enter. You should see:
- Go to
Active a connectionand tapEnter
- Chose you Wi-Fi network and tap
Enterone more time. Enter your password, confirm it and tapEscto get back to main menu.
- Use
Quitto closenmtui.
- Type
ifconfigto find your IP address. Save it for later.
Access the terminal over Wi-Fi
While ROSbot is connected to a Wi-Fi network, you can access it by using its IPv4 address by SSH:
ssh husarion@ROSBOT_IP