Initial Setup Guide
The Husarion OS Flasher Image (HOFI) is a USB stick–based minimal operating system designed specifically for flashing Husarion robots. It runs a lightweight OS tailored for this purpose and includes a dedicated os_images partition for storing the target system images.
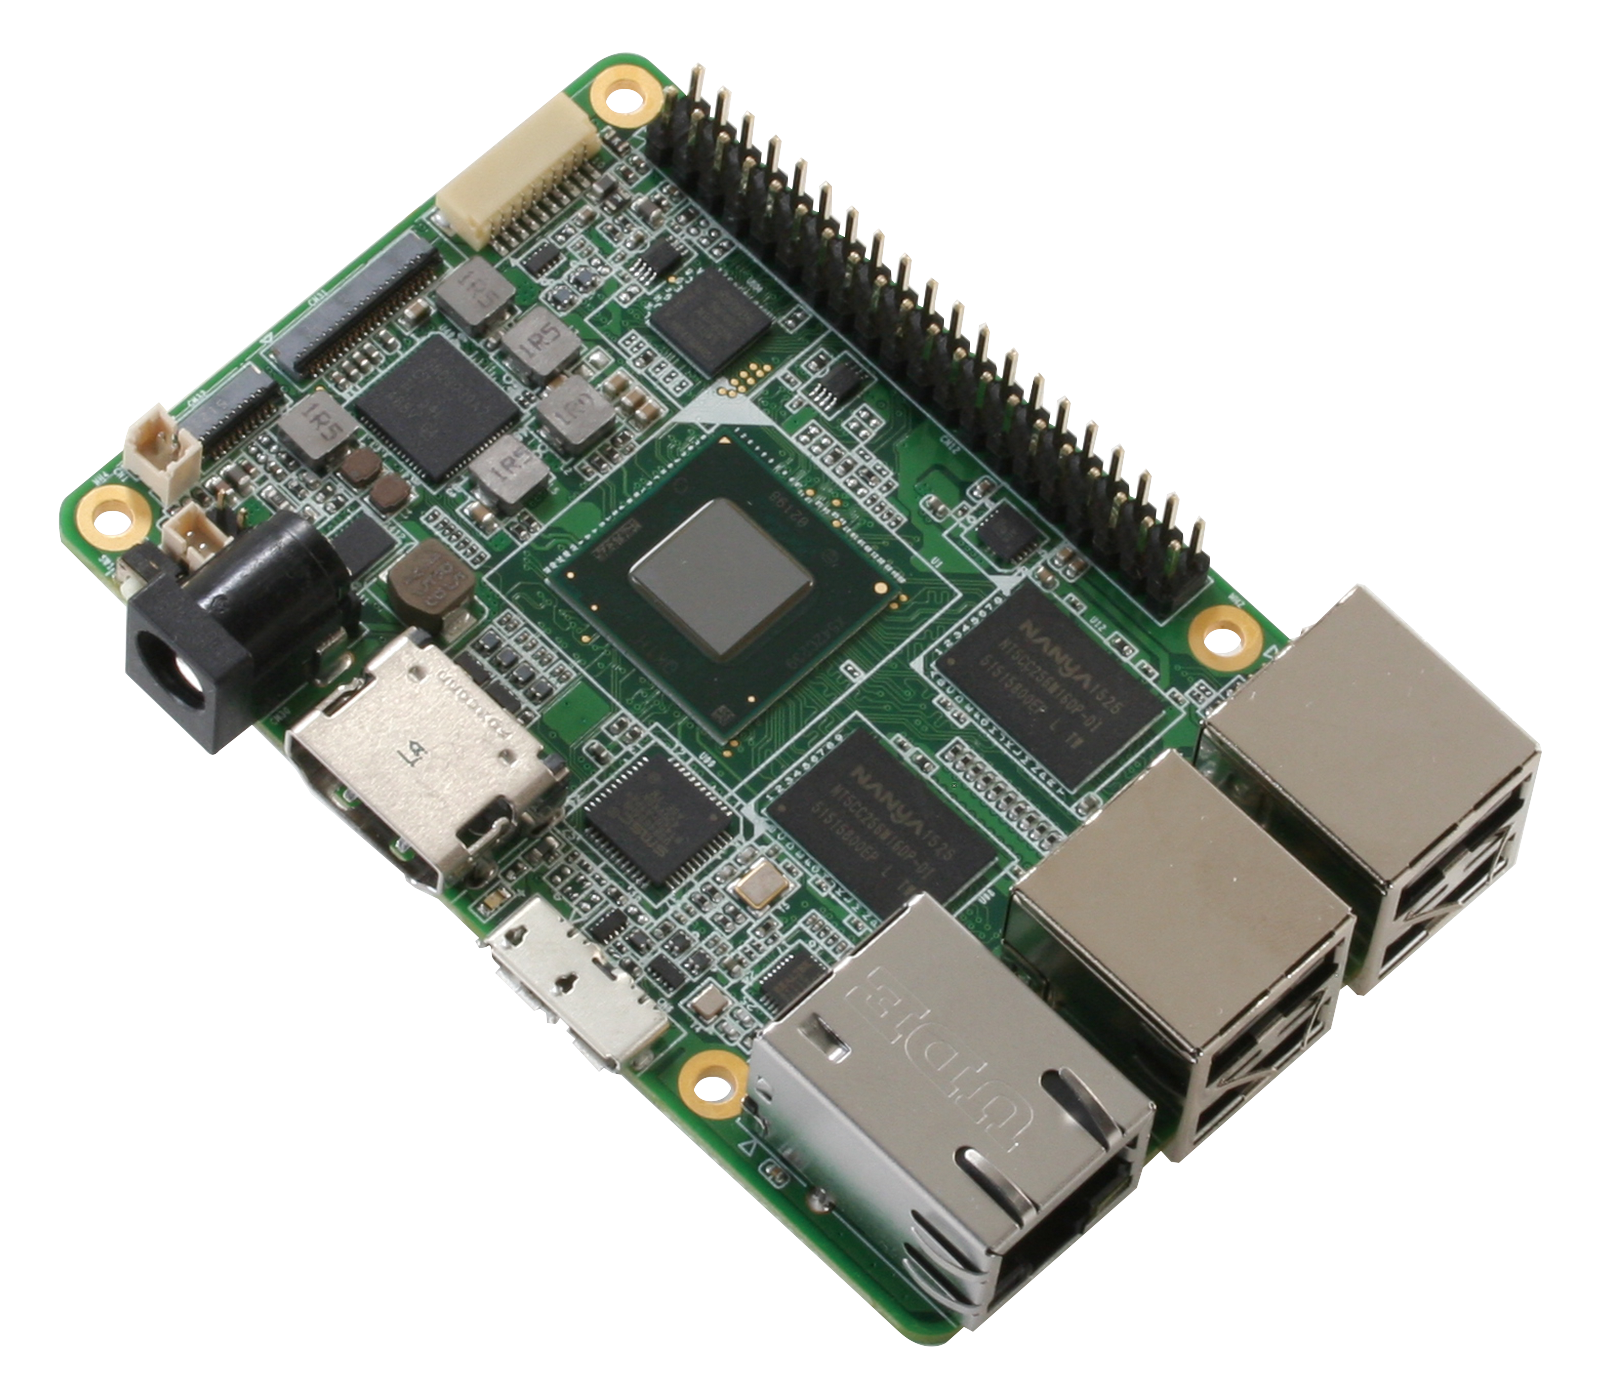
It supports x64-based computers, Raspberry Pi 4 / 5 / CM4 / CM5, and NVIDIA Jetson Orin platforms.
Follow this guide to prepare a HOFI USB drive, which you can use to install or update the operating system on your robot at any time.
Step 1: Download the Right Image
Choose the correct Husarion OS Flasher Image for your device:
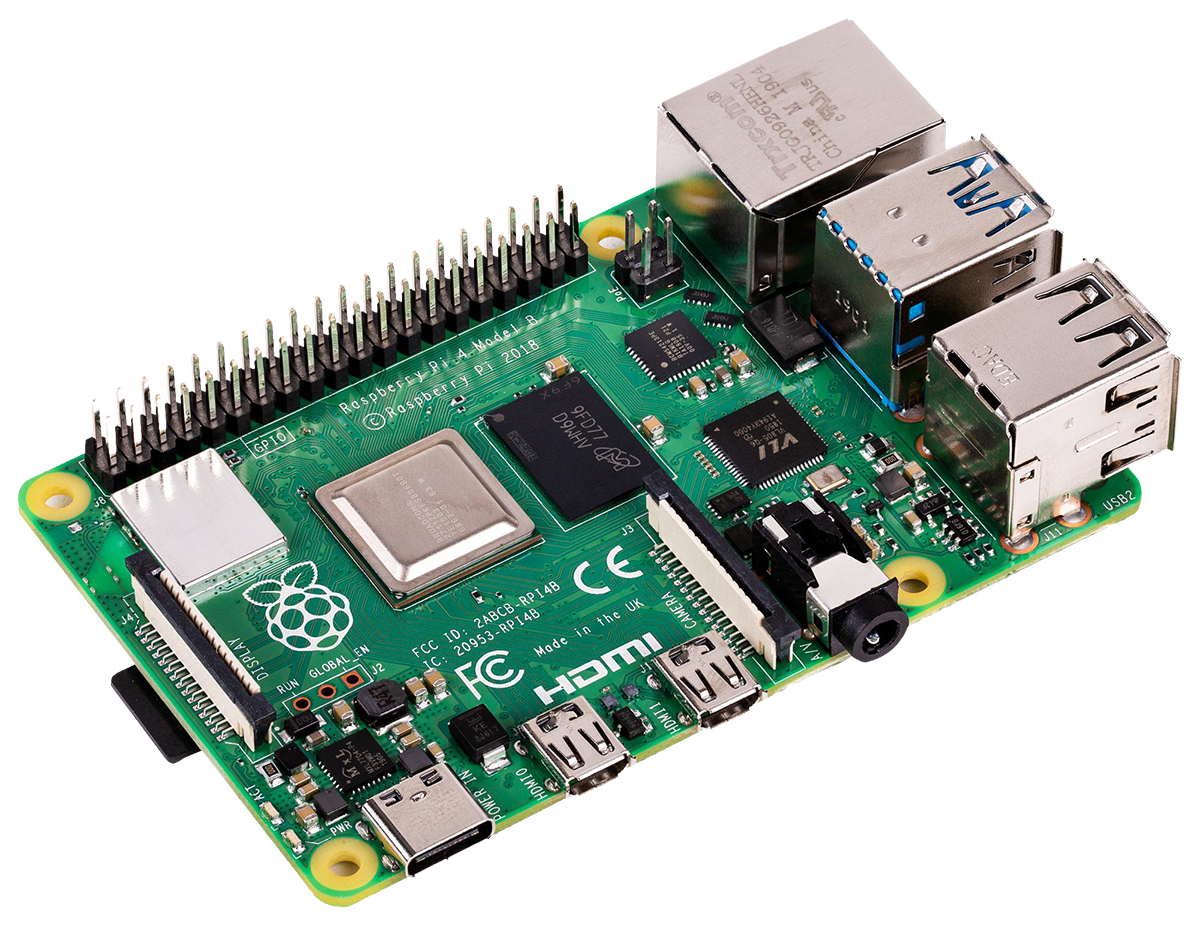
- Raspberry Pi 4 / 5 / CM4 / CM5:
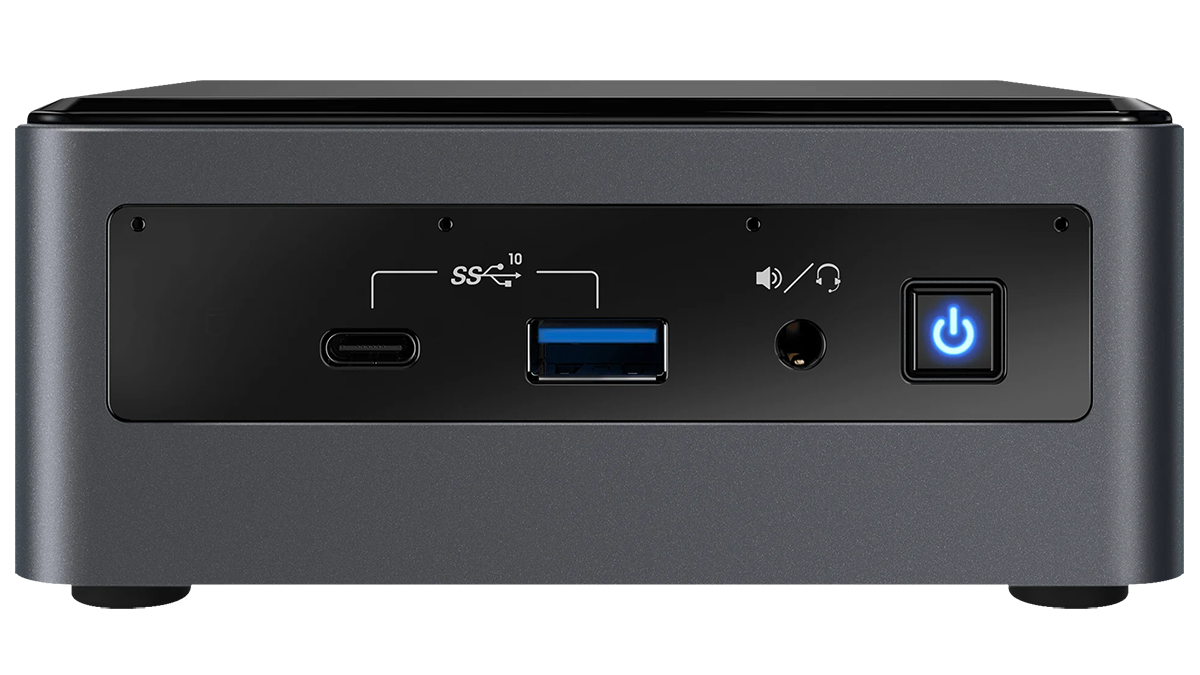
husarion-os-flasher-rpi-20250513 - x64-based computers:
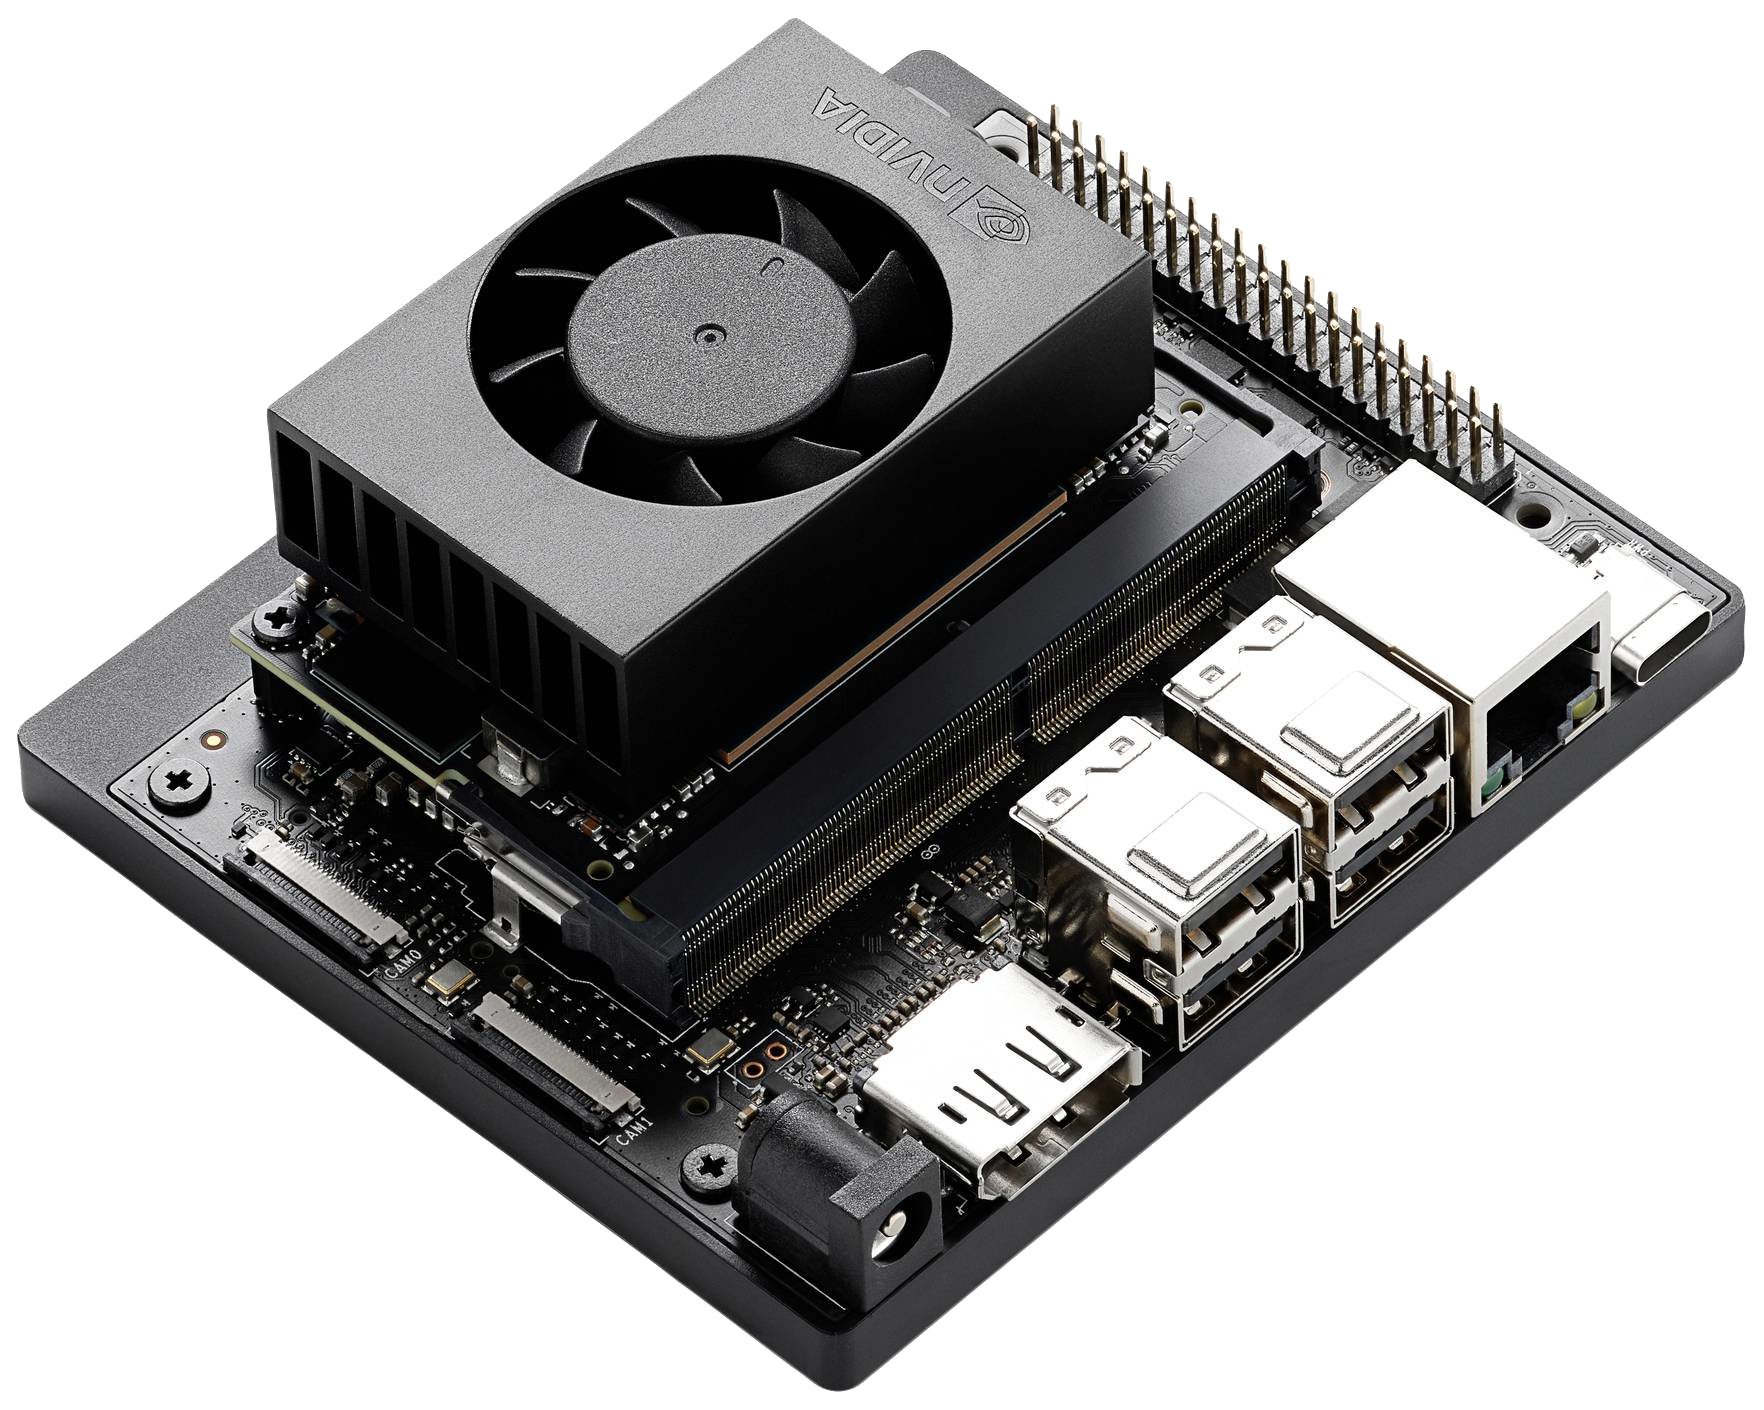
husarion-os-flasher-x64-20250513 - NVIDIA Jetson Orin computers:
husarion-os-flasher-tegra-20250513
🕥 Previous versions
💡 Which Image Do I Need?
| Robot | Target SBC | HOFI version |
|---|---|---|
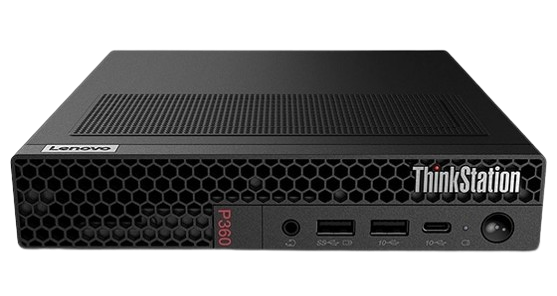
| Panther | User Computer (ASUS NUC, Lenovo ThinkStation) | x64 |
| User Computer (Jetson Orin) | tegra | |
| Built-in Computer | rpi | |
| Lynx | User Computer (ASUS NUC, Lenovo ThinkStation) | x64 |
| User Computer (Jetson Orin) | tegra | |
| Built-in Computer | rpi | |
| ROSbot XL | Intel NUC | x64 |
| Raspberry Pi 5 / Raspberry Pi 4 | rpi | |
| Jetson Orin Nano | tegra | |
| ROSbot 3 / 3 PRO | Raspberry Pi 5 | rpi |
| ROSbot 2R | Raspberry Pi 4 | rpi |
| ROSbot 2 PRO | UP Board | x64 |
Step 2: Create a Bootable USB Drive
Many embedded boards (including the UP Board) load their bootloader and kernel with a very small, legacy USB stack. These firmwares expect a drive that:
- enumerates as USB Mass-Storage / Bulk-Only-Transport (BOT), and
- reports 512-byte logical sectors (or “512e”).
🔍 How to check it?
You can check your pendrive by connecting your pendrive and typing lsusb -t command. If your devices show as Class=Mass Storage, Driver=usb-storage, everything should works fine.
🤔 Why this matters?
Modern high-performance sticks such as the Kingston DataTraveler Max ship in UASP-only mode and use native 4 KiB sectors. Because the firmware has no driver for UASP and cannot address 4 K sectors, the device is simply invisible at boot time—even though it works perfectly once Linux has loaded.
Use drives that fall back to BOT + 512 B sectors
| Capacity | Proven models¹ | Notes |
|---|---|---|
| 16 – 64 GB | SanDisk Ultra Fit USB 3.2 Gen 1, Samsung Fit Plus | Tiny, inexpensive; ideal for installer sticks. |
| 64 – 128 GB | SanDisk Extreme Pro (USB-A), Transcend JetFlash 920 | Much better sustained writes than “nano” drives. |
| 128 – 256 GB | SanDisk Extreme Pro USB 3.2, Samsung Bar Plus | Highest capacity that still presents BOT/512e on most batches. |
Drives to avoid for boot media
- Kingston DataTraveler Max (all capacities) — UASP only, 4 K sectors
- Most “USB SSD” sticks advertised ≥ 600 MB/s — same limitations
- Any flash drive that advertises itself as “NVMe over USB”
Sticking with the recommended models above keeps the boot process simple and reliable on all boards we support.
- Download and install Etcher.
- Format the USB Flash Drive.
- Flash the downloaded image onto a USB flash drive using Etcher.
Step 3: First Boot ("Dummy Start")
To boot HOFI, you need to configure your device to prioritize USB storage during startup. This ensures the board will attempt to boot from the HOFI USB drive before falling back to internal storage (e.g., microSD card, eMMC, or NVMe).
The method for setting USB boot priority depends on the target platform, eg.:
- Raspberry Pi
- x64-Based SBCs
- Jetson Orin Nano
- UP Board
Edit the bootloader configuration using:
sudo -E rpi-eeprom-config --edit
Set BOOT_ORDER so that 4 (USB) comes first. For example:
BOOT_ORDER=0xf164→ USB → NVMe → SD card (repeat)BOOT_ORDER=0xf14→ USB → SD card (repeat)
Save the changes and reboot the Pi.
👉 Learn more in the Raspberry Pi bootloader configuration guide
During boot, press the key required to enter BIOS or UEFI settings — commonly ESC, F2, or F12 depending on the board. Then change the boot order to prefer USB devices.
USB boot is usually enabled by default. If HOFI doesn't boot:
- Connect an HDMI display and USB keyboard to the Jetson
- Power it on and press ESC during boot
- Select Boot Manager and set USB as the first boot device
⚠️ Jetson Orin Boot Firmware
Boot firmware
If you want to install and boot Husarion’s customized Ubuntu system images on a Jetson SBC using HOFI, you’ll first need to update the device’s firmware. This guide follows the steps outlined in the official Ubuntu installation instructions for NVIDIA Jetson.
Before flashing an OS image, you must update the boot firmware on the Jetson Orin Nano.
Preparing the Host Computer (Linux)
First, install required tools and download the Jetson Linux firmware package:
cd ~
sudo apt update
sudo apt install lbzip2

wget https://developer.nvidia.com/downloads/embedded/l4t/r36_release_v4.3/release/Jetson_Linux_r36.4.3_aarch64.tbz2
tar -xf Jetson_Linux_r36.4.3_aarch64.tbz2
Install the required dependencies:
sudo apt install -y python3 mkbootimg bzip2 cpp device-tree-compiler

cd ~/Linux_for_Tegra/
sudo ./tools/l4t_flash_prerequisites.sh
Flashing the Boot Firmware
To flash the Jetson Orin Nano’s boot firmware:
-
Short the
FC RECandGNDpins on the Jetson -
Connect the Jetson's USB-C port to your laptop using a USB-A to USB-C cable
-
Power on the Jetson
-
On your laptop, run the firmware flashing script:
cd ~/Linux_for_Tegra/sudo ./flash.sh p3768-0000-p3767-0000-a0-qspi internal -
Wait ~8 minutes until you see a confirmation like:
[ 508.5119 ] Flashing completed[ 508.5120 ] Coldbooting the device[ 508.5125 ] tegrarcm_v2 --chip 0x23 0 --ismb2[ 508.5130 ] MB2 version 01.00.0000[ 508.6113 ] Coldbooting the device[ 508.6121 ] tegrarcm_v2 --chip 0x23 0 --reboot coldboot[ 508.6127 ] MB2 version 01.00.0000*** The target generic has been flashed successfully. ***Reset the board to boot from internal eMMC. -
Disconnect power from the Jetson, remove the jumper between
FC RECandGND, and unplug the USB cable.
-
Open bootloader
Press Delete or Esc during computer startup to access BIOS settings. When asked for a password, just press Enter (no password is set).
-
Change Boot Order Priorities
In
Boottab changeFIXED BOOT ORDER Prioritiesto setUSB Deviceas a first option:Boot Option #1 [USB Device]Boot Option #2 [Hard Disc:ubuntu] -
Change
SCC eMMC SupportIn
Chipsettab, go toSouth bridgesetting and changeSCC eMMC SupporttoPCI mode. -
Save changes
Save & Exittab -Save Changes and Reset- now the system will boot from the USB device.
- Insert the USB drive into your Single Board Computer (SBC).
- Turn the SBC on – wait ~30 seconds - HOFI will automatically create the
os_imagespartition (exFAT file system) to use all remaining space on the USB Flash Drive.
🙋 How can I tell if HOFI is ready to use?
You can verify that HOFI (Husarion OS Flasher Image) is ready using one of the following methods:
-
HDMI Display Connect a display to the SBC's HDMI port. Once HOFI boots, the Terminal User Interface (TUI) should appear on the screen.
-
SSH via Ethernet Connect your PC to the SBC via Ethernet. HOFI runs a DHCP server, so no manual IP configuration is required. Then, SSH into the system:
ssh 192.168.77.2 -
Web Interface Connect your PC to the SBC via Ethernet and open the HOFI web interface in your browser at:
http://192.168.77.2:8080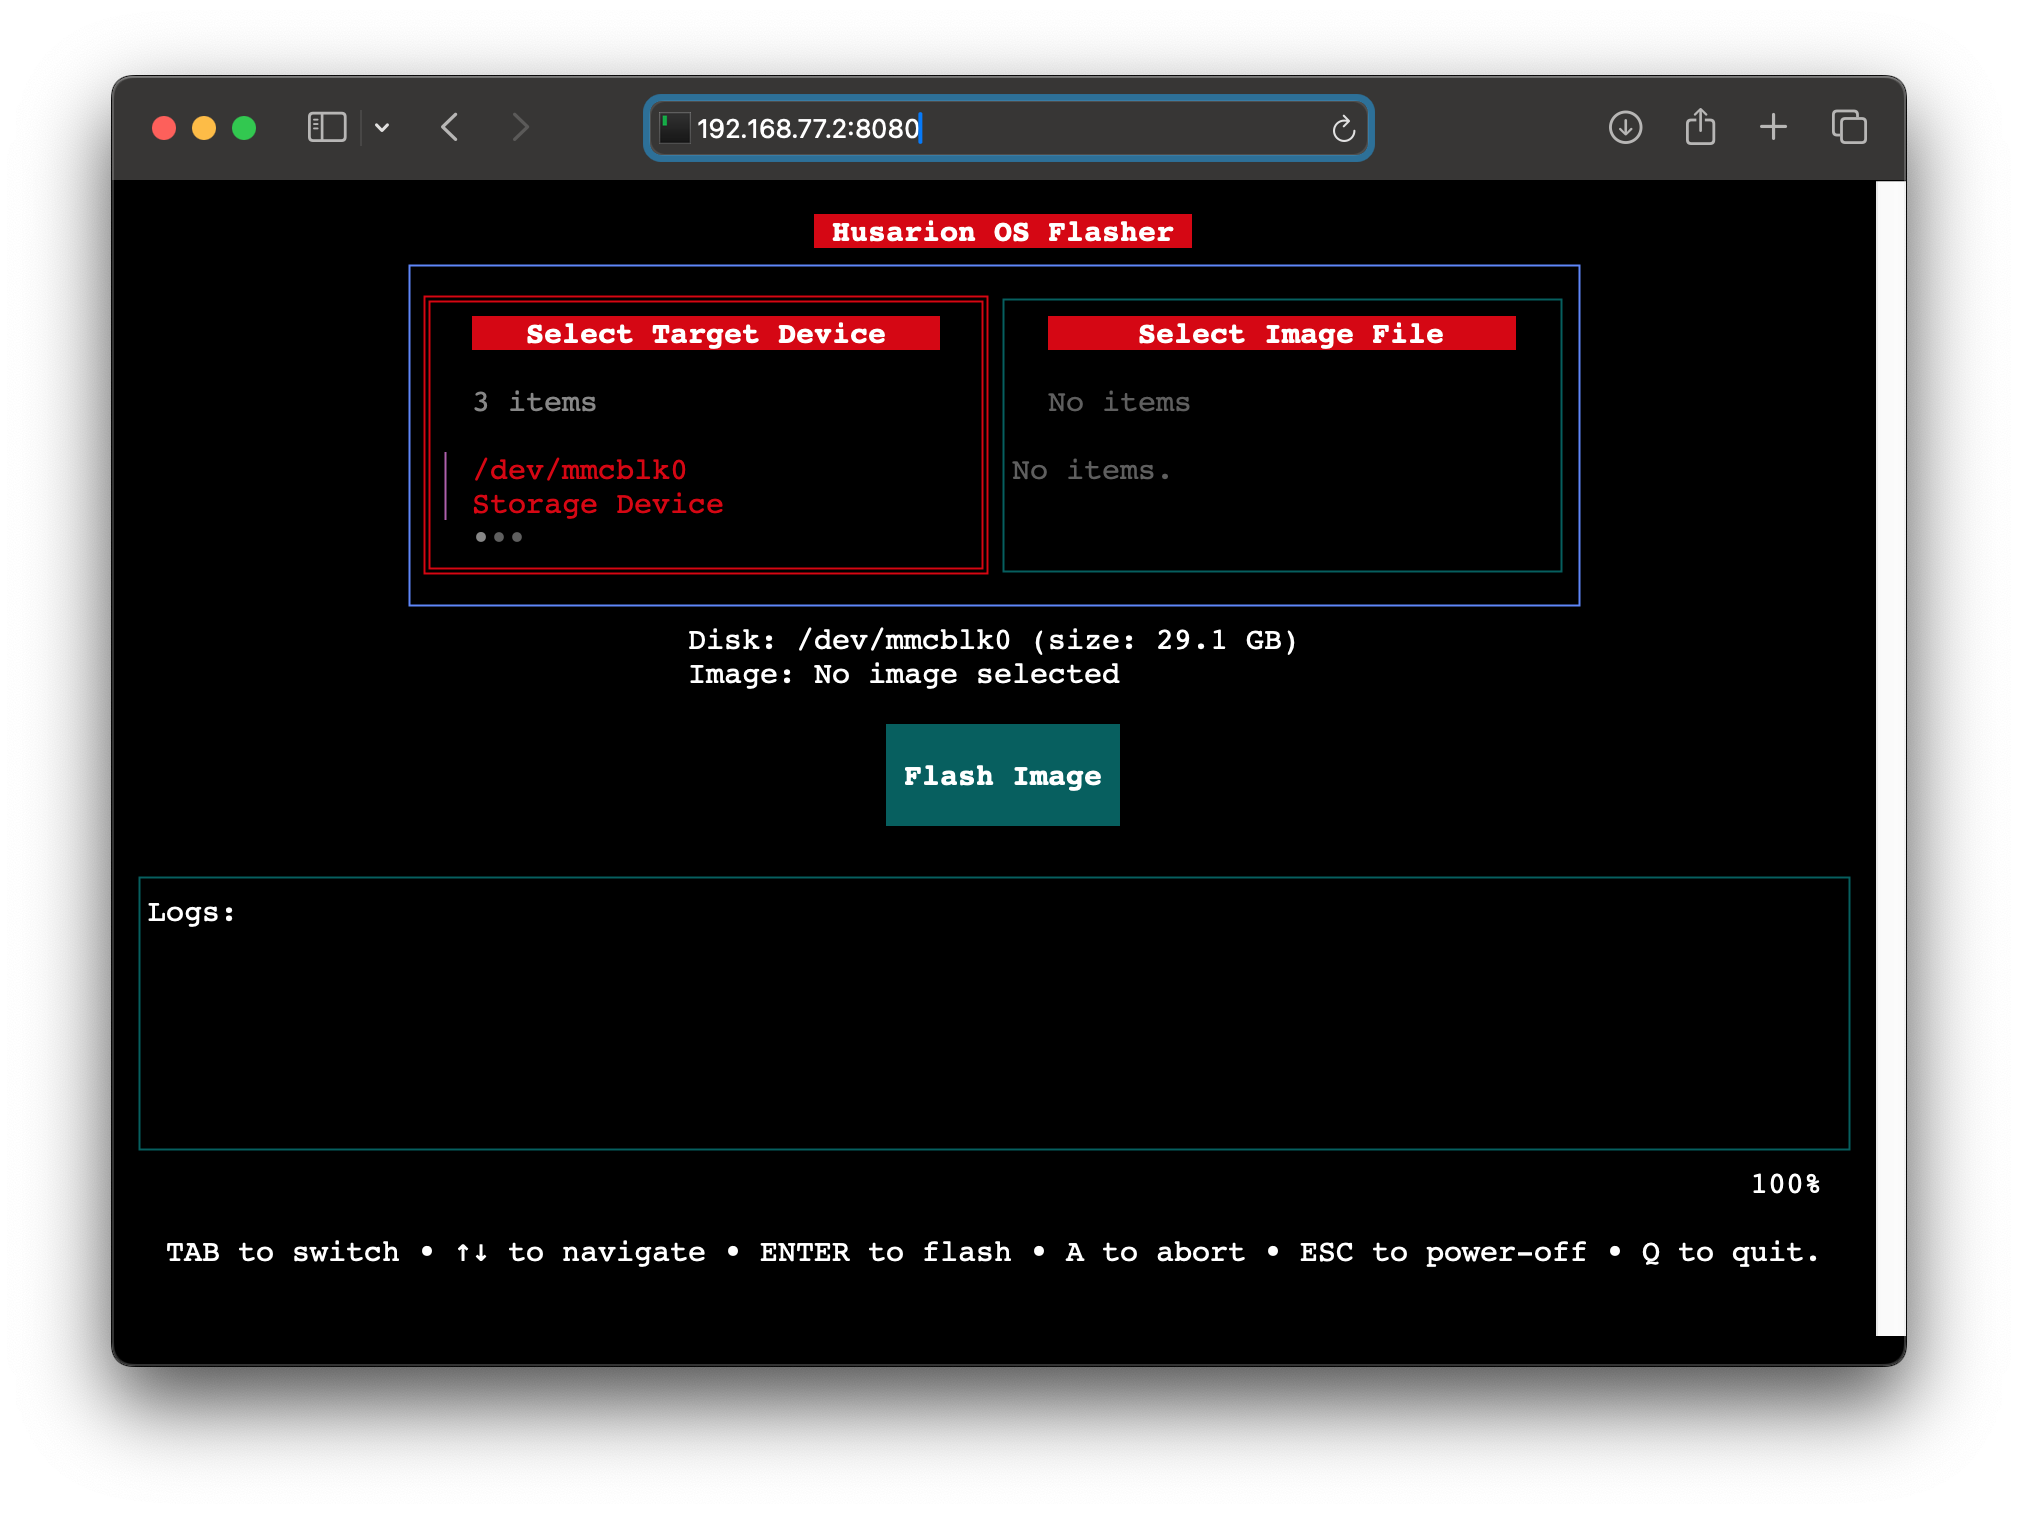
- Turn the SBC off – The USB drive is now ready for use!
After plugging the HOFI USB drive into your laptop, open your Disk Utility to check if the os_images partition has been created. This is the partition where you'll copy your target system images (for SBCs):
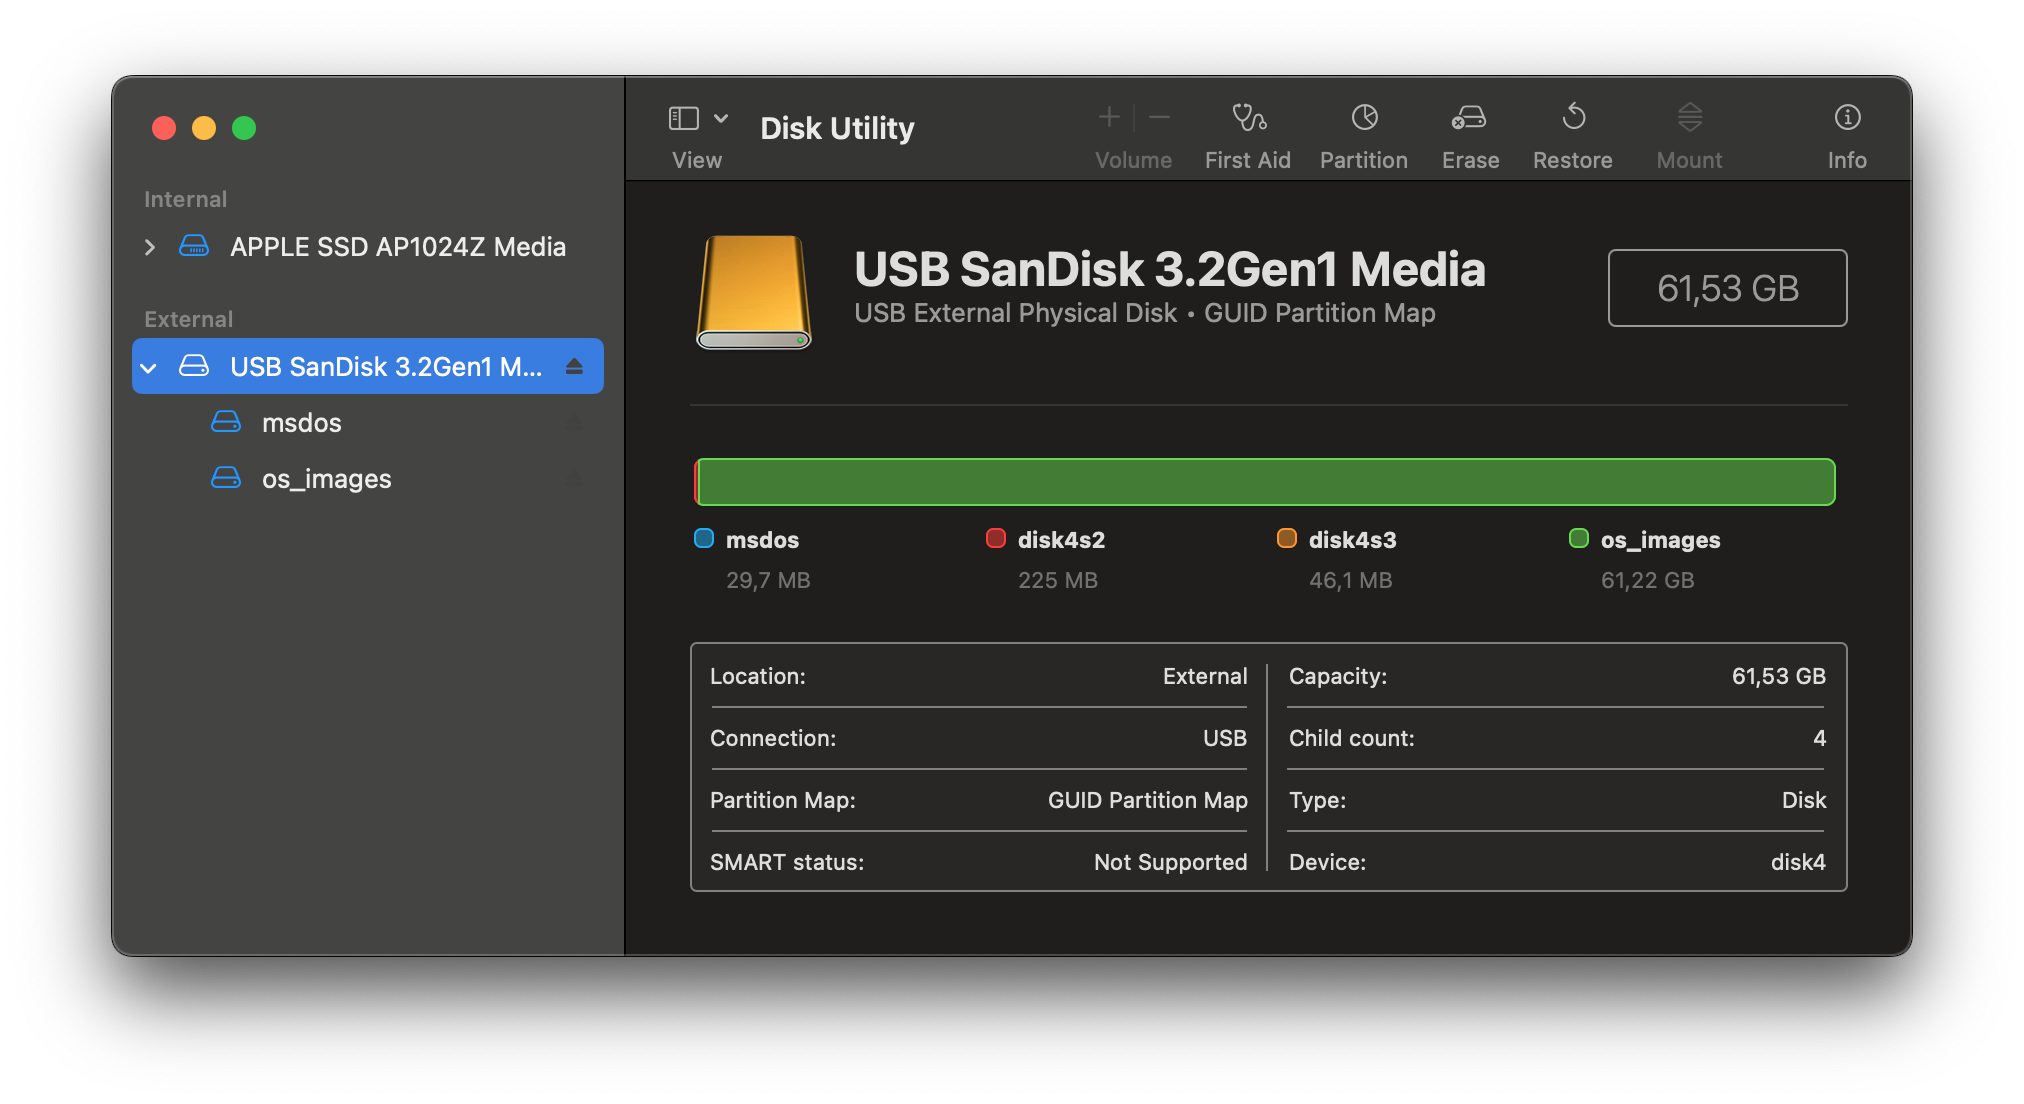
As shown above, HOFI is a minimal Linux distribution. In the example shown (x64 version), it uses only around 300 MB in total (29.7 MB + 225 MB + 46.1 MB) to run. The remaining disk space — 61.22 GB in this case — is allocated to the os_images partition, formatted with the exFAT filesystem.
You're Done! 🎉
Your USB drive is now set up with Husarion OS Flasher Image. You can use it anytime to install a new OS on your robot. 🚀
👉 Next Step: Learn how to add OS images to your HOFI USB and install them on your robot!