user-computer-setup
Network setup
By default the network mask is 255.255.255.0 and the devices' IPs begin with 10.15.20.XX. The default static IPs are:
- RUTX11
10.15.20.1- an internal router with an access point and a DHCP server, - Built-in Computer
10.15.20.2- a SBC with Husarion UGV's driver, - Additional: User Computer
10.15.20.3- look at Computer (PC), - Additional: a manipulator
10.15.20.4- look at Manipulators (MAN).
Applying DHCP Static Lease
-
Access to Router WebUI using this instruction.
-
Make sure that
Mode advancedis enabled. Check it in the top right corner. IfMode Basicis shown, click on it to change it.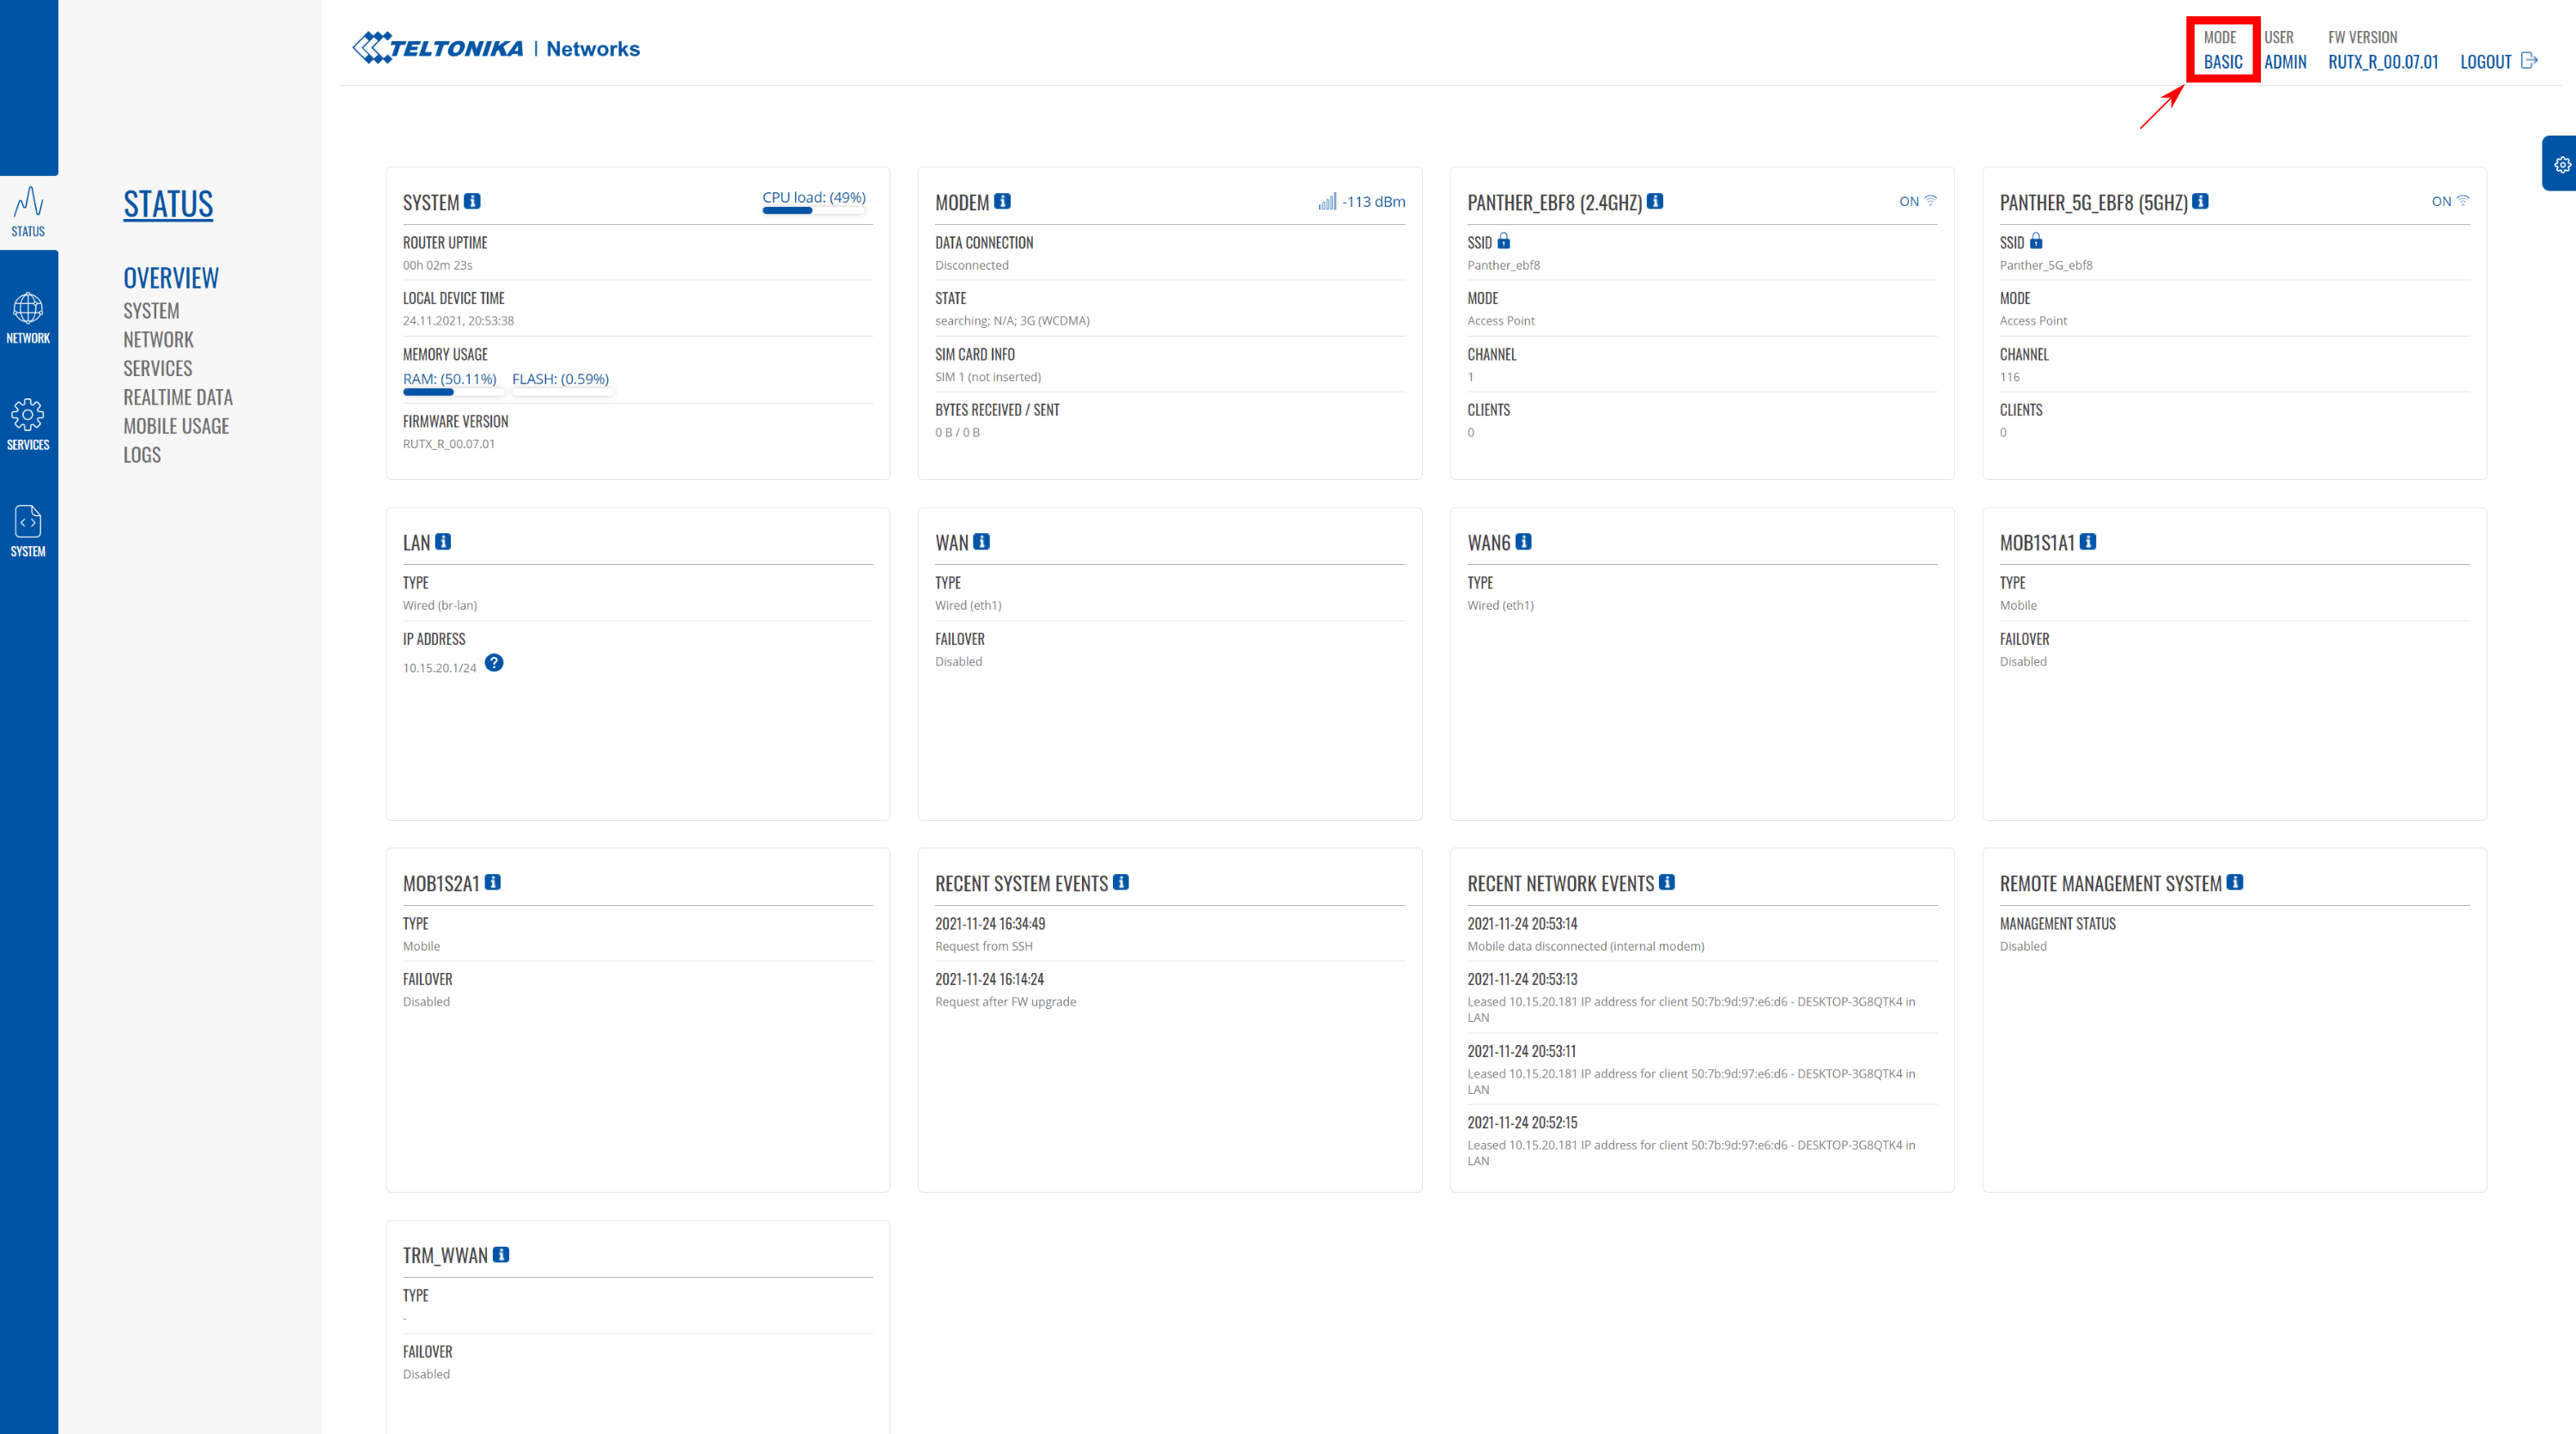
-
Go to Network --> Interfaces and click edit on
Lan Network.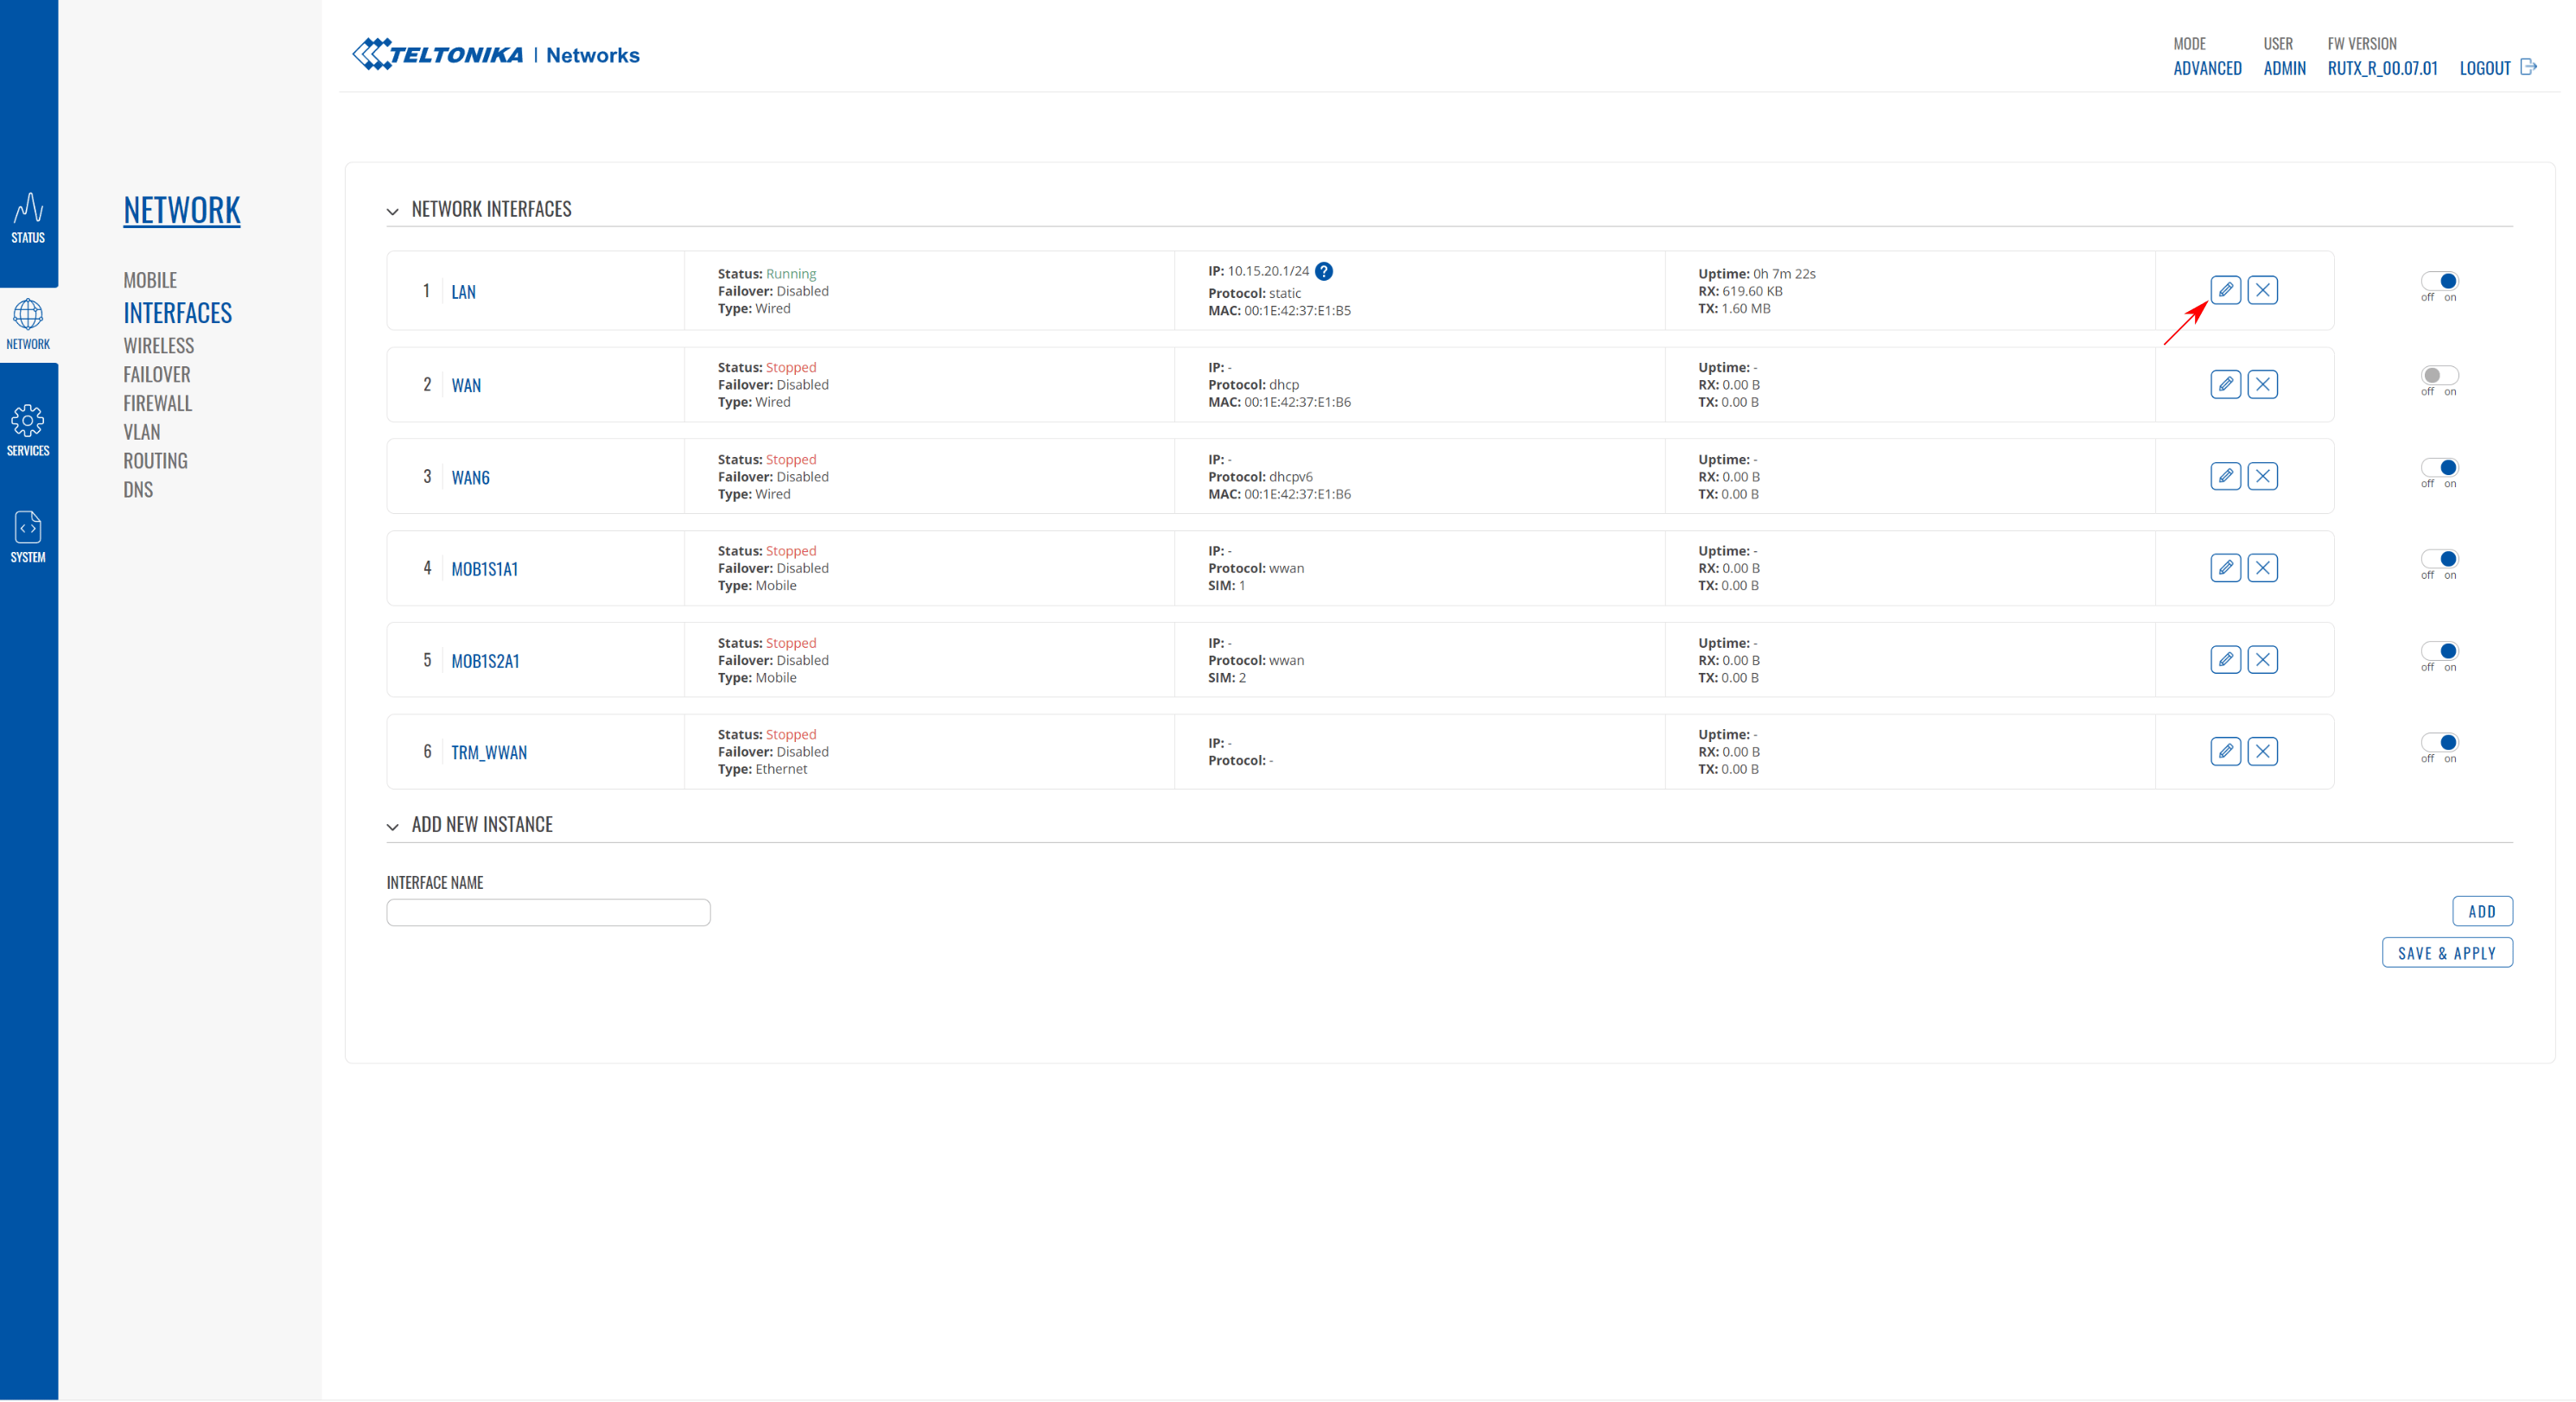
-
Edit
Static leasenamednuc. Next, type in the MAC address (supplied during purchase) and clickSave and apply. If you do not know the MAC address, you can find it under Status --> Network --> LAN page. By default, the User Computer inside Husarion UGV has IP10.15.20.3, but it can be changed to any value in the range between10.15.20.3to10.15.20.254. -
You can access the User Computer through its new IP (default:
10.15.20.3). If it is not available, power cycle Husarion UGV by turning it off and back on.
Enable Internet connection in the RUX11
There are 2 ways to enable Internet connection of the Built-in Computer and of the User Computer. You can connect RUTX11 to existing Wi-Fi network which has access to the Internet or you can use a SIM card with LTE.
Connect the RUTX11 to another Wi-Fi
Connect the RUTX11 to another Wi-Fi network using the Configuration examples > Client Mode section from the producer's instruction.
Using a Cellular Connection
If your Husarion UGV is equipped with the (ANT02 option) it is possible to use the cellular connection with failover to a second SIM and priority of WLAN connection over cellular.
Installing a SIM Card(s)
First, open the Cover following instructions, then you can access Teltonika RUTX11 SIM slots, more details are available in the RUTX11 quick start guide.
Configuration of SIM Slots
In the default configuration, each SIM slot is enabled with automatic APN and priority of WLAN connection over cellular. To change settings such as PIN code, custom APN, or CHAP/PAP authentication use router's WebUI, see the RUTX11 mobile configuration guide.
Configure time synchronization with the Built-in Computer
The Built-in Computer uses Chrony to establish an NTP server. For optimal performance, the user's computer should be configured as an NTP client.
-
Check if Chrony is installed:
user@any:~$chronyd --version -
If Chrony is not installed, install it with the following command:
user@any:~$sudo apt install chrony -
Edit the configuration file:
user@any:~$sudo nano /etc/chrony/chrony.confAdd the following line:
server 10.15.20.2 iburst preferSave the changes (ctrl+s) and exit the file (ctrl+x).
-
Restart chrony:
user@any:~$sudo systemctl restart chrony.service -
Check if the synchronization was successful (it may take a moment before Chrony to restart):
user@any:~$chronyc trackingThe
Reference IDfield should contain the IP address of the Built-in Computer (10.15.20.2) or haverpiin the name. Example output:Reference ID : 0A0F1402 (rpi.lan)
Stratum : 3
Ref time (UTC) : Tue Jun 18 09:03:48 2024
System time : 0.000016993 seconds fast of NTP time
Last offset : +0.000017369 seconds
RMS offset : 0.000017369 seconds
Frequency : 11.877 ppm slow
Residual freq : +0.359 ppm
Skew : 2.391 ppm
Root delay : 0.029849635 seconds
Root dispersion : 0.003227041 seconds
Update interval : 64.3 seconds
Leap status : Normal
Configuring Soft Shutdown with any User Computer
Following these steps will allow the Built-in Computer to request the shutdown procedure on the User Computer or any computer you install.
If you set up your User Computer with the default 10.15.20.3 IP address and username husarion select the Default configuration tab. In case the IP address or username differs from the defaults, select Custom configuration tab.
- Default configuration
- Custom configuration
The default configuration assumes the system was installed following the steps in User Computer system reinstallation.
-
From any device in Husarion UGV's network connect to the User Computer via SSH:
user@any:~$ssh husarion@10.15.20.3 -
Install husarion-shutdown snap:
husarion@10.15.20.3:~$sudo snap install husarion-shutdown
sudo husarion-shutdown.startBy default, the ROS driver on the Built-in Computer will try to shutdown the User Computer at
10.15.20.3IP address. That is why no other changes are required for it to work in the default configuration.
-
Connect to your User Computer. On your User Computer set a static ip to
10.15.20.XX, whereXXis the IP address in step Applying DHCP Static Lease, and a netmask to255.255.255.0. Check if your User Computer established correct connection with the RUX11 by:husarion@10.15.20.3:~$ping 10.15.20.1and with the Built-in computer:
husarion@10.15.20.3:~$ping 10.15.20.2 -
SSH into the User Computer where
XXis the IP address in step Applying DHCP Static Lease, andusernameis the name of the user you want to log in to:user@any:~$ssh username@10.15.20.XX -
Install husarion-shutdown snap and configure the IP address:
username@10.15.20.XX:~$sudo snap install husarion-shutdown
sudo snap set husarion-shutdown config.user-computer-ip="10.15.20.XX"
sudo husarion-shutdown.start -
Exit the terminal session with the User Computer by typing
exit. -
SSH into the Built-in Computer with:
user@any:~$ssh husarion@10.15.20.2 -
Edit the shutdown_hosts.yaml file on the Built-in Computer with the command:
husarion@10.15.20.2:~$nano ~/config/husarion_ugv_manager/config/shutdown_hosts.yaml -
Paste the following content into the file:
hosts:
  - ip: 10.15.20.XX
    port: 3003
timeout: 10.0 -
Save the file by pressing
Ctrl+s,Ctrl+x. -
Restart the driver:
husarion@10.15.20.2:~$docker compose up -d --force-recreate
After following those steps, when the Power Button is pressed sudo shutdown will be invoked on the User Computer. The Built-in Computer will wait for the User Computer until it gracefully shuts down before shutting down itself and powering off the robot.