ROS2 Demo for ROSbot 2.0
Intro
The goal of this tutorial is to launch navigation2 demo, which will allow the robot to navigate autonomously and avoid obstacles. The ROSbot will be visualized and controlled through Rviz.
Install ROS2 image on ROSbot
Get a system image
Working on your laptop, visit downloads, find Ubuntu 20.04 + ROS2 Foxy + Docker + Husarnet client and download:
- Tinker Board version for ROSbot 2.0
- UpBoard version for ROSbot 2.0 PRO
Instructions for system installation can be found here.
First ROSbot Configuration
Connecting to Wi-Fi
In the ROSbot 2.0 set there is one USB-Ethernet card.
-
Turn on the robot and wait until it boots.
-
Plug in Ethernet adapter (included in set) to USB port in the rear panel
-
Plug in one end of the Ethernet cable into your computer and other one to the adapter
-
To connect with ROSbot via ssh, type in terminal application on the computer:
ssh husarion@192.168.0.1a password is also
husarion -
To connect to a Wi-Fi network in the terminal type
nmcli d wifi connect <WiFi-SSID> password <WiFi-PASSWORD> -
type
ip ato find your IP address. Save it for later.
Flashing STM32 firmware
If this is your first launch of ROS2 Foxy on ROSbot make sure to upgrade STM32 firmware to at least 0.14.3 version (pay attention because version for ROS Noetic is different).
To upgrade firmware launch terminal in the ROSbot's Linux and download the STM32 firmware:
wget -O /home/husarion/firmware.bin https://github.com/husarion/rosbot-stm32-firmware/releases/download/0.16.1/firmware_diff_noetic.bin
Then flash the STM32 microcontroller:
bash /home/husarion/flash_firmware.sh
More information about flashing the firmware you can find here.
Remote Desktop (optional)
Remote Desktop is a tool enabling user to connect to a computer in another location and see that computer screen and interact using graphical interface.
By default a VNC server is not running on ROSbot. To start VNC first connect via ssh to robot and then execute following command:
sudo systemctl start vncserver.service
To make use of it you have to ether install tigervnc or use docker containers that we have prepared. Clone project to your computer and build.
git clone https://github.com/husarion/rosbot-remote.git
cd rosbot-remote/tiger_vnc
./build_image.sh
./run_image.sh <ip-address-of-rosbot>
For more information please take a look at readme.
If you are unfamiliar with docker or don't know how to install please use nvidia guide (to run images it is compulsory to have nvidia-docker2 package installed)
Launching a demo project
Once you are connected to ROSbot either with ssh or remote desktop launch terminal and type following command:
source ~/husarion_ws/install/setup.bash
and for ROSbot 2.0:
ros2 launch rosbot_description navigation_demo.launch.py
or for ROSbot 2.0 PRO:
ros2 launch rosbot_description navigation_demo_pro.launch.py
You can find source code here and version for Rosbot PRO is here
Using a demo
Once ROSbot launched lidar should begin to rotate and logs starts to pop out on terminal. At this point to make your ROSbot move or see how map is being created you need to launch rviz2. We also prepared ready to run docker container with configured rviz2. Instruction is very similar to this with tigervnc client and if you already cloned the repository there is no need to do this again.
git clone https://github.com/husarion/rosbot-remote.git
cd rosbot-remote/rviz
./build_image.sh
./run_image.sh
If you have ros2 Foxy installed on your system just type rviz2 to launch rviz.
Add displays you want but for navigation add at least map and select global frame to map.

To add destination use green "2D Goal Pose" arrow in the top bar.
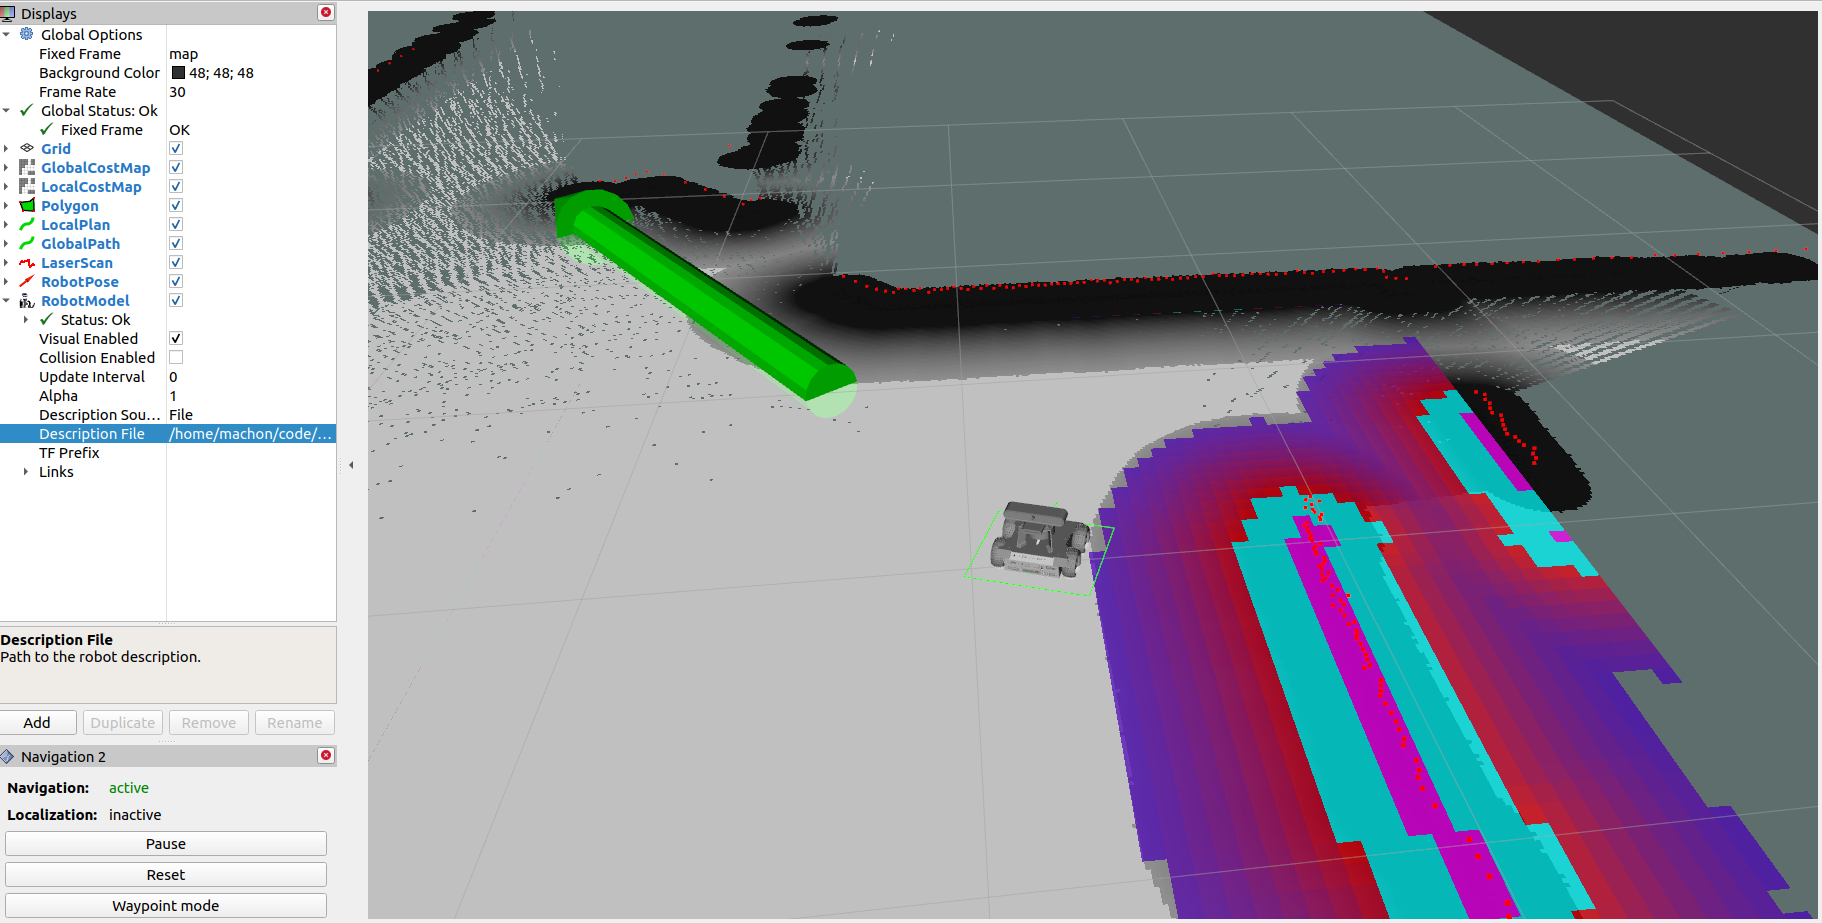
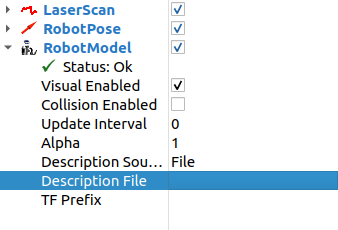
If you want to see rosbot model displayed in rviz2 you will have to select the rosbot_description/urdf/rosbot.urdf file in RobotModel section.
NOTE Currently dds implementations are heavy on resources so please limit shown displays.
Using many ROS2 devices it the same network (Optional)
ROS2 (DDS) provide a concept of multi cast for machines discovery. As a result every machine running ROS2 can see every nodes/topics on all running machines in the same network.
If you want to limit this behavior export ROS_DOMAIN_ID this might be number 0-255 (default is 0). If you want to communicate only two machines add the following line to ~/.bashrc.
echo "export ROS_DOMAIN_ID=14" >> ~/.bashrc
Other option is to follow our guide for set up Husarnet with ROS2. This will enable you to communicate using p2p VPN from any network.
Using Gazebo simulation
There is also a possibility to run simulated ROSbot in Gazebo. To launch the simulation you will have to install ROS2 Foxy, Gazebo, and Navigation2 on your computer. Alternatively use docker image.
When all the prerequisites are met you can clone and build rosbot_description package. Create workspace:
mkdir ~/ros2_workspace
mkdir ~/ros2_workspace/src
source /opt/ros/foxy/setup.bash
cd ~/ros2_workspace
colcon build --symlink-install
Clone rosbot_description repository:
cd ~/ros2_workspace/src
git clone --single-branch --branch foxy https://github.com/husarion/rosbot_description.git
Install dependencies:
cd ~/ros2_workspace
rosdep install --from-paths src --ignore-src -r -y
Build the workspace:
cd ~/ros2_workspace
colcon build --symlink-install
Once the package is built you can launch the simulation.
cd ~/ros2_workspace
source ~/ros2_workspace/install/setup.sh
ros2 launch rosbot_description navigation_demo_sim.launch.py
If Gazebo doesn't start in few seconds try exporting gazebo resource path
export GAZEBO_RESOURCE_PATH=/usr/share/gazebo-11
and relaunch the simulation in the same terminal.
by Adam Krawczyk and Kamil Machoń, Husarion
Need help with this article or experiencing issues with software or hardware? 🤔
- Feel free to share your thoughts and questions on our Community Forum. 💬
- To contact service support, please use our dedicated Issue Form. 📝
- Alternatively, you can also contact our support team directly at: support@husarion.com. 📧